Today I am going to share with you my latest DIY project, a Bird Cage Bow Holder with a HUGE Burlap Bow on top. I have been researching bow storage for awhile now and finally settled on a bird cage for storage, read on to find out how to create your very own bird cage to store your daughters bows in and why the bird cage works!

This is my second week of joining Trendy Tot, a party hosted by Kelly, Lindsay and Megan.
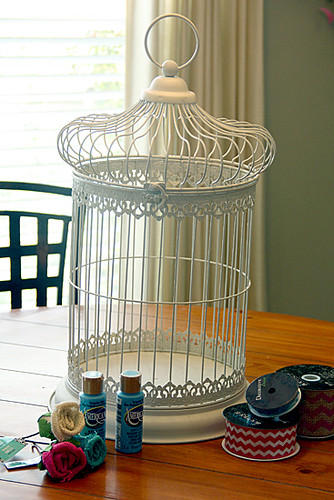
Supplies: Bird Cage (scored mine at HobLobs with a 40% off coupon), paint, ribbon and a square sheet of scrap book paper (not pictured here).
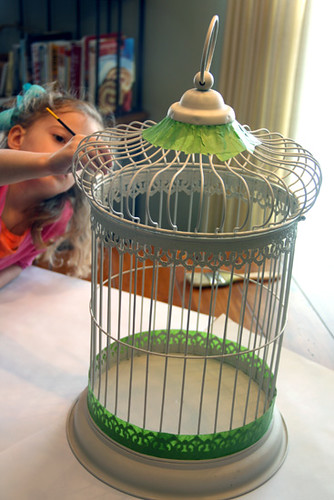
Figure out what you want to paint and what you don’t want to paint and tape it off. I decided I wanted to paint the handle and top, the base and the lock.
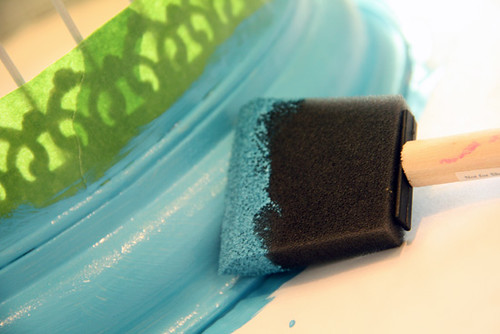
Paint. I decided upon a turquoise color, to contrast against the pink ribbon I had purchased.
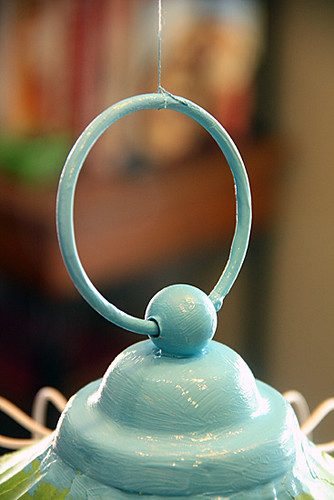
To paint the handle, tie a piece of thread from the handle to your light fixture above your kitchen table. Otherwise, you’ll have a difficult time getting paint on just the handle and not the sides of the bird cage it will touch if you let it drop.
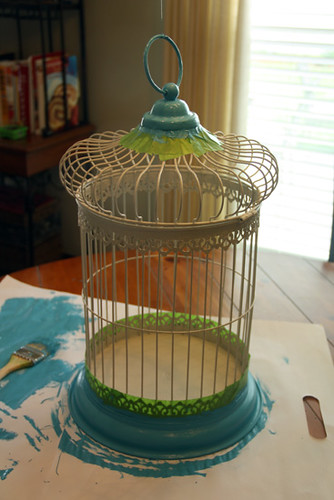
Let the paint dry, but pull the green painters tape off still before the paint dries entirely. I am really loving this turquoise!
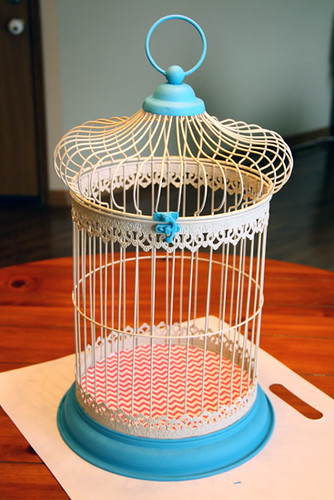
Next, open the lid to your bird house and put a sheet of scrapbook paper on top. Close the lid and trace around the top of the lid so that it will be the right size to lay flat on the bottom of the bird cage. Cut it out and stick it inside the bird cage and now you’ll see my bird cage has a pretty pink chevron floor!
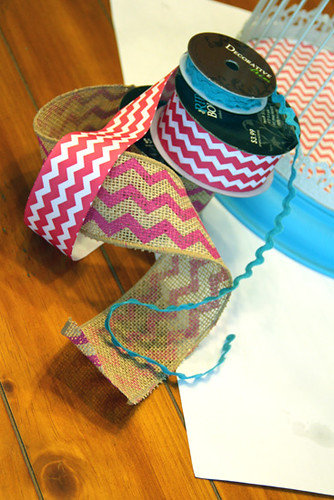
Now its time to play with some ribbon! I picked out a pink chevron ribbon and a pink chevron burlap ribbon… I decided to use the burlap ribbon and a thin wavy ribbon in a turquoise color.

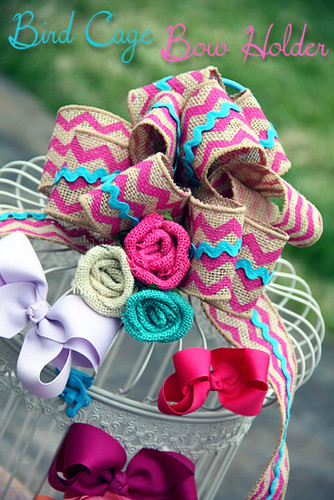
And, here is the bow I came up with! Making a bow is another whole tutorial, but I always change up my ribbon every most years for Christmas, so I have sort of developed a technique for big bows.
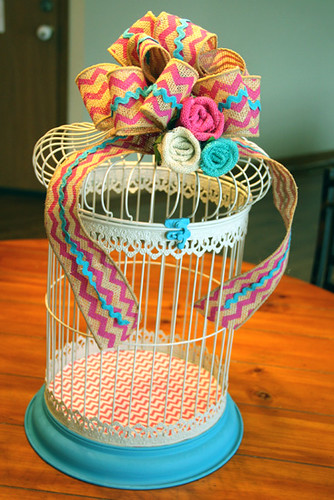
I bought some burlap roses at HobLobs, too and decided to add them to the base of the bow. What do you think? Do you like the bow with or without the burlap roses?
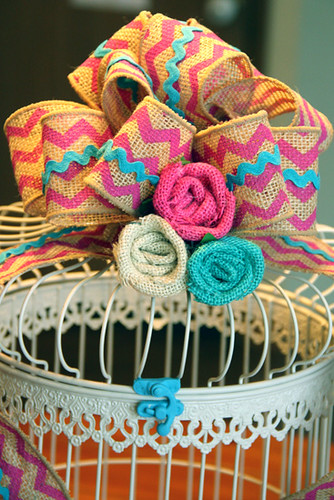
Here is a close up of the final bow 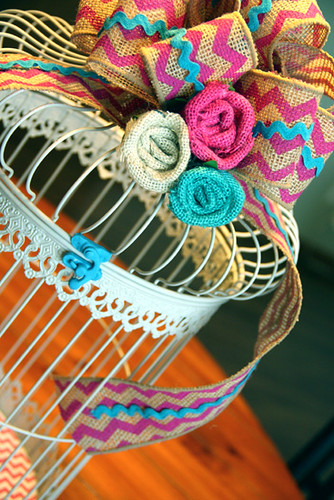
I will say that the burlap ribbon was very thick and bulky… therefore, it was really difficult to work with. I almost gave up and used the regular chevron ribbon I had bought, but I am so glad I fought with it and came up with this awesome bow!
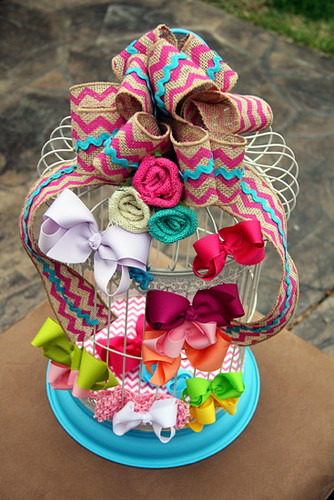
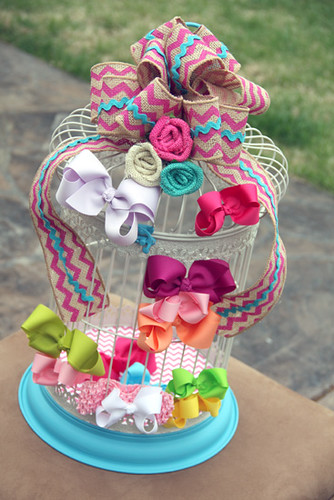
And, here is how it looks with some bows on it! The bows clip onto the cage easily, it does not matter what size your bow is! The bird cage I purchased is fairly large, so I can fit a heck of a lotta bows on this thing!
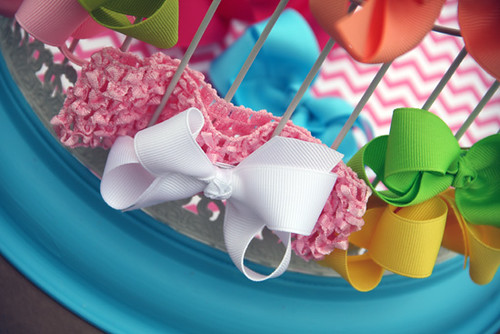
You can even weave soft headbands in and out of the bands of the bird cage
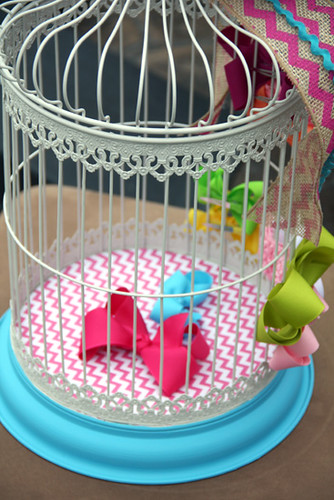
Or better yet… OPEN the bird cage and cram as many bows inside it as you want!
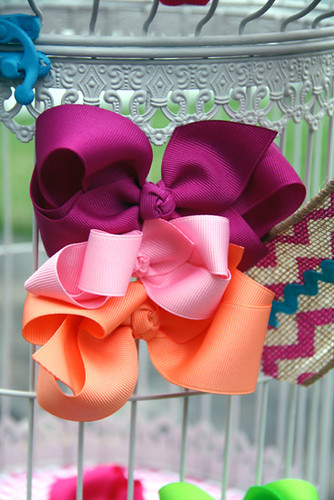
You can arrange the bows in similar hues or place them on the bird cage in no particular order 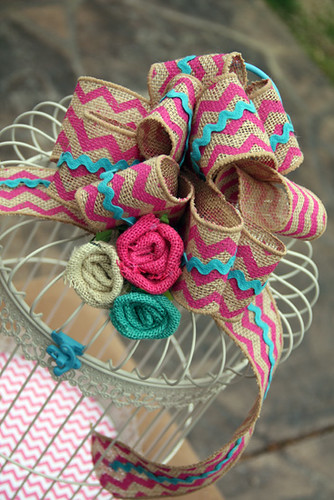
My husband is so sweet, he told me this looks like a bow holder you would find in a boutique. I hope it looks that nice, but what makes me the happiest is that my daughter is just IN LOVE with it.
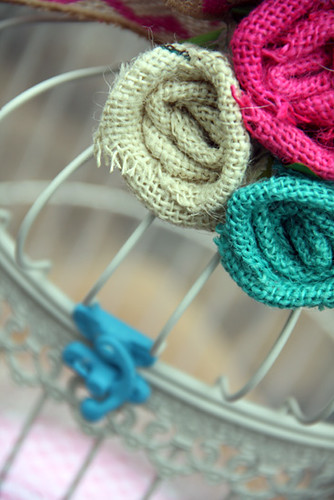
Here is a close up of the burlap roses, Hobby Lobby carries them in all sorts of colors

I love fun and useful crafts! I mentioned the idea of hanging this bird cage in Autumn’s room and got sort of an eye roll from Brian. ha! We’ll see!
Linked up with:
Get Your DIY On
Create It Thursday
Sweet Haute
Hit Me with Your Best Shot
