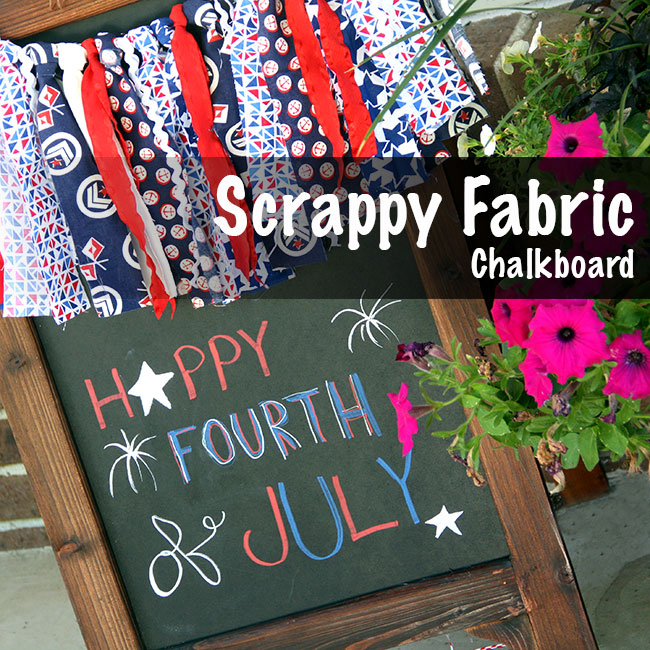
Can you believe it is the middle of June already? Which means it is time to start thinking about some 4th of July decorations. I have been wanting to create my very own scrappy fabric banner for quite some time, so I thought why not make one for the upcoming holiday in red, white and blue! Even better yet, I made it long enough to string on a chalkboard easel OR a table (when using on a chalkboard easel, I hide the rest of the banner behind the easel so that it is hidden).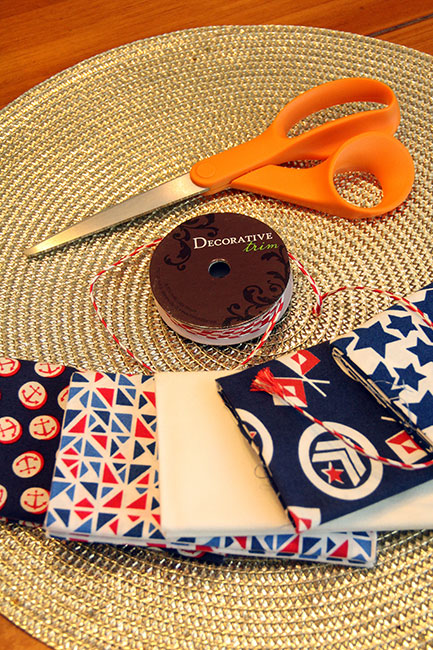
This scrappy fabric banner cost me only $10! I bought a bundle of fabric at Hobby Lobby in red, white and blue colors and then I already had a spool of red and white ribbon to add to it for a little extra flair. I also considered adding blue burlap, but got lazy and didn’t… but, strips of colored burlap would be awesome on a scrappy banner like this one!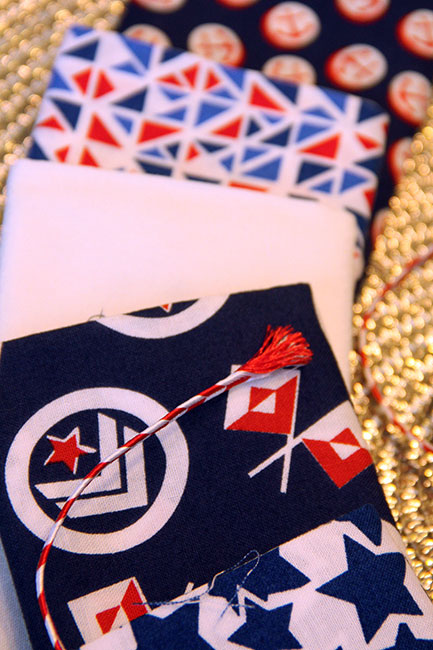
Here is a close up of the fabrics that were in my bundle, I love the anchor fabric! The white fabric has little stars all over it (you can’t tell in this photo, because it washed out).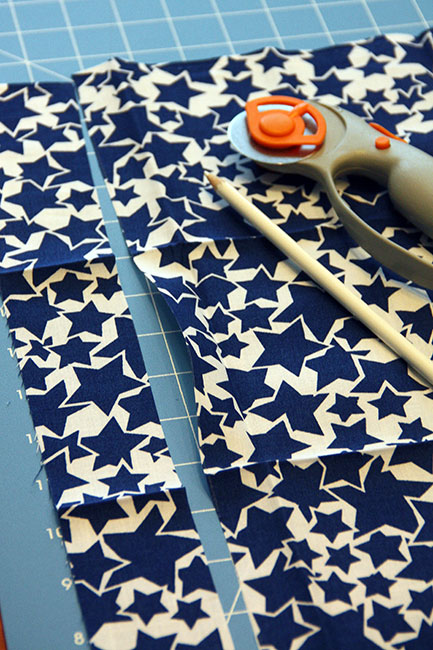
First you will want to cut your fabric into 2″ long strips, so the width of each fabric strip is 2″. I left the fabric strips the length of the fabric, which should be around 20-23″, depending on your fabric. I used a fabric pencil and rotary cutter to cut my fabric into strips quickly, but you could also use fabric scissors.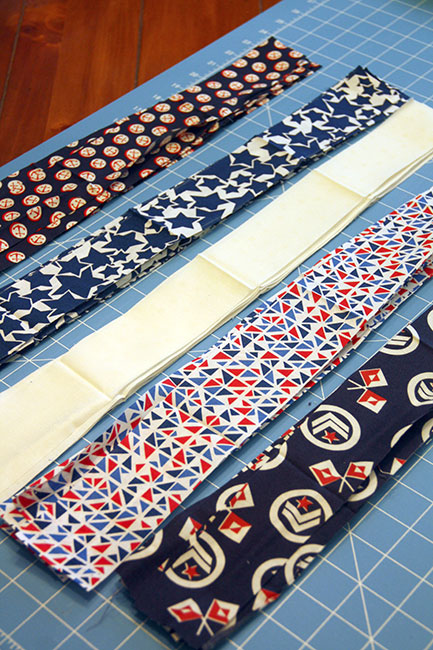
My strips of fabric after I finished cutting them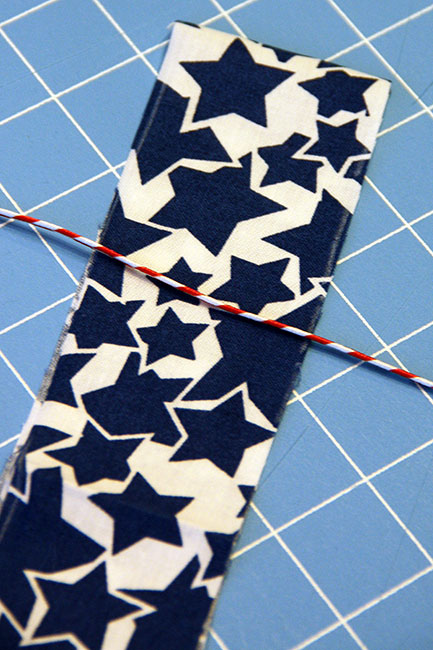
To make a fabric knot, fold your fabric strip in half and lay your banner string OVER your fabric strip… it needs to be on top of the fabric.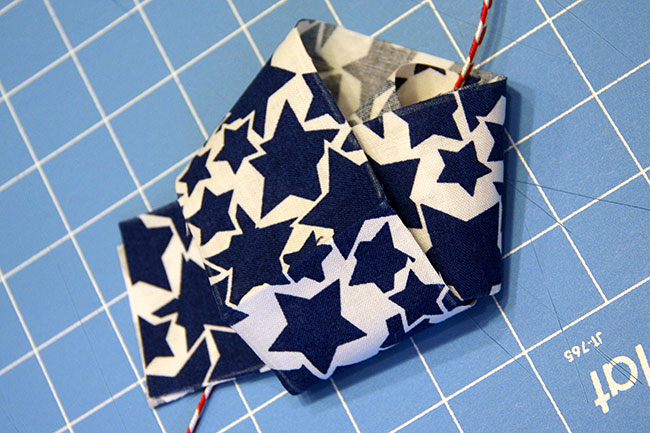
Then, bring the bottom edges of the fabric strip up over the banner string and tuck them into the top ‘loop’ of the fabric strip. Then pull down to make the knot and you can also pull on both sides of the banner string to tighten the knot.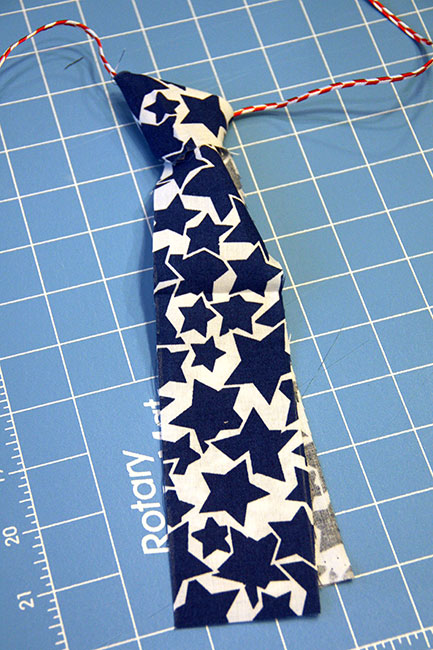
Then, you’ll have a perfect knot made on the banner string!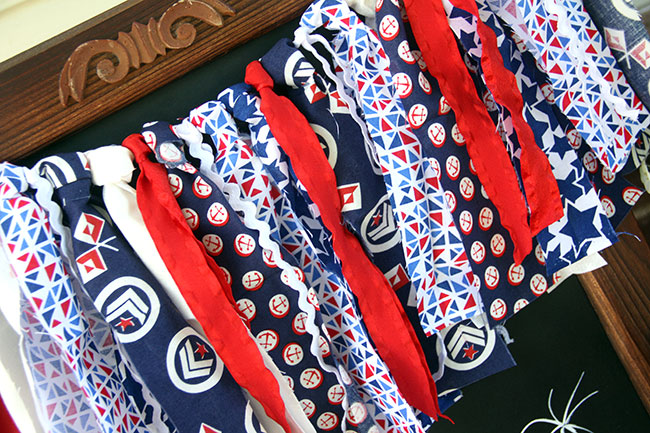
I just love how this banner turned out! I did not follow a pattern, I mixed up the fabric strips while putting them on so that there is NO consistency. I also added red and white wavy ribbon to add some different texture and shape. 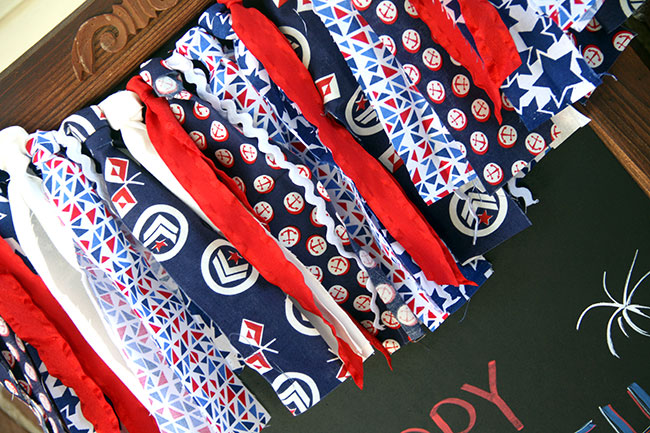
I just love how the red, white and blue pulled together! ah!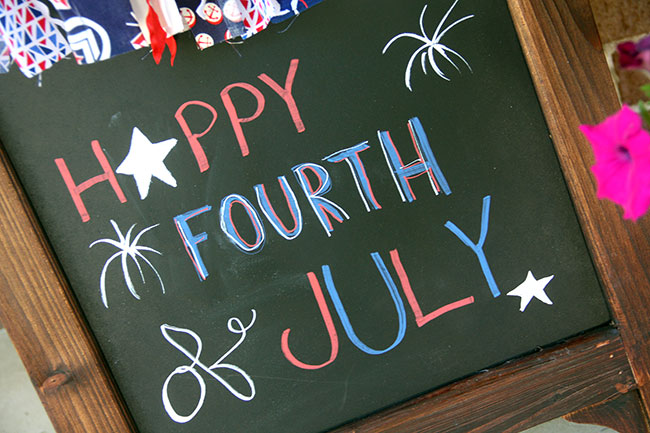
I looked on Pinterest for something simple to do on the chalkboard, but landed up combining several ideas I had pinned. This is the first time I used a color other than white on the chalkboard and I was really impressed with how it turned out. This chalkboard is from Kirkland’s and was only $28!!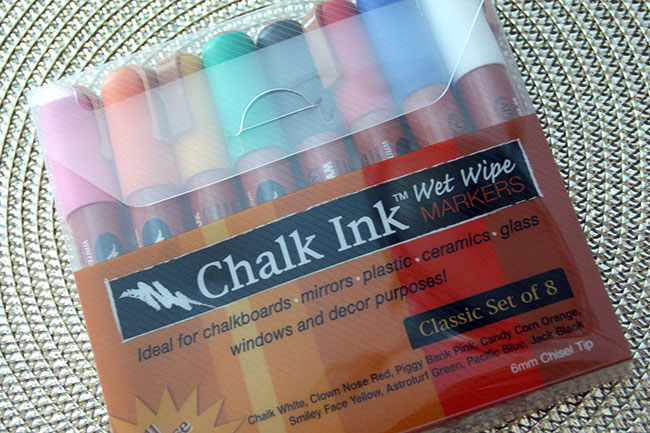
These are the chalkboard markers I used, Brian got me these as a stocking stuffer for Christmas and this is the first time I used them! I love how you can do thin or thick lines with the tips on these. He purchased these markers off of Amazon.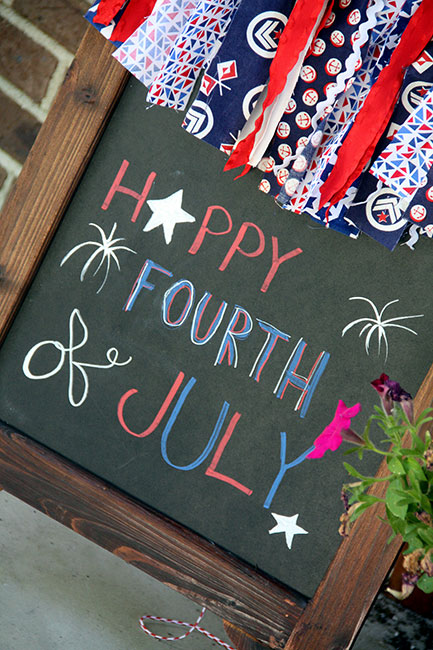
I love different textures, so the fabric against the chalkboard just really pulls this all together into something beautiful to show on my front porch for the holiday!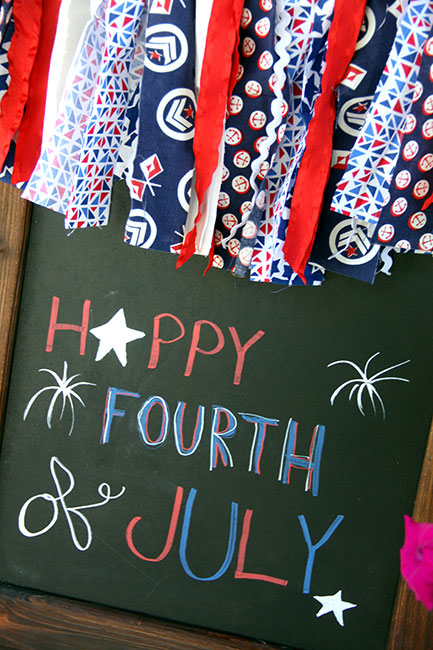
I love that this chalkboard easel is two-sided, so I kept one of my old chalkboard designs on the back of it. 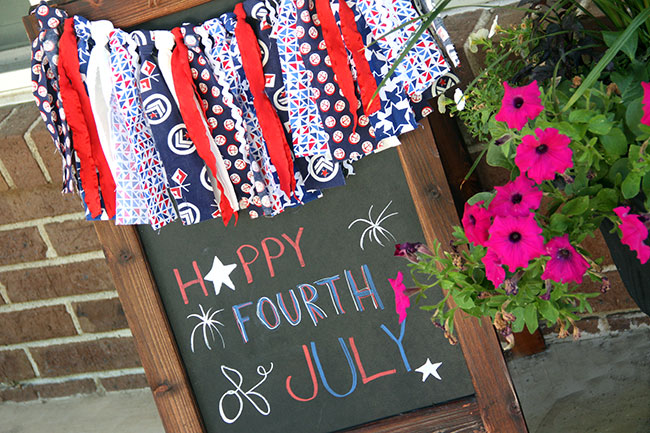
Here is a photo of the entire chalkboard out on the front porch. I love how it looks next to the flowers I have in an urn on the front porch.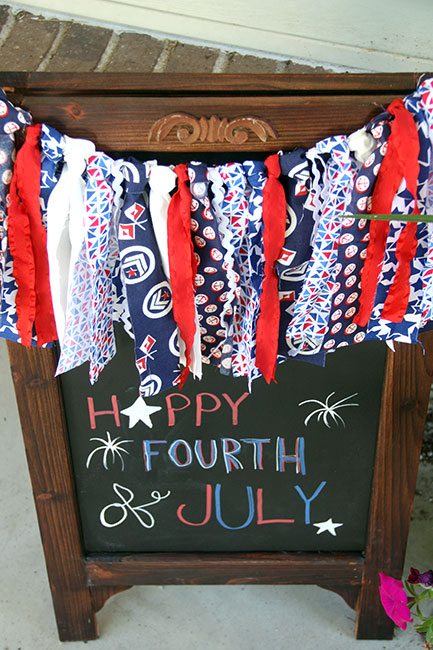
Here is a view from the top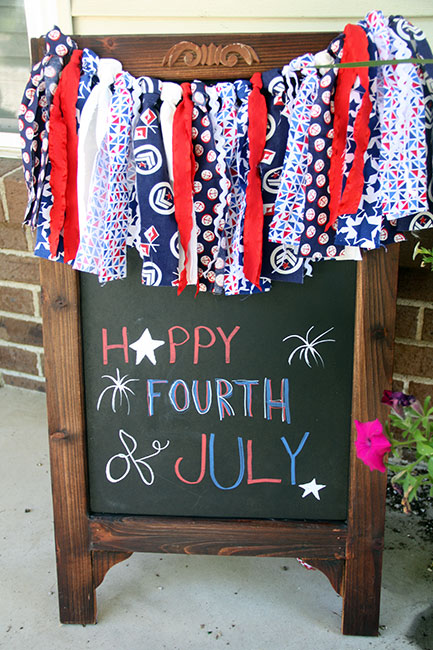
I have one more 4th of July craft to share with you (if I can get it done before our NYC trip!) that will go with this scrappy fabric banner, so stay tuned.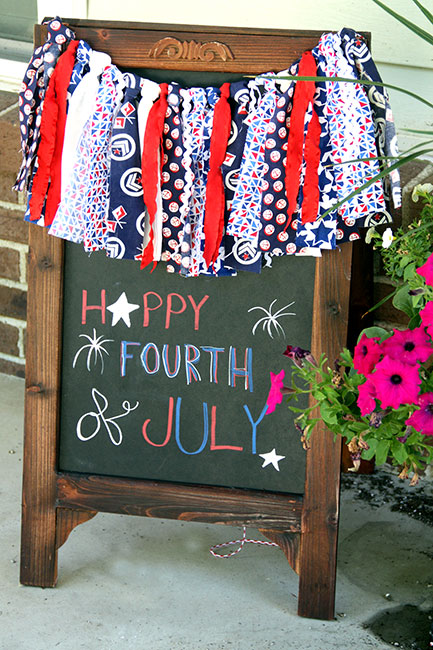
One last photo for your pleasure… thanks for stopping by!
Linked up with:
Hit Me With Your Best Shot
Fluster’s Creative Muster
Create It Thursday
Sweet Haute
Moonlight & Mason Jars
Inspiration Gallery
Craft Frenzy Friday
Inspire Me Please
Pinworthy Projects Party
G’Day Saturday Party
Mommy Monday Blog Hop
Frugal Crafty Home Blog Hop
Snickerdoodle Sunday
Submarine Sunday
Share Your Creativity
Bewitch Me & Titi
Monday Funday Link Party
Your Designs This Time
Create Link Inspire
