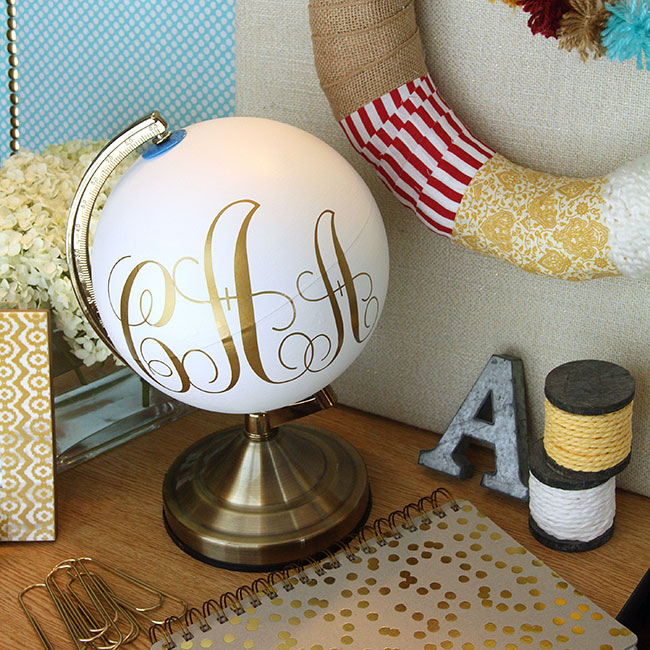
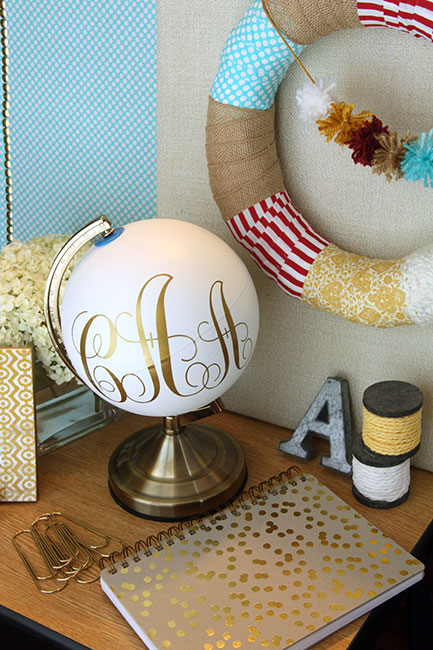
Well, here I am with another Silhouette Vinyl project… oh, and you could say it involves another monogram! Gee, am I typical or what? I have been working on my home office lately and my son had this old globe laying around that he never used. If you know me, you know I LOVE gold and when I saw it had a gold base I knew I had to have it for my home office. It seems globes are a common decor item these days and I wanted this globe in my office. However, an idea popped in my head and this darling little monogrammed globe was created! Junk to treasure!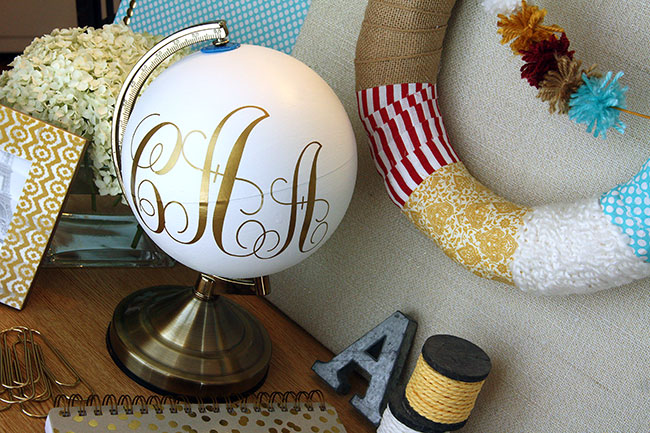
Are you ready to learn how to make a monogrammed globe? Yes!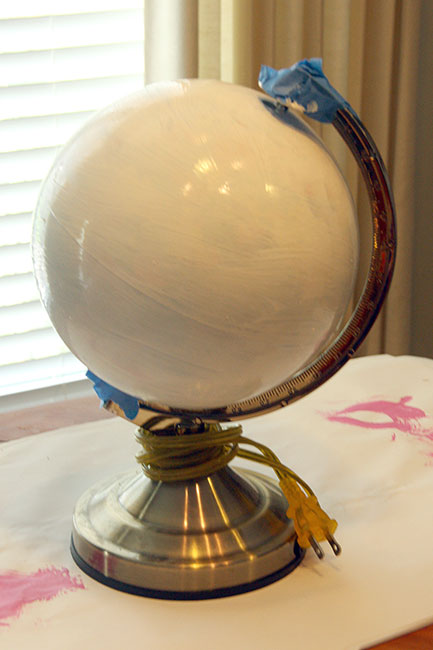
I had a can of primer leftover from when we painted Autumn’s room and I painted two coats over the globe. I used blue painters tape on the top and base and pulled it off while the paint was still wet.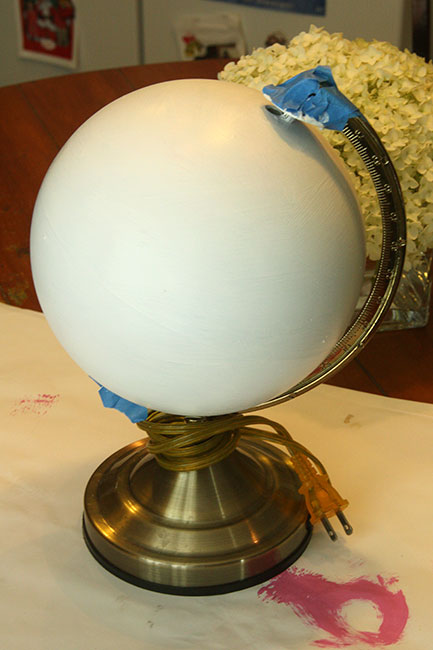
I also had some white wall paint leftover from when we painted her room and I painted two coats of that on the globe.
Now, I did things a little differently this time around and it really helped in me having no creases or fold issues when it came time to place the vinyl on the round globe. It is so exciting how I keep learning more and more each time I use my Silhouette. I really feel like I am getting so comfortable with it and I’ve only had the machine since December.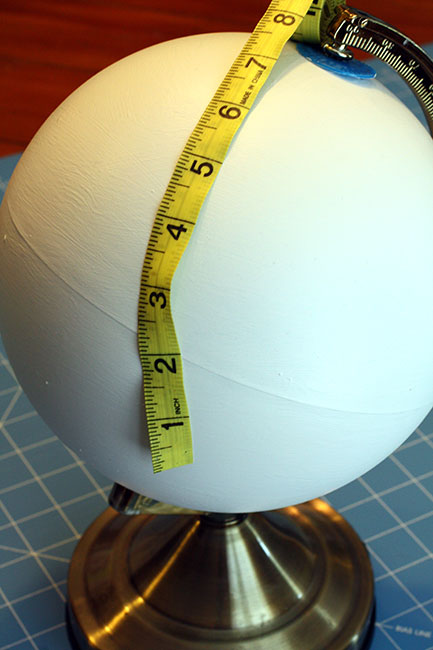
First, take a fabric tape measure and measure the front of your globe. I decided upon a monogram that would be 8″ high and 6″ wide.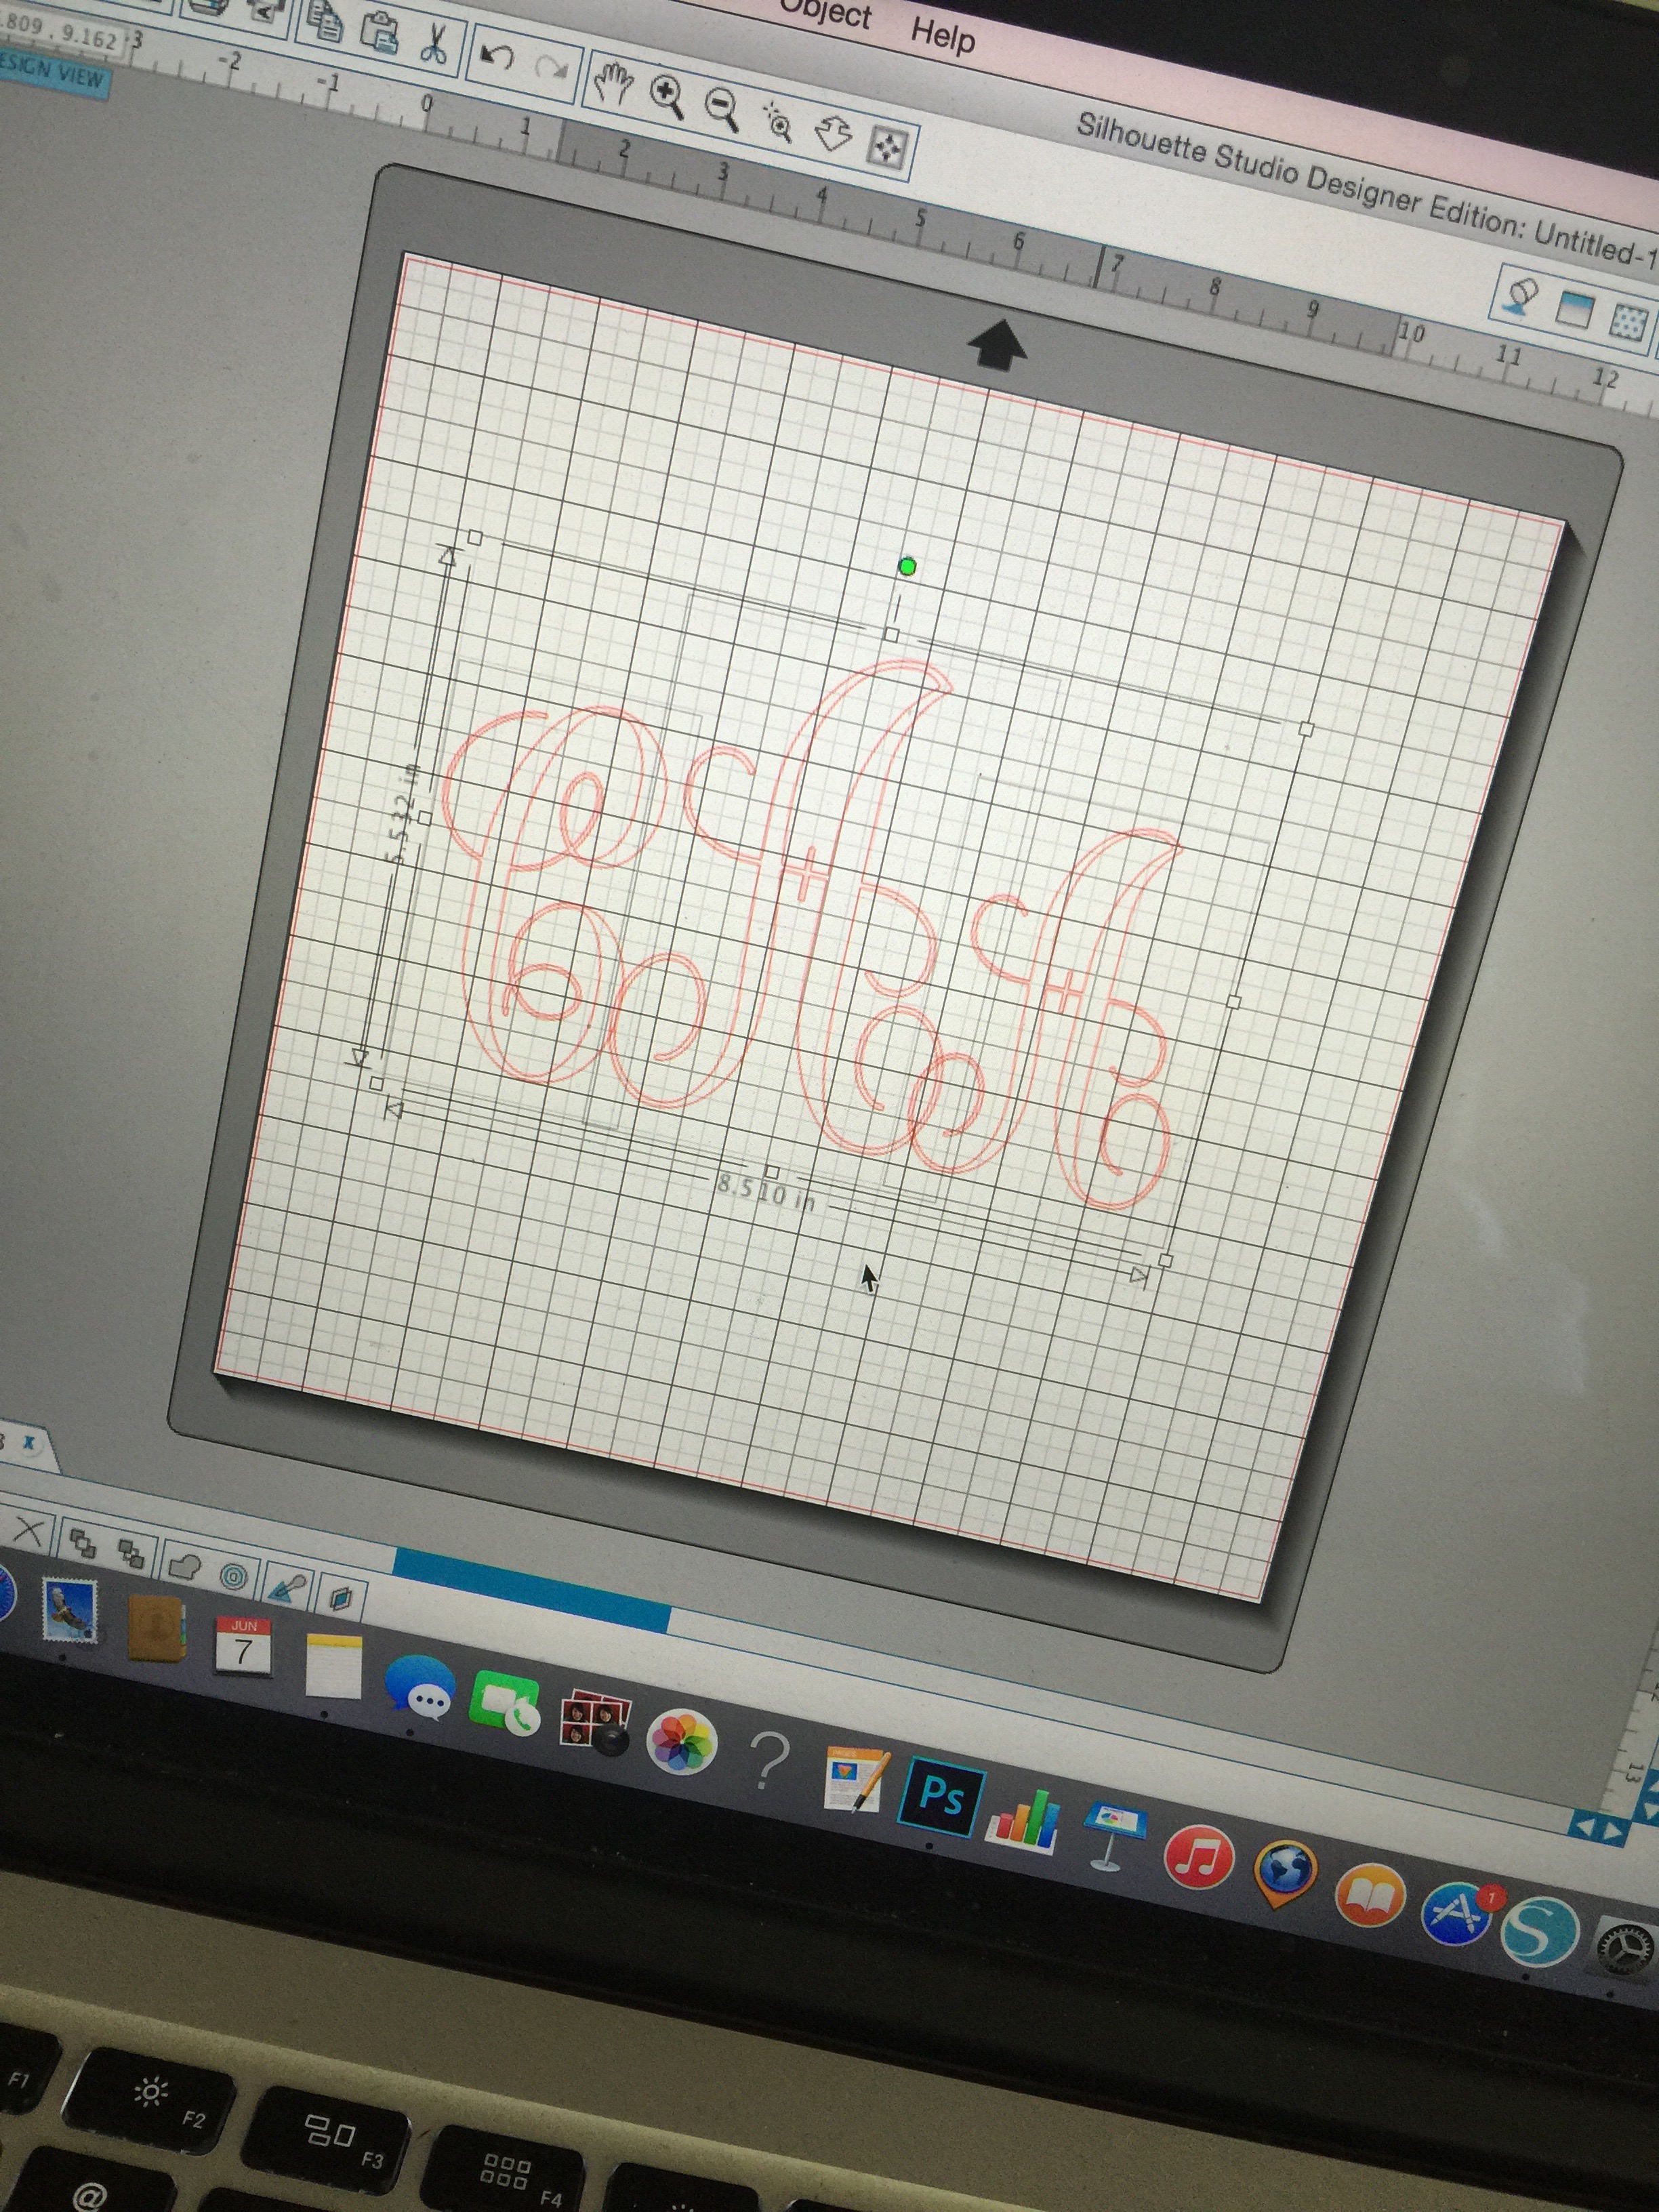
I used a monogram font and made the middle letter bigger. I then grouped all three letters and set them to the correct size.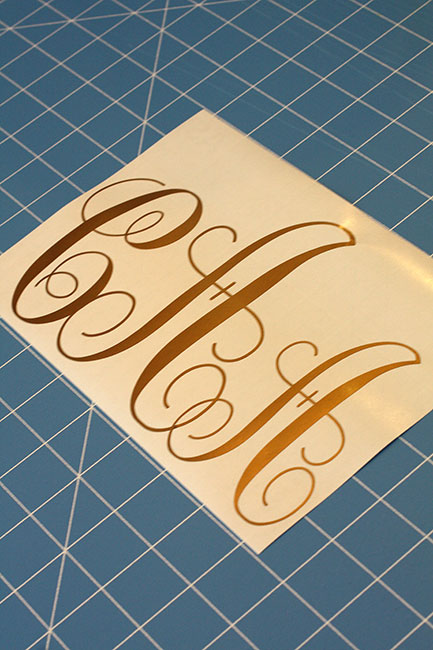
Print your vinyl out with your machine and then pull the vinyl off around your letters.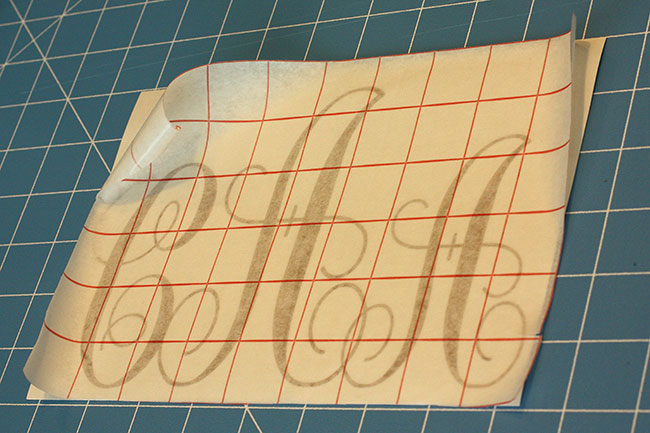
I got my transfer paper and peeled the white backing off. Then, I placed the sticky part of the transfer paper over my vinyl monogram. I then peeled the vinyl letters off of their backing paper and onto the transfer paper.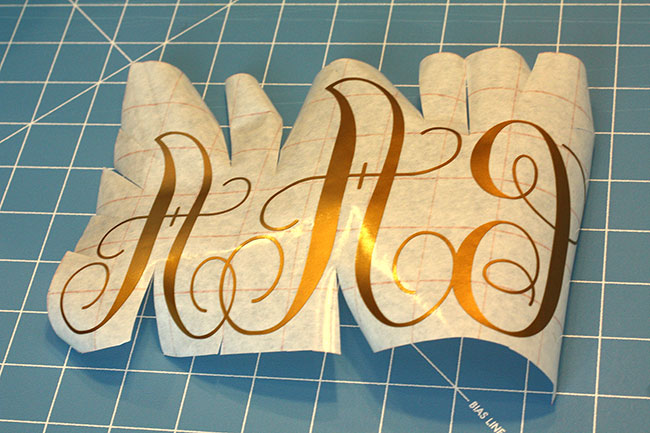
Now, here is where I did things differently. I took a pair of scissors and cut into the transfer paper, so that it would bend easier when placing it on the globe.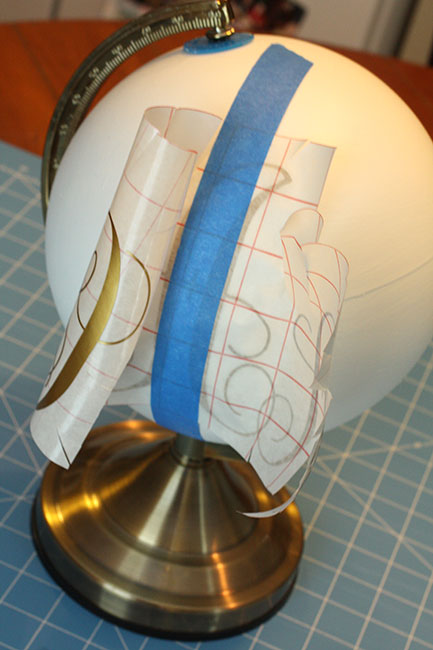
I took a strip of painters tape and taped the monogram on the globe down the center. This freed me up to work on one side of the monogram at a time instead of pressing the entire monogram down on the globe at the same time, which would result in mega-creases. I took my time and applied a little bit of the monogram to the globe at a time and I used my hook tool to pull up little areas that started to crease so that I could place them down again without it creasing.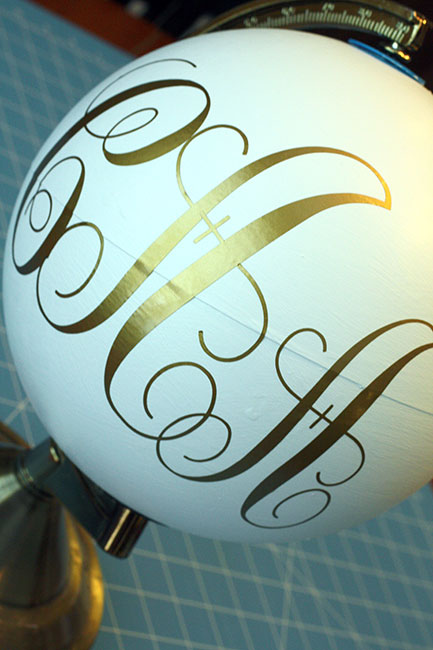
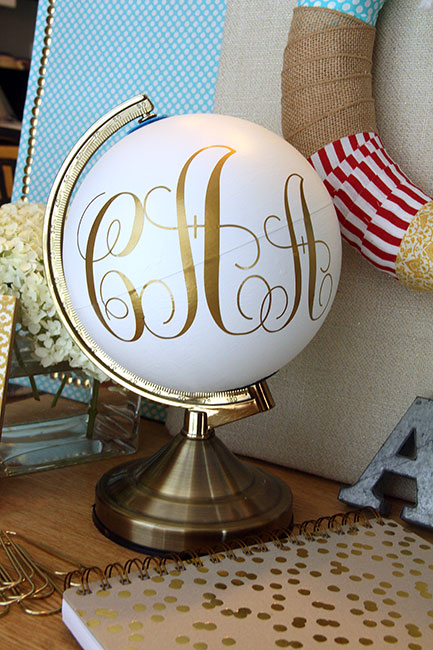
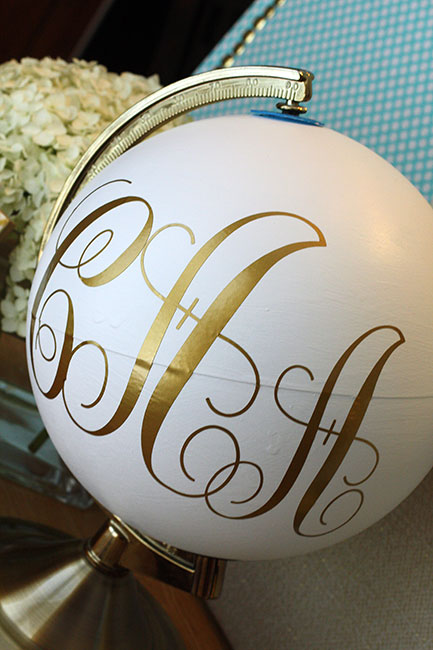
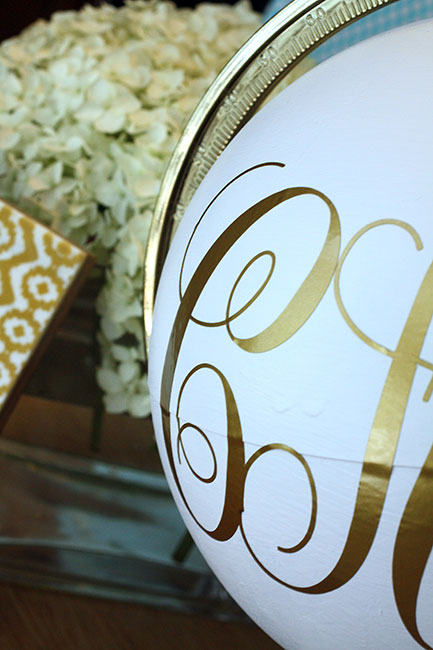
And, this is what the monogram looked like after I placed it on the globe! Perfect! Not a single crease or fold at all… if this had been my first or even second Silhouette project, I would have made a hot mess of this monogram! Applying vinyl to a rounded surface is just NOT a good idea for your first couple of projects!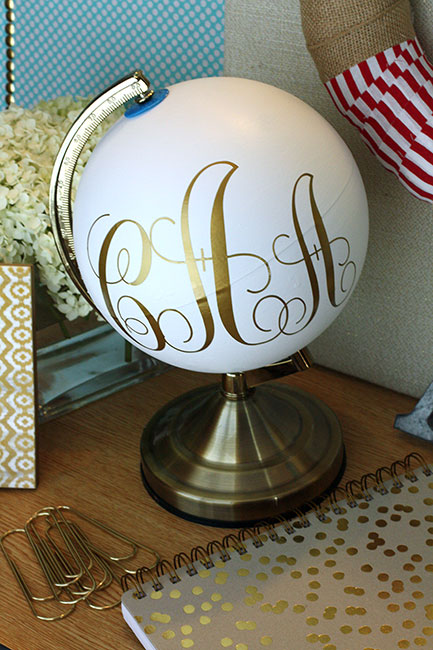
I am going to really enjoy this globe on my desk and as you can see, the colors work wonderfully with the rest of the items on my desk!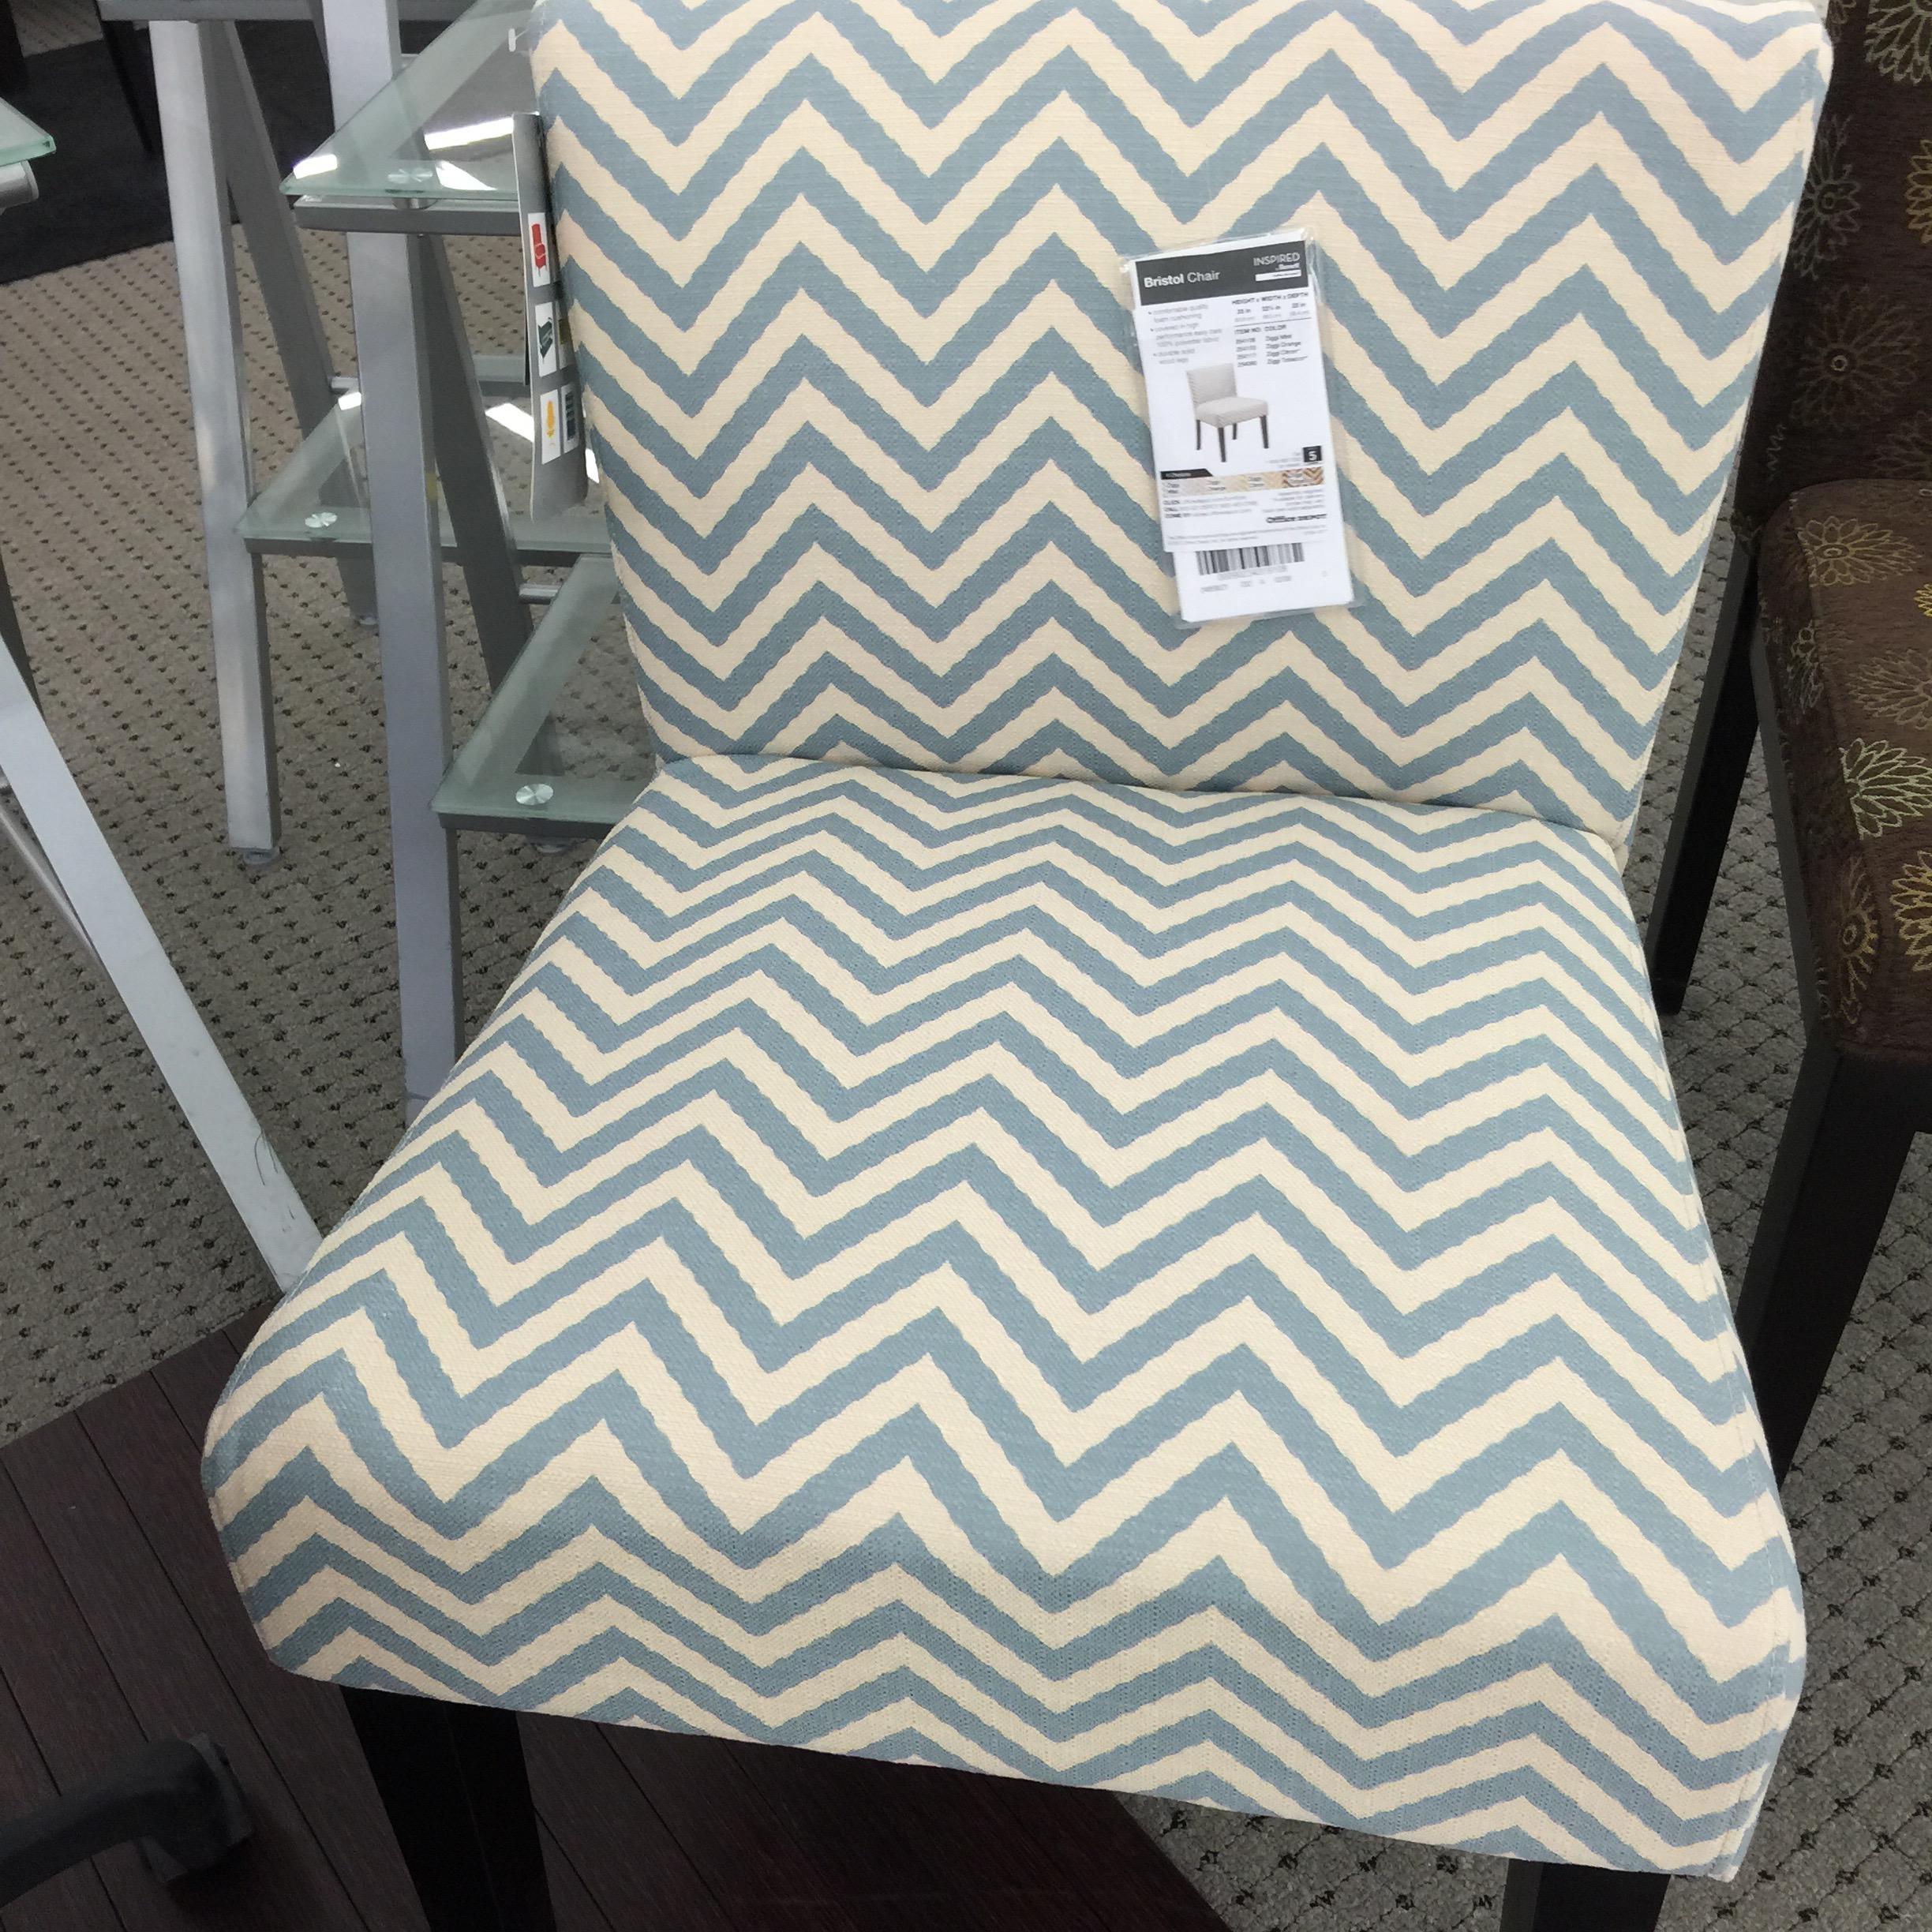
I have a birthday coming up and my mom has been asking me what I want… my birthday isn’t until August, but when someone tells me to think about a gift idea… I have no problem with that! I was in OfficeMax earlier this week getting some school workbooks for the kids to use during the summer and I spotted this beauty in the office area. THIS chair is going to be in my office and it looks so comfy and the aqua/sea-foam color will work great! Plus, it is set at a great price. I may have to find white furry pillow to add to it, because aren’t chairs supposed to have a pillow of their own?
Previous Silhouette Cameo Projects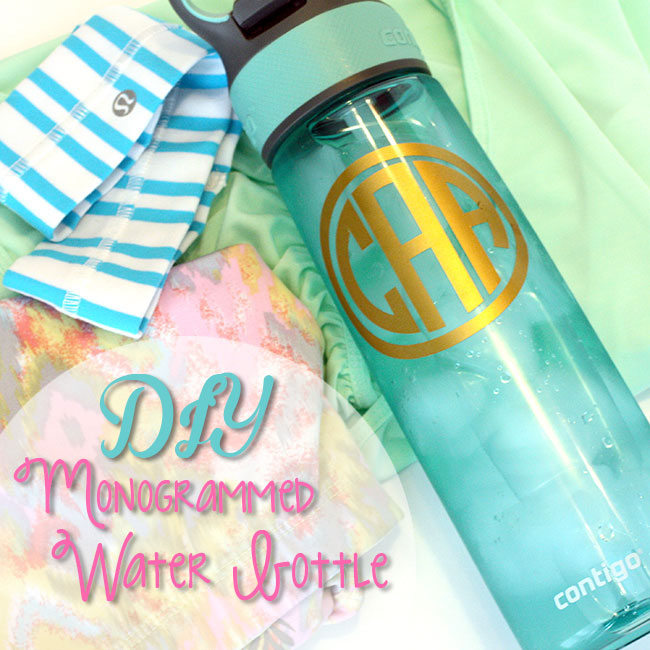
Monogrammed Water Bottle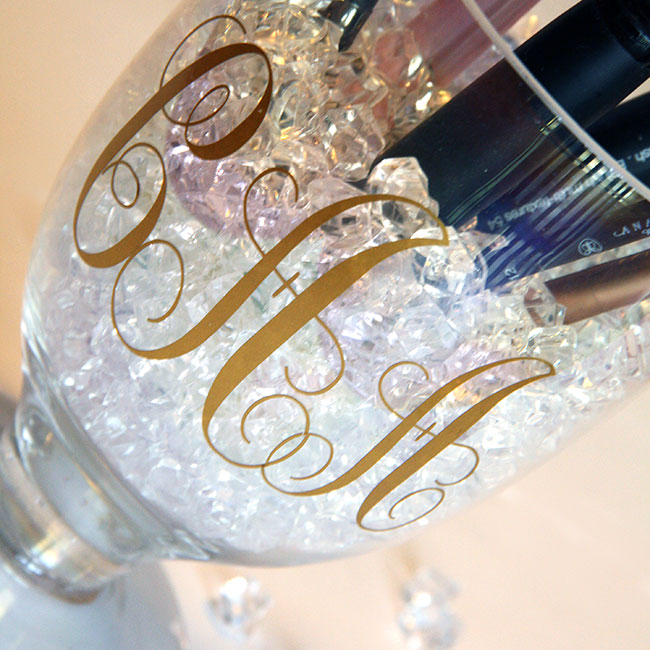
Monogrammed Brush Holder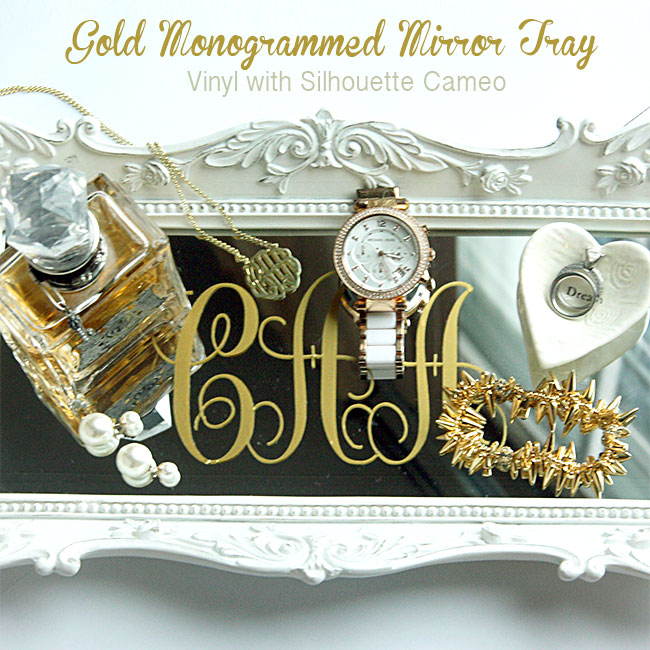
Gold Monogrammed Mirror Tray
To see which parties I have linked up with, click HERE.

