Today is such an exciting day, because this is the first time I’ve participated in The Silhouette Challenge. I have been a part of The Silhouette Challenge Facebook group since I received my Silhouette Cameo as a Christmas gift from my mom 2 years ago. I noticed they had a Silhouette Challenge every month (now it is quarterly) and I always wanted to participate, but I wasn’t familiar with my machine enough to join them. I’ve done several projects with my machine now and one of my blogging goals this year was to join this fun challenge. I hope to learn new things about my machine and to challenge myself into thinking outside the box on different projects.
At the bottom of the post you’ll also see 21 other ideas from the other bloggers participating in this challenge on How to Style Fabric with your Silhouette machine!
Better yet, you’ll also see that we’re doing a Giveaway for a Heat Press! (Valued at $300!)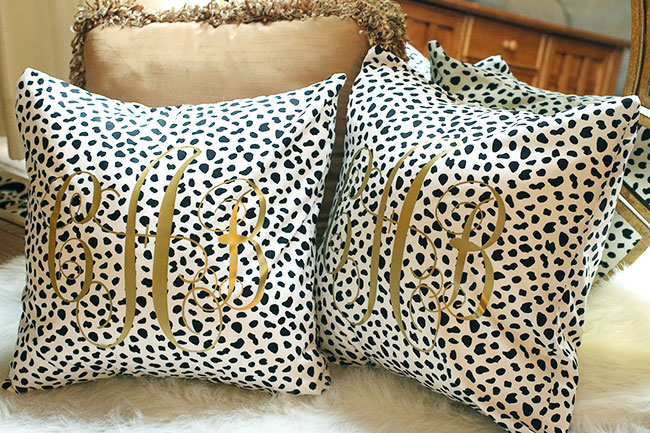
I have found that I LOVE to do monograms on my machine and I also LOVE using vinyl in it. However, the theme for the March challenge was FABRIC and I was a little stumped on what to do. 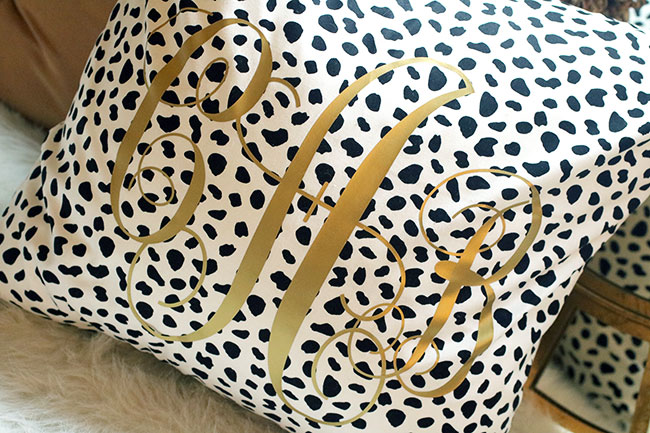
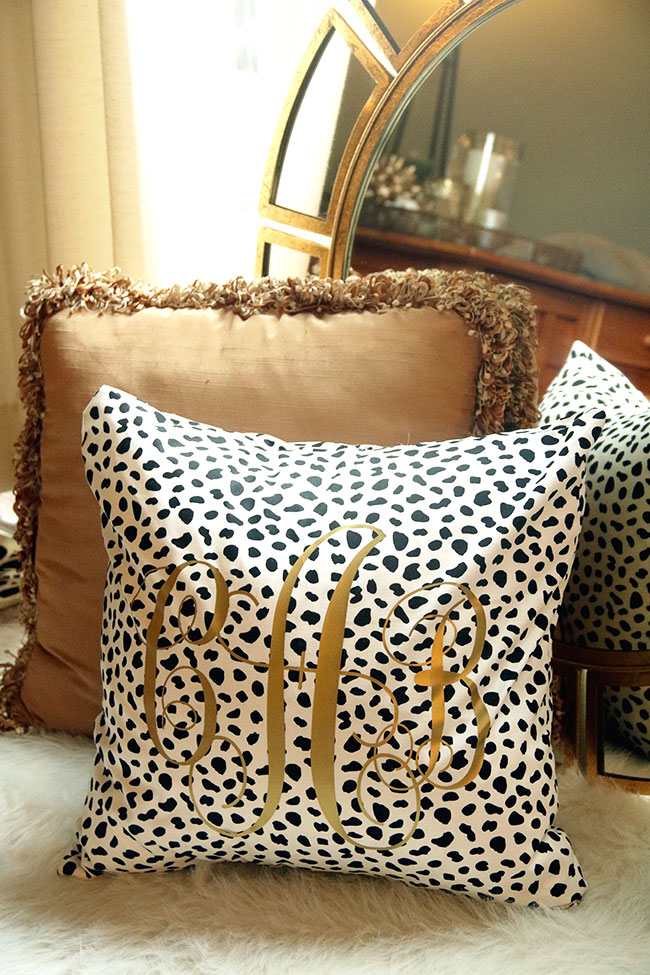
My blog friend Lauren over at Mom Home Guide has been making envelope pillows like none other and posted a great tutorial on it (see the tutorial HERE) and it sparked an idea for me! I have been wanting to update the pillows on our couch while I redesign the room and I thought it would be fun to make two envelope pillows for this challenge and to create an iron on monogram for them with my machine. And, you know what?!! I DID IT! And, they turned out great. Plus, I can’t imagine how much this would have cost if I had them custom made… I wanted this dalmatian print fabric and a gold monogram and I was able to find the fabric at Hobby Lobby and thankfully Silhouette had gold iron on paper available in their shop. It was a win-win!
How to Make Your Own Monogrammed Pillow
First, I measured the pillow to see how large I wanted the monogram to be. The heat transfer paper is 12″ x 3′, so you’ll want to make the width or height of your design a little under 12″ so it isn’t larger than the print area. The heat transfer paper that I purchased from Silhouette America was the 12-Inch Smooth Transfer Paper in Gold. It is $16.99 a roll, so not cheap and you don’t get a lot of it… SO, make sure everything is set up correctly in Silhouette Studio, you don’t want to make any mistakes! I could make about three large monograms with one roll of this for 18×18 pillows.
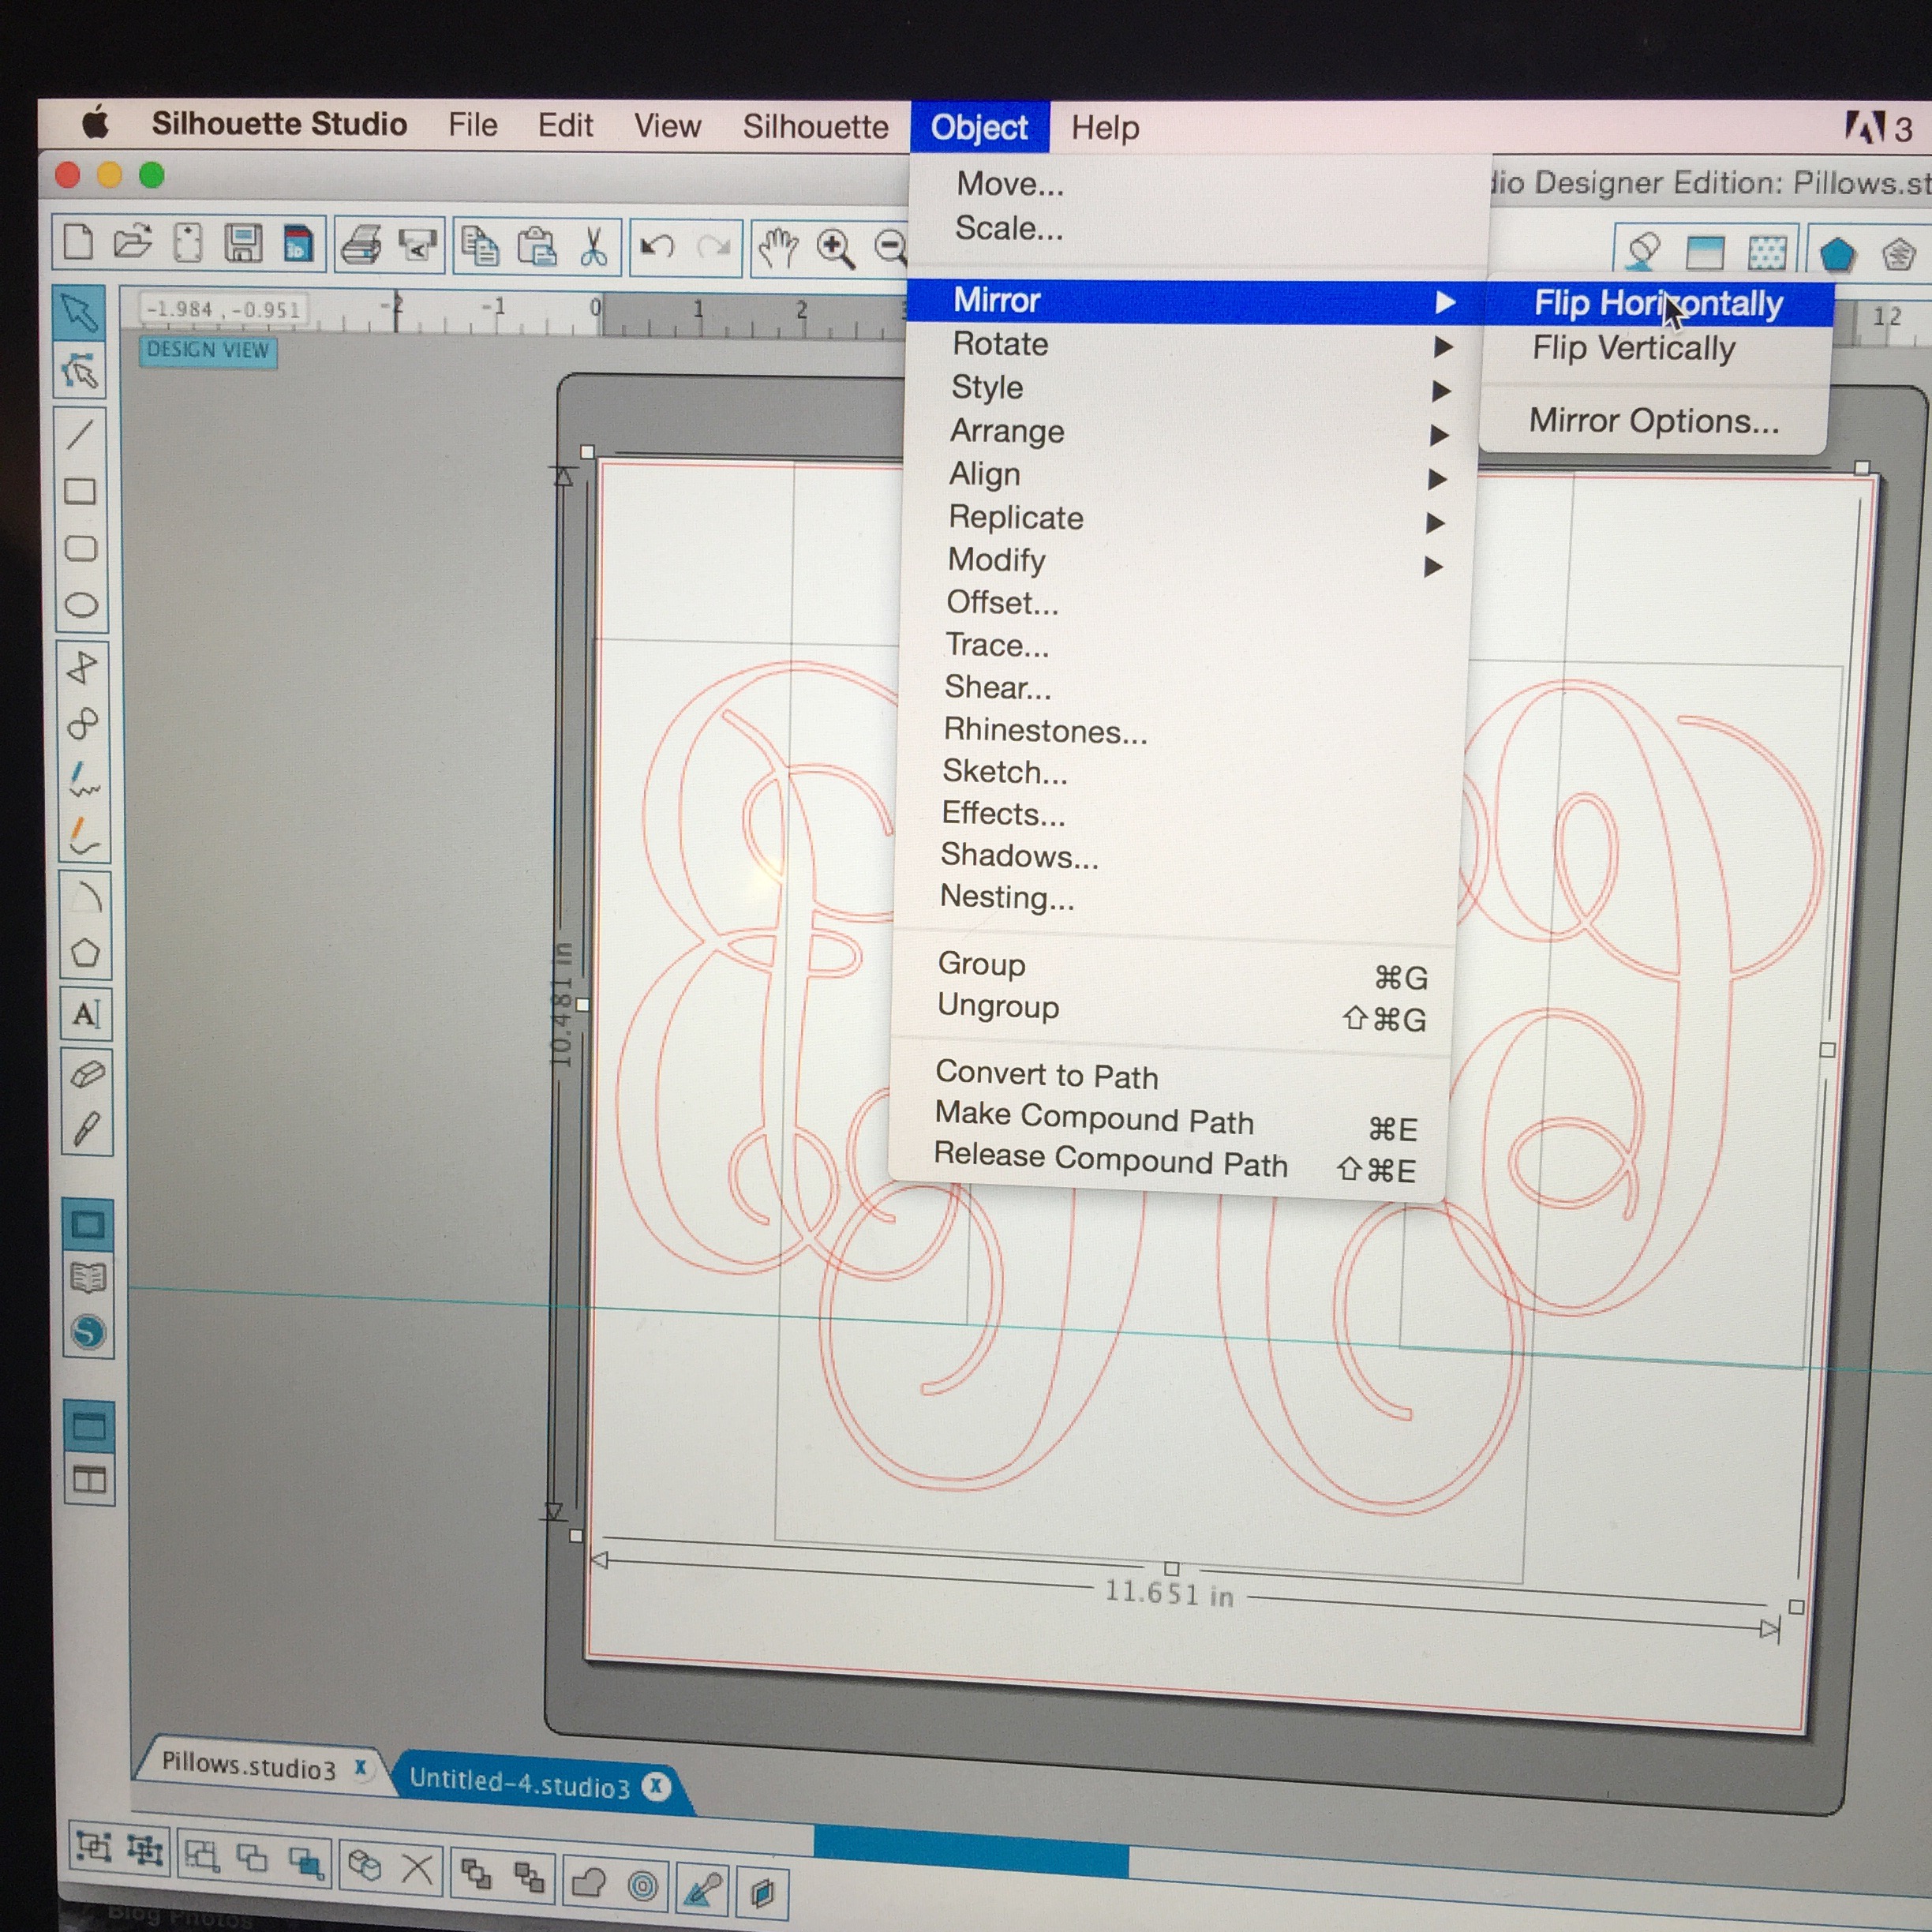
Lay out your design in the Silhouette Studio. Make sure that you select Mirror and Flip Horizontally. Thankfully, there were directions on the Silhouette box… but, I also watched a few You Tube videos before working on this project to make sure I understood what I was doing before I started.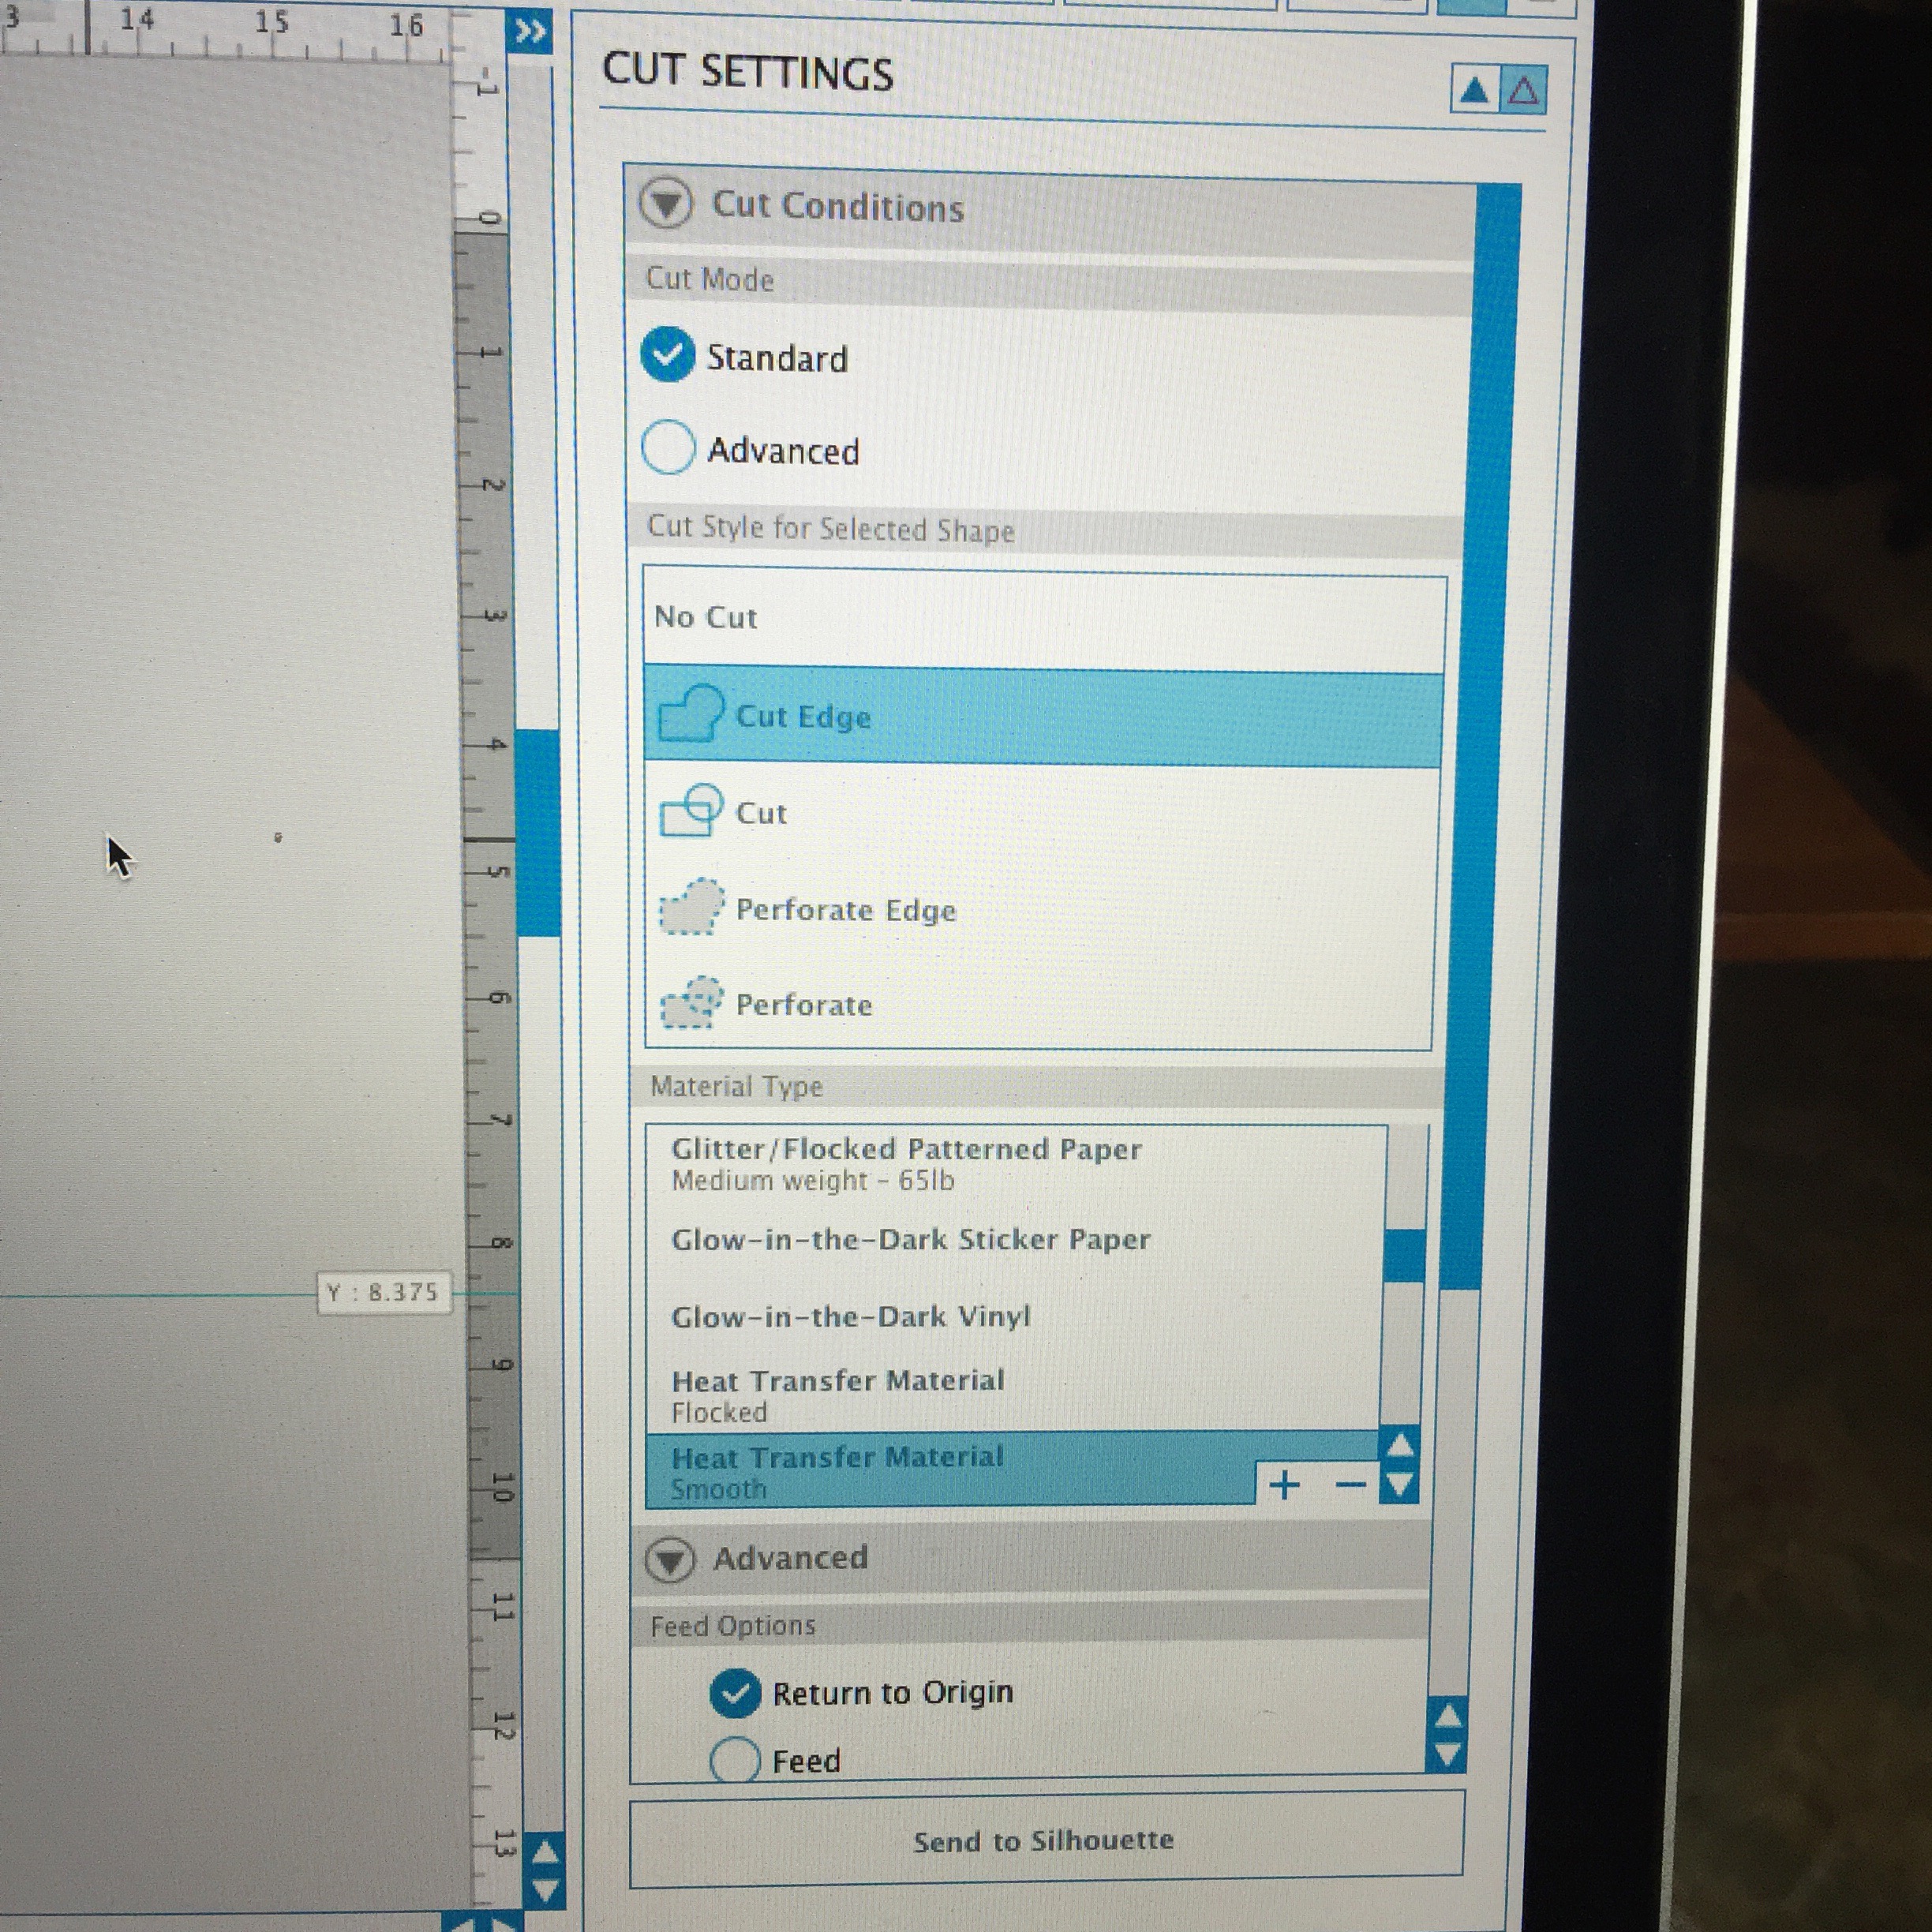
When your design is ready, go to Cut Settings and make sure that you select Cut Edge and Heat Transfer Material Smooth. Also, make sure that your blade is set to the correct cut. It says to set the blade to 2 and that worked for me, but you may want to do a test cut to see how it works so you don’t waste the expensive heat transfer paper. Then, send it to your Silhouette!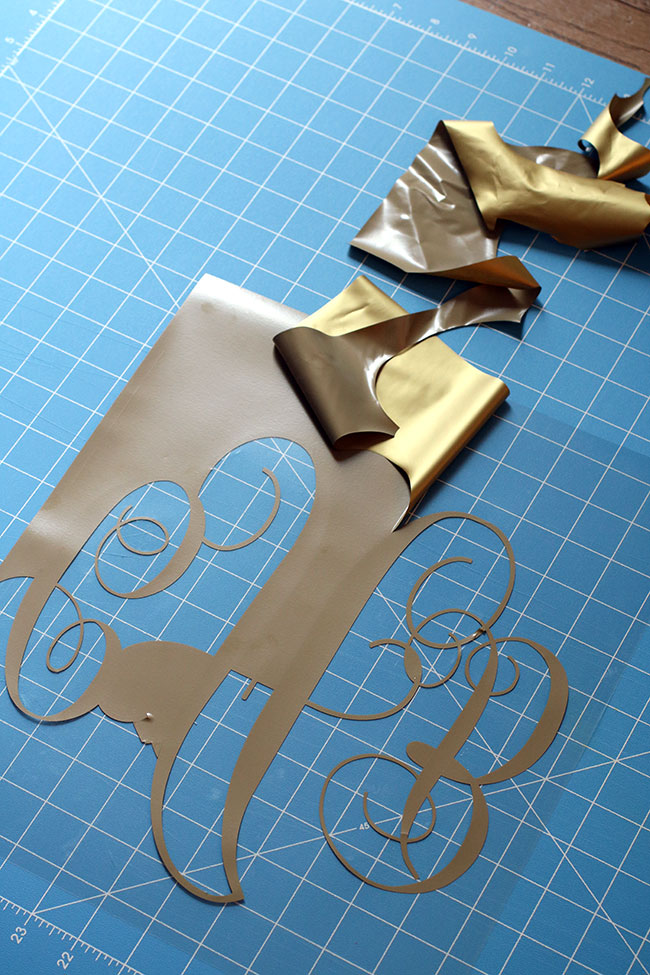
Next, you’ll want to remove the heat transfer paper around your monogram. This is a little tricky, because it is really hard to see where it was cut. I suggest working close to a window or a bright light, so you can see what you are doing. The monogram will be left on the clear paper, which is a little sticky on one side. 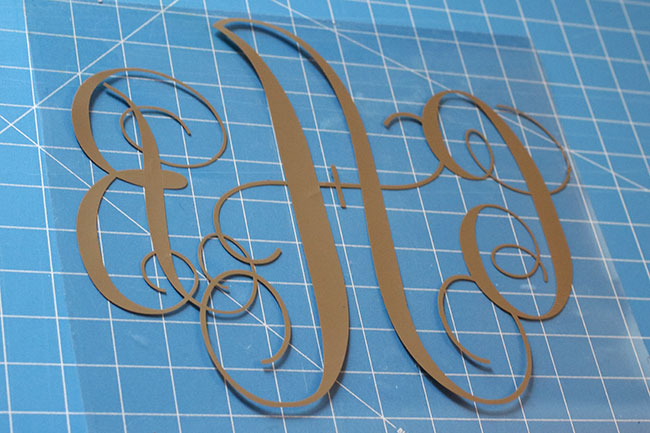
Make sure you remove ALL of the negative spaces in-between letter loops, etc., because once you iron this on… it is ON there forever!
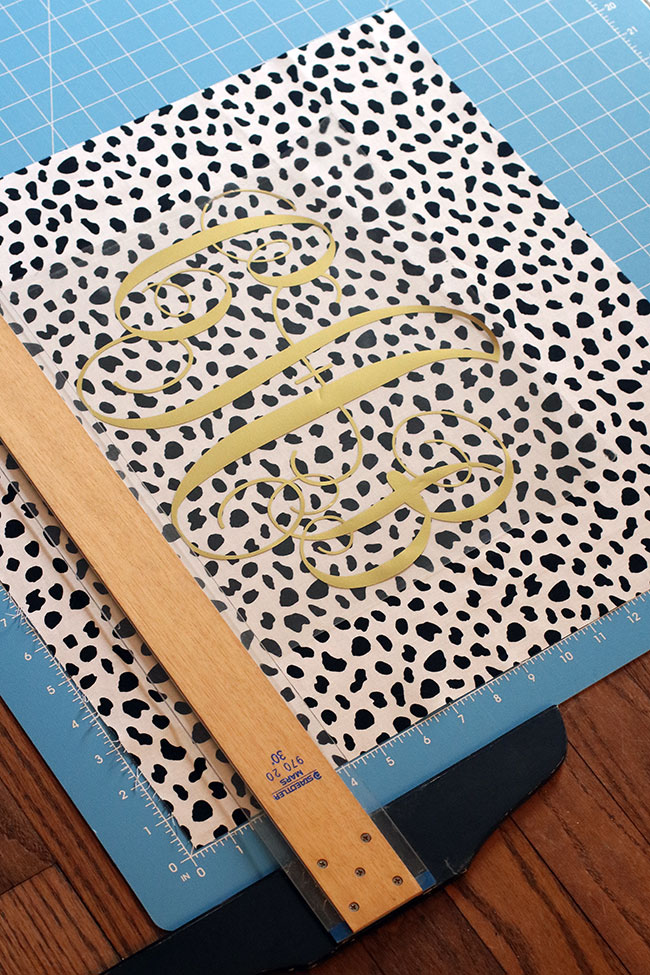
Take the front of your pillow case and lay your monogram on top in the center. Measure with a ruler to make sure that the monogram is exactly in the center. The clear paper is a little sticky, so it should be easy to stick it on there and move it a little here and there until you get it lined up correctly.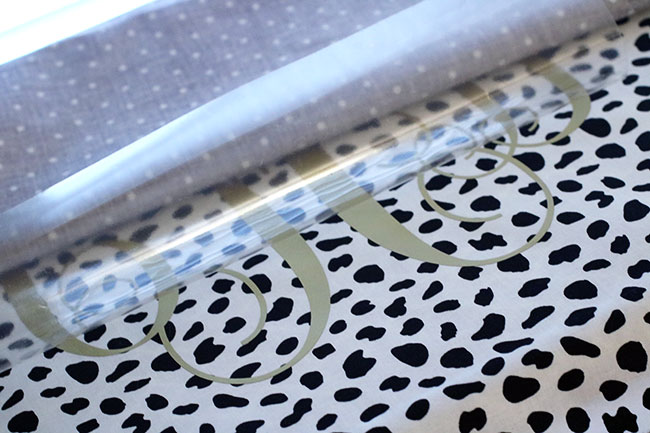 Take a thin towel or some extra fabric and lay it on top of your design you are ironing onto the pillow. Place the iron on top and let it sit in one spot for awhile and repeat this over and over until the heat transfer design has applied itself to the fabric. It takes a lot of heat to get it to transfer over and you want to peel the backing away from it very slowly, to make sure it is transfered onto the fabric. If the design stays on the clear paper, iron it again and again until it attaches itself to the fabric of your pillow case. This takes a little patience, but it will work!
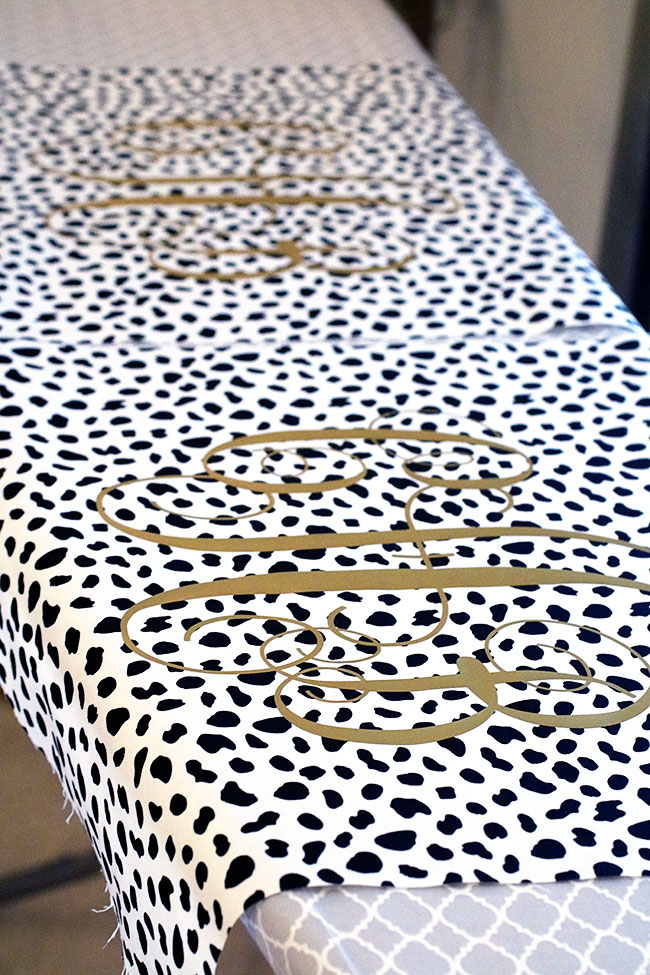
And, look here! Two pillow cases with monograms! You will want to iron on the monogram BEFORE sewing on the back of your pillowcases! Otherwise, you won’t have a FLAT surface to iron the monogram onto!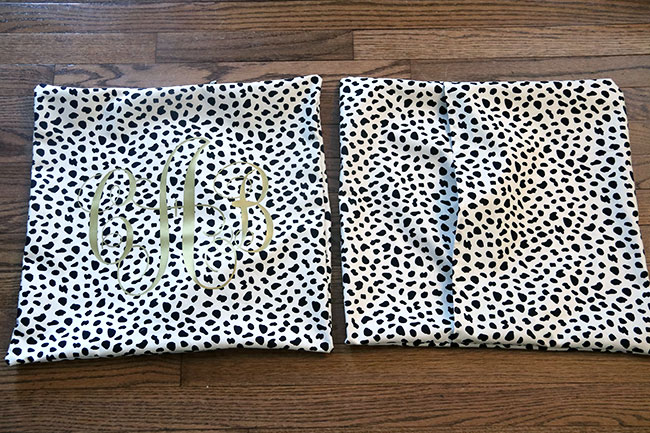
After sewing the pillowcase together, this is what the two pillowcases looked like- front and back. 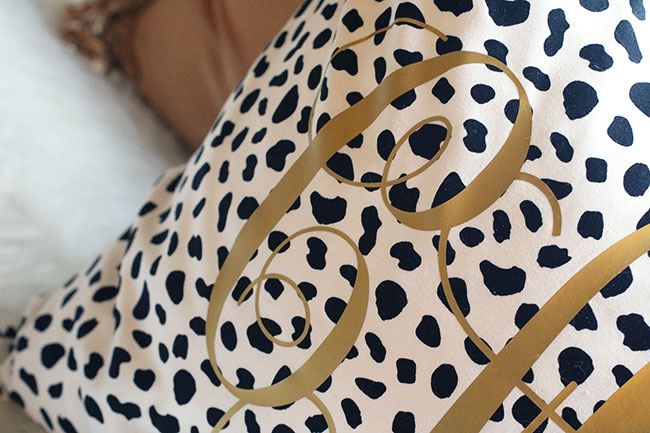
Here is a close view of what the monogram looks like on the pillow. The heat transfer paper is AH-mazing! It really looks professional and I know I will enjoy these pillows for many years (if the kids don’t destroy them- ha!).
Want to Check Out More Silhouette Projects?
My Silhouette Challenge buddies and I are all sharing projects on our blogs today, so peruse the projects below for a wealth of Silhouette inspiration!
1. Cutesy Crafts // 2. Mama Sonshine // 3. Morena’s Corner // 4. Simply Kelly Designs // 5. Coral + Mint Design Co. // 6. A Time For Seasons // 7. Architecture of a Mom // 8. Where The Smiles Have Been // 9. Haberdashery Fun // 10. The Thinking Closet // 11. The Crafting Nook // 12. Get Silvered // 13. Tori Grant Designs // 14. From Wine to Whine // 15. Create & Babble // 16. Curly Crafty Mom // 17. unOriginal Mom // 18. The Small Stuff Counts // 19. The Experimental Home // 20. Creative Ramblings // 21. Adventures in All Things Food // 22. Minted Strawberry
Heat Press Giveaway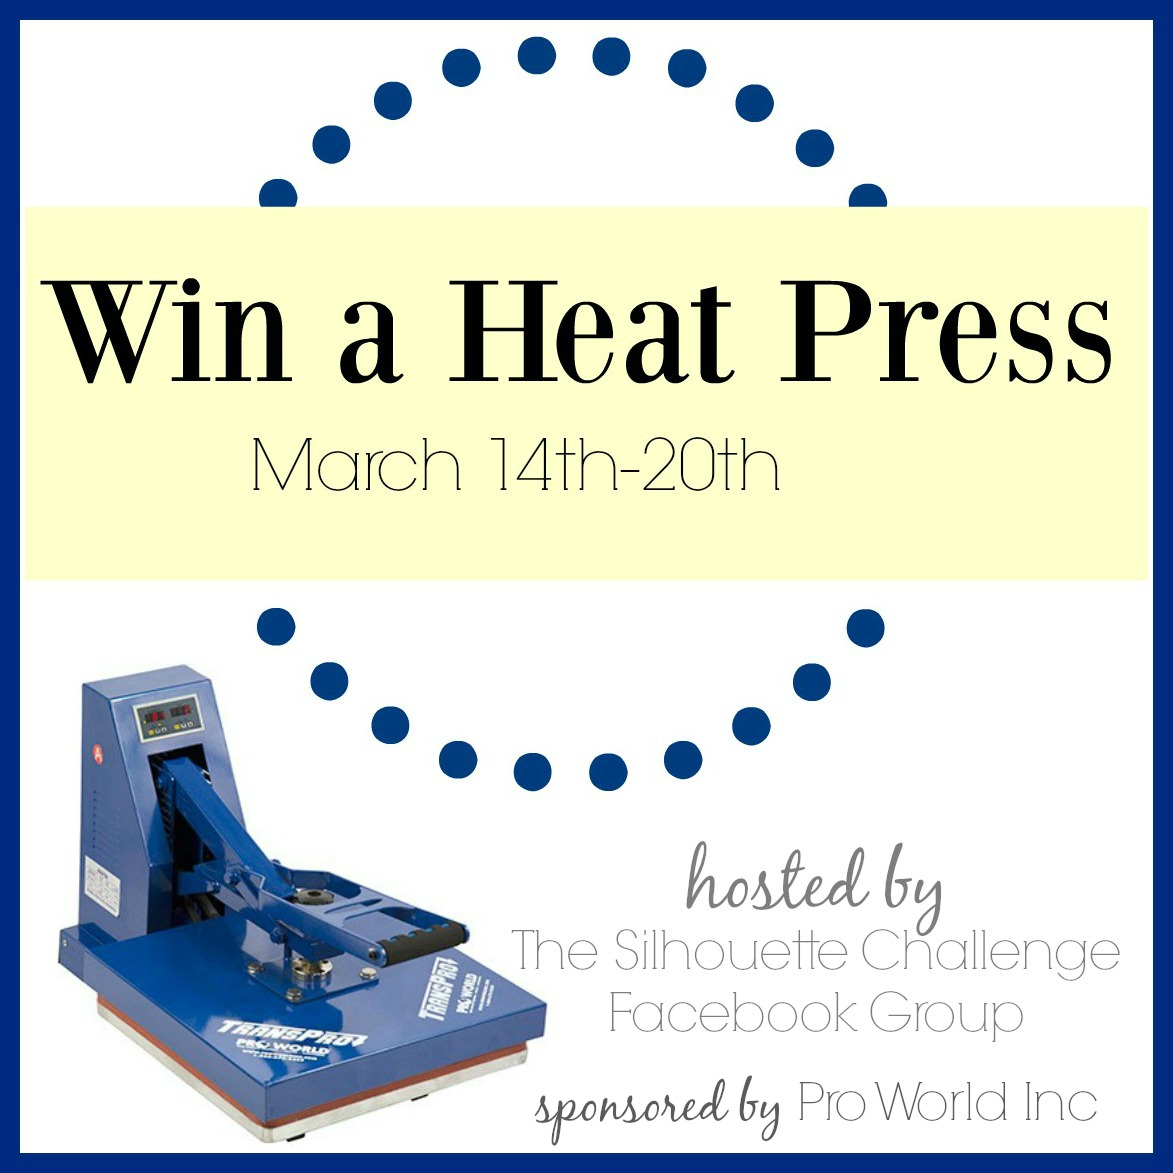
And I’ve saved the best for last! Pro World Inc is giving one lucky reader a Heat Press Valued at $300! Pretty sweet, huh? To enter: just complete the entries in the Rafflecopter widget below. You have 26 potential entries, which means a lot of winning power. So, hurry up and enter! {This giveaway runs from today through Monday, March 21st at 11:59p eastern and is open to anyone 18 years of age or older with a lower 48 U.S. mailing address. You can read the rest of the terms and conditions in the widget below.}
