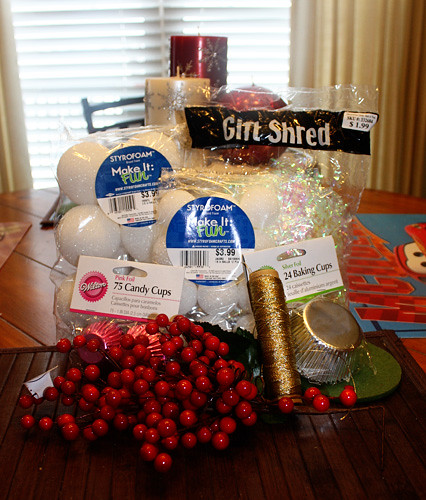
Every year, I work with the kids to make an ornament for Daddy, Grandma and Pa and Uncle Jeff/Aunt Tracy. This year, I decided to try out a Snowball Cupcake Ornament. Here are the list of supplies, however, nix the gift shred… I thought that would work as faux snow, but it would not stick to the Styrofoam balls. You need to find fake snow, because it is lighter and sticks properly to the balls.
Here is the website I stole the idea from this
website.
Here is the list of supplies:
Styrofoam Balls
10 – 2.5″ size for regular cupcakes
10 – 1.5″ size for mini cupcakes
Heavy-Duty foil cupcake liners
10 – Standard 2″ size
10 – Miniature Size
Artificial Snowflakes
20 berries..Artificial floral berry sprigs (in assorted sizes)
Bakers Twine or Ribbon
One or two paint brushes. I used the back of a paint brush to hold the ball while its painted in glue and dipped into the fake snow. Then, I popped the snowball off and let the ball dry in a bowl.
White Craft Glue
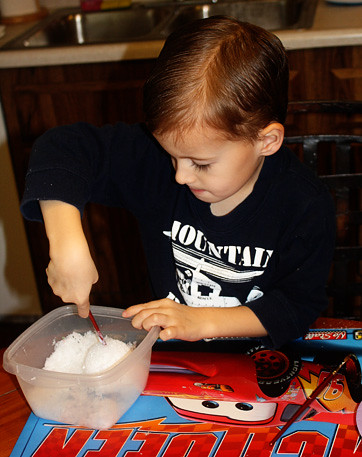
Warning… Warning… Warning… this craft is MESSY! Especially with a 2 year old! Stick the Styrofoam ball into the back of a paintbrush, then cover it with Elmers glue (use a paint brush to paint it on). Then, roll it around in a bowl that is full of the fake snow. Nathan wasn’t too bad, but Autumn rolled hers around in the bowl and then would lift it out and shake it around like crazy as though it was a princess magic wand! The snow got EVERYWHERE :o)- Its a little difficult to sweep up, too, because it sort of clings to everything.
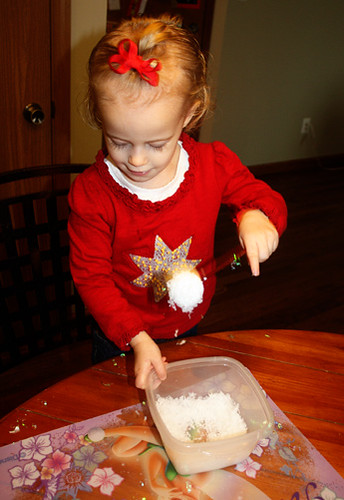
Autumn with her ‘magic wand’ of snow. I let Nathan work on covering the larger Sytrofoam balls with snow, and Autumn got the smaller balls. So, they each did their own cupcakes.
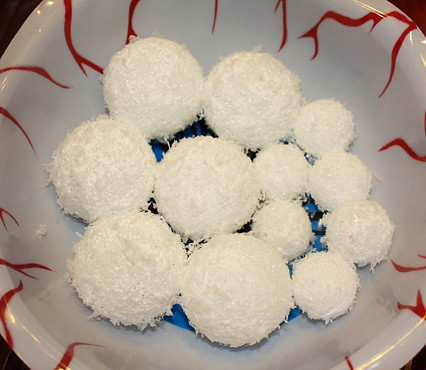
Here are the snowballs, you need to let them dry 100% before you hot glue them into the cupcake liners. Othewise, they WILL not stick. So, let them dry. Ignore the Halloween eyeball bowl that they are drying inside of… ;o)-
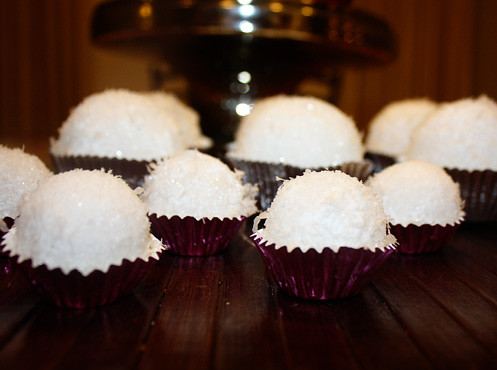
Then, I hot glued the snowballs into their cupcake liners
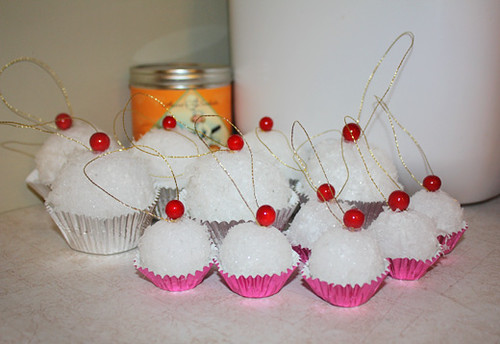
Lastly, you put a dollop of hot glue at the center of the cupcake, stick the cherry on top and push it down. Before you push the cherry all the way down, wrap a looped twine around it so you have a ‘hanger’ for the ornament.
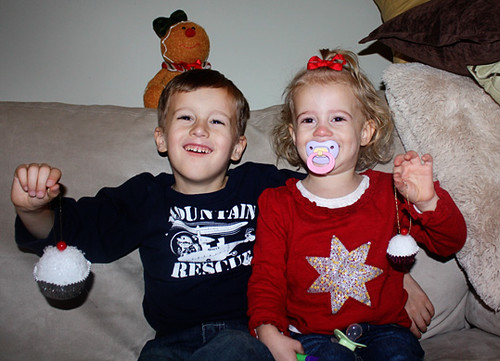
Here are the kids with their ornaments, they were so excited. Yes, Autumn has her binky… lets just say it was a LONG day as Mommy was getting everything ready for Christmas day lunch at our house. :o)- So, if a binky helps Mommy get things done, so be it!
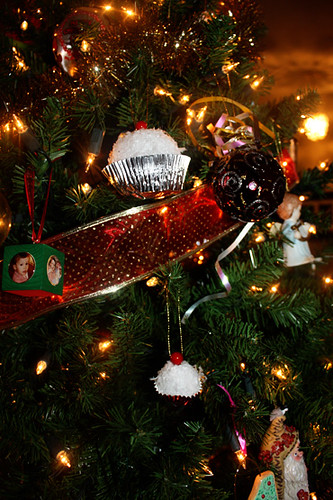
Ornaments on the tree. If anyone has any ideas for ornaments for us to do next year, let me know. :o)-

