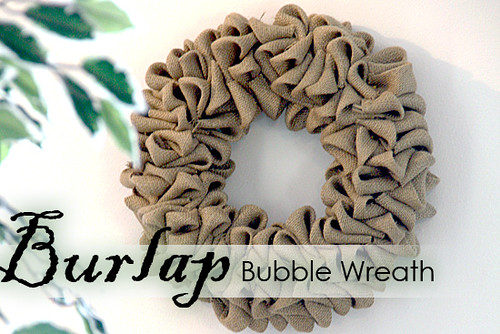
I had fun getting crafty this weekend for myself. It seems like I am always making something for the kids, such as their birthday or something for school. But, I have been itching to do some home decorating crafts lately and there is this huge burlap craze going on and I wanted to see what all the hype was about… have you seen all the different kinds of burlap at HobLobs? Anyhow, I decided to plunge into an easy burlap craft… a burlap bubble wreath!
I’ve been wanting to make one of these super cute wreaths for a long time and have read a bunch of wreaths tutorials which make it look so easy. Wreaths are great home decor projects! You can hang them on a front door or decorate them with accent ribbons. You can also check out some of my other pages with wreaths ideas and even steps to make a burlap ribbon. I think they are so much more cozy than wire wreaths. If you have any questions on my burlap wreath tutorial, be sure to post a comment below. You can also use a wreath frame, if you don’t want to hang it on the door. This is one of those easy crafts, so let’s get started!
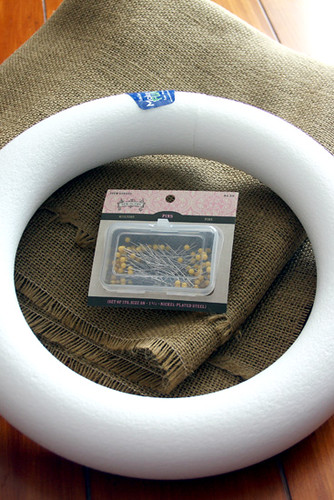
The supplies on this wreath were limited to 3 items. A 12″ Styrofoam wreath, 2 yards of burlap and pearl headed pushpins.
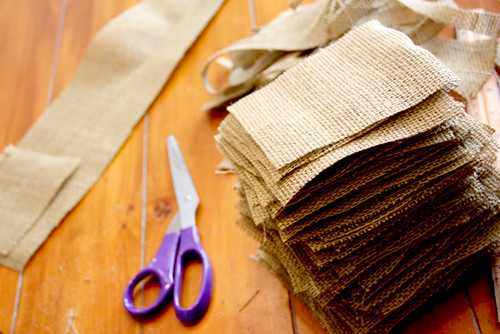
I found really good directions on Todays Fabulous Finds on how to make the bubbles for my burlap wreath. You need about 100 4×4″ squares. I cut all of the burlap into 4×4″ squares first, then I pinned them all on the wreath. First I cut 4″ wide strips, then I cut the strip into 4″ squares. It went pretty quickly once I got going on it… but, wow, I did not realize how messy and smelly burlap is! I felt like a dog had shed all over my by the time I was done.
To make the bubbles:
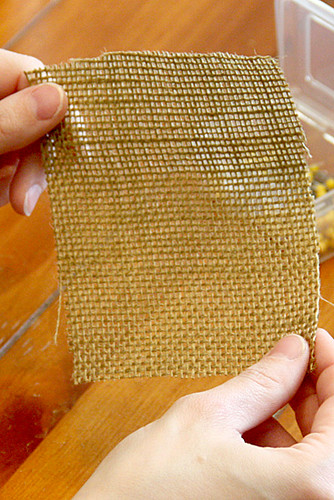
1. First take a 4×4″ piece of square fabric.
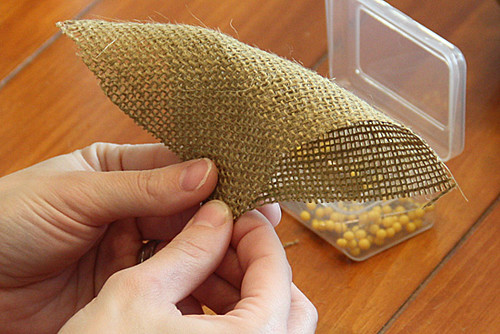
2. Fold the square in half to make a triangle
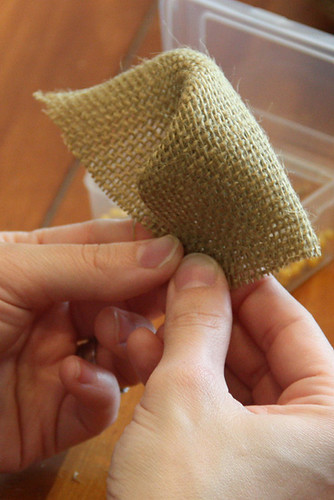
3. Fold the right corner to the front of the middle corner of the triangle
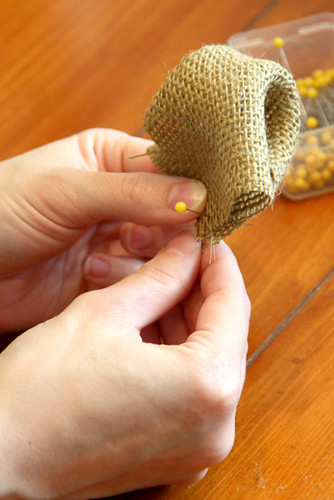
4. Fold the left corner to the back of the middle corner of the triangle
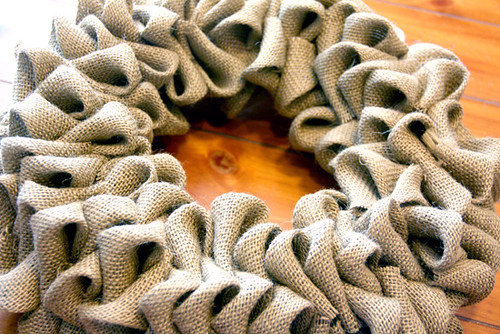
Pin one bubble onto the wreath at a time… you will be able to hide the pearl heads on the push pins as you add more bubbles of burlap onto the wreath. Do not cover the back of the wreath with burlap, just the top and sides.
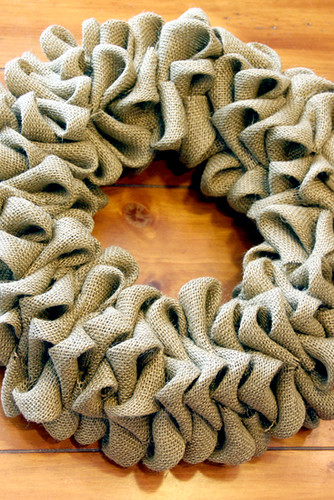
Your wreath will look like this when you are done, it is pretty to hang by itself or you can decorate it with rosette flowers, a beautiful ribbon on the top or with a wooden initial letter. You can really do anything you want with this neutral wreath. I plan to decorate mine with some rosettes at a later time.
