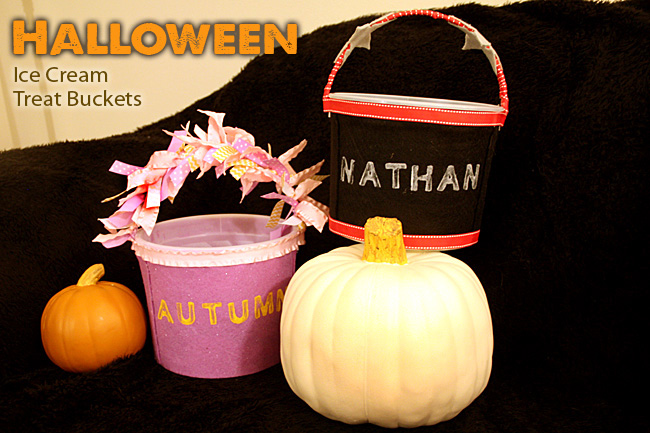
I am excited to finally share this craft with you and BEFORE Halloween! I have been working on it for a few weeks, it has just been so busy around here with all kinds of Fall activities, teacher conferences, dance watch classes, pumpkin this and pumpkin that… Anyway, last night I finally finished up the kids treat buckets!! I was looking forward to photographing them OUTSIDE after work… however, (a) It was almost dark by 5:30pm due to it being so overcast and (b) it was raining. Meh. SO, I set up a little spot in the house to photograph them and the lighting was horrible, so I set up yet another spot… and, I think the photos were successful for the minimal photography skills I have. Ha.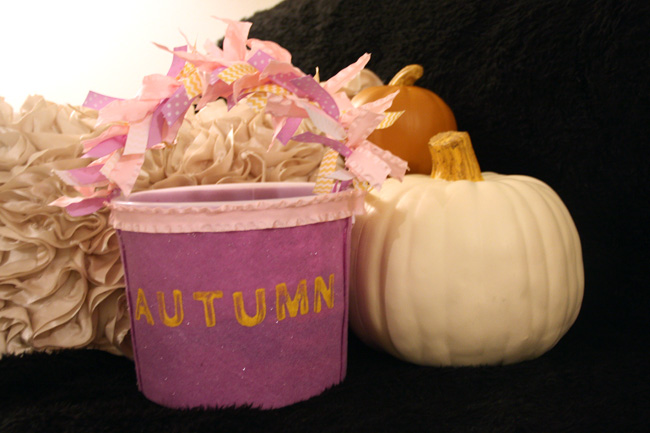
Here is how Miss Autumn’s Rapunzel ice cream bucket turned out.
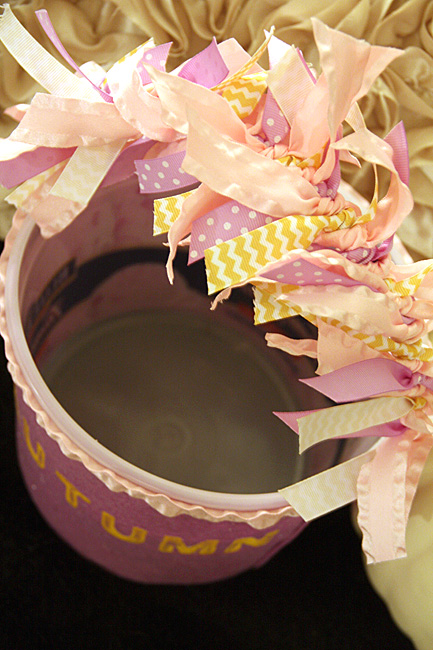
My absolute favorite part of this treat bucket is the ribbons on the handle. Oh my did I have fun selecting these pretties out in the ribbon aisle. The ribbon aisle in Hob Lobs makes me drool. Ok, not really… but, I love me some ribbon.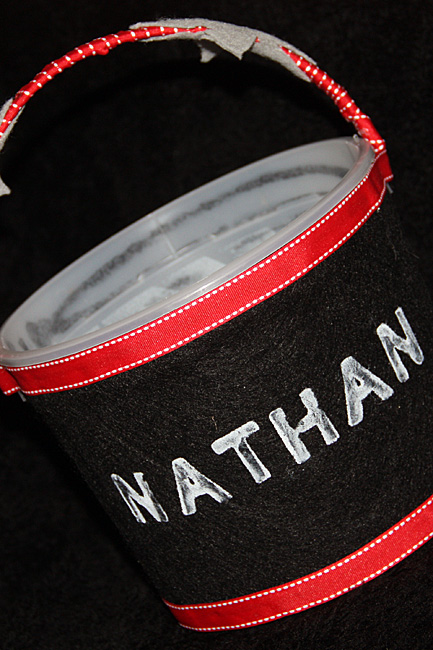
For Nathan’s pail, I just wrapped the ribbon tightly around the handle and then I glued some ninja shurikens onto the handle.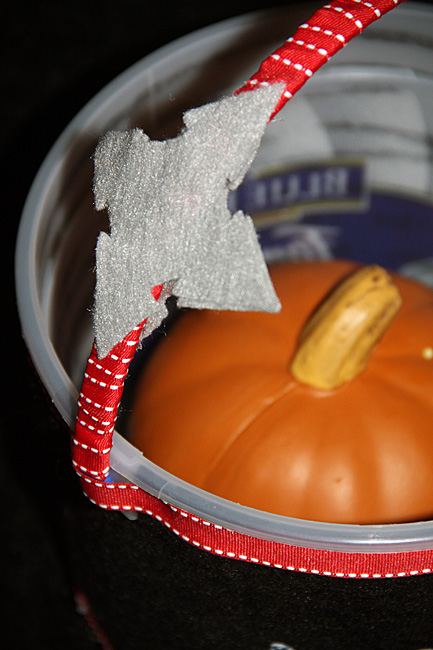
Close up of the shurikens and ribbon wrapped handle.
Directions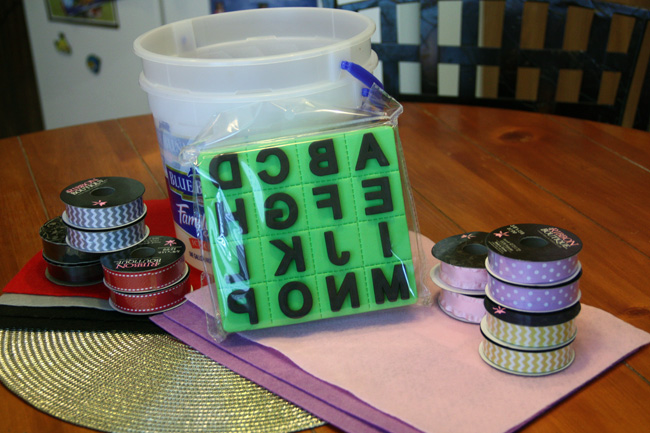
You don’t really need a lot of supplies to make these ice cream pail treat buckets… I purchased 2 pieces of felt for the color I wanted their bucket to be. If you have a girl, I highly recommend buying the ‘glittery’ felt, it is so cute. Since Autumn is Rapunzel and Nathan is a Ninja, I bought felt and ribbon in the color of their costumes. I bought 3 different colors of ribbon per pucket, 2 rolls of ribbon per color. You will also need to buy letter stampers and of course you’ll need to devour a pail or two of ice cream! ha!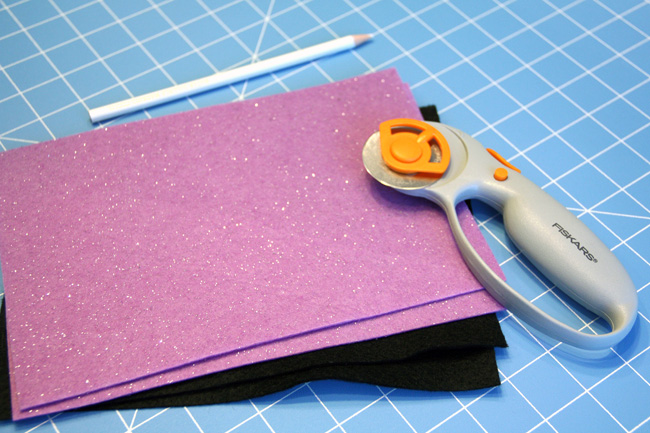
Measure and cut the felt down. 2 pieces of felt should cover one ice cream pail.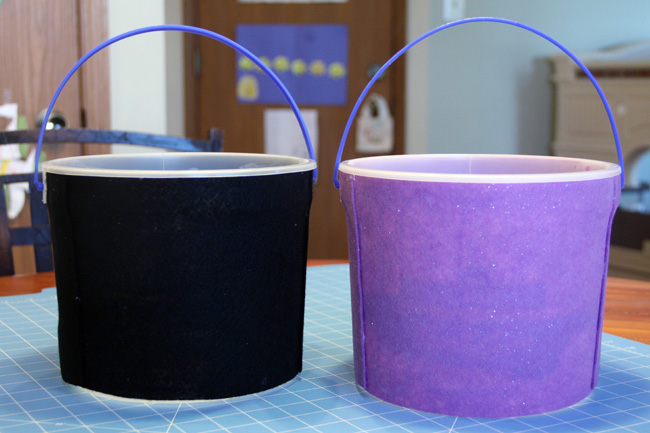
To glue the felt on the bucket, I covered the felt with Elmers glue, then I hot glued the ends of the felt so it would stay adhered.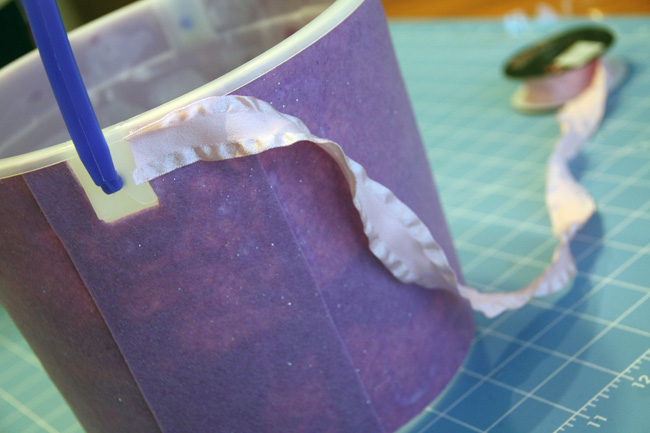
Then I hot glued ribbon on the top and bottom of the ice cream pails to hide the seams. (On Autumn’s bucket, I just put ribbon on the top.)
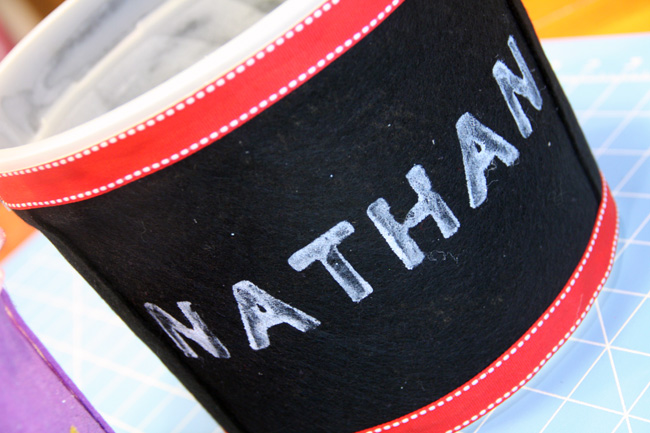 Then, I used white paint to stencil my son’s name on his bucket.
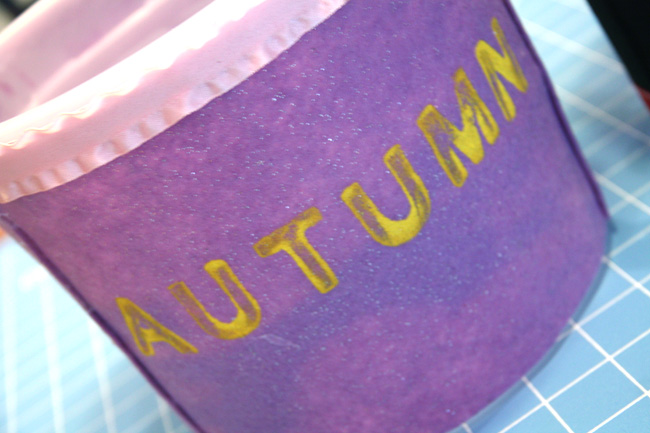
And, yellow paint to stencil my daughter’s name on her bucket.
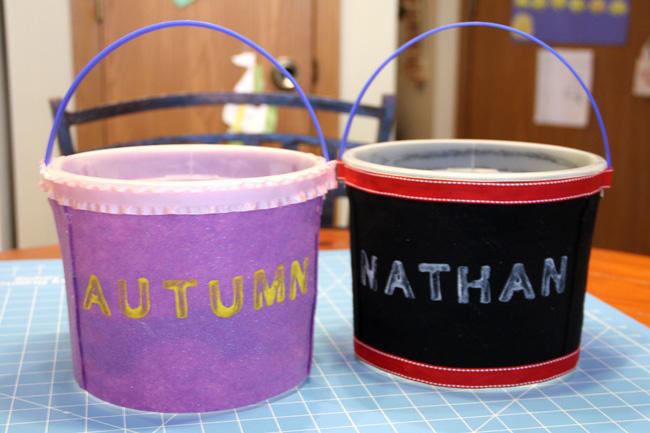
Now, I just need to decorate the handles! I decided to do this differently for each bucket.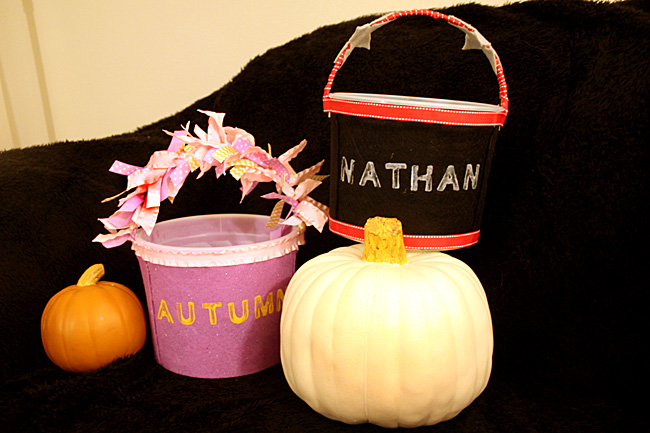
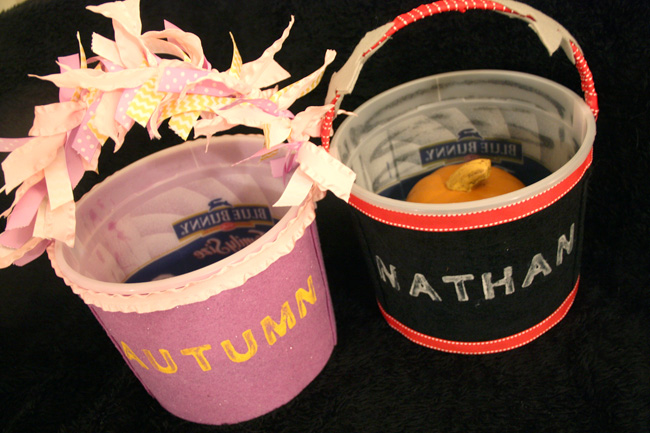
After you decorate the handles, you have two lovely ice cream buckets for your kids to trick or treat with! I plan to fill them with some candy and misc. goodies on Halloween for the kids to enjoy before trick or treating.
Linked up with:
Brag About It
Inspiration Exchange
Create It Thursday
Sweet Haute Link Party
All Things Thursday Blog Hop
All Things Pretty
Inspire Me Please
Inspiration Gallery
Craft Frenzy Friday
Pinworthy Projects
Monday Funday Link Party
Submarine Sunday
Frugal Crafty Home Blog Hop
What’s Scarier Linky Party
Fluster’s Creative Muster
