Today I wanted to share a review with you on my experience with my first set of Jamberry wraps. Ever since I started using Instagram, I kept seeing photos of these beautiful manicures with a combo of Jamberry wraps and polish. I had been wanting to try them, but just never got around to it. Shaunacey at Confessions of a Frumpy Mom just became an independent consultant for Jamberry and offered to send me a trial pair to try out…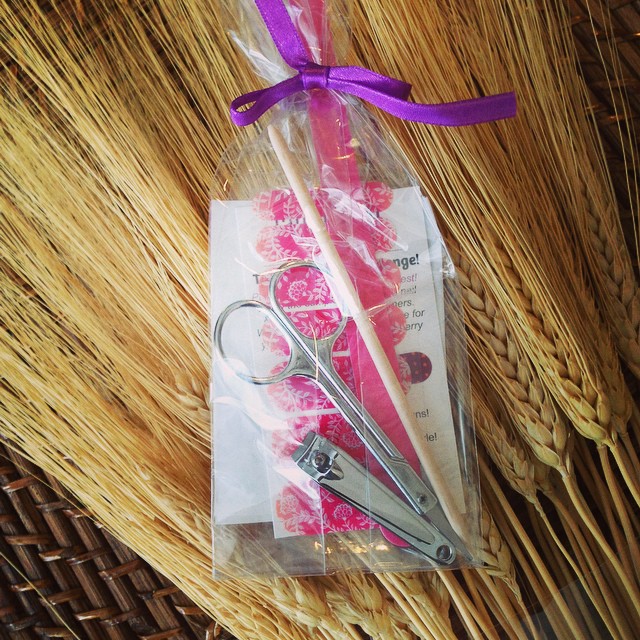
I received a package from her and this is what it included… not just a free Jamberry wrap to try, but a whole little goody bag filled with nail scissors, a file, nail clipper, cuticle stick, etc. She didn’t have to do this, but she wanted to make my first experience extra special! Gotta love her!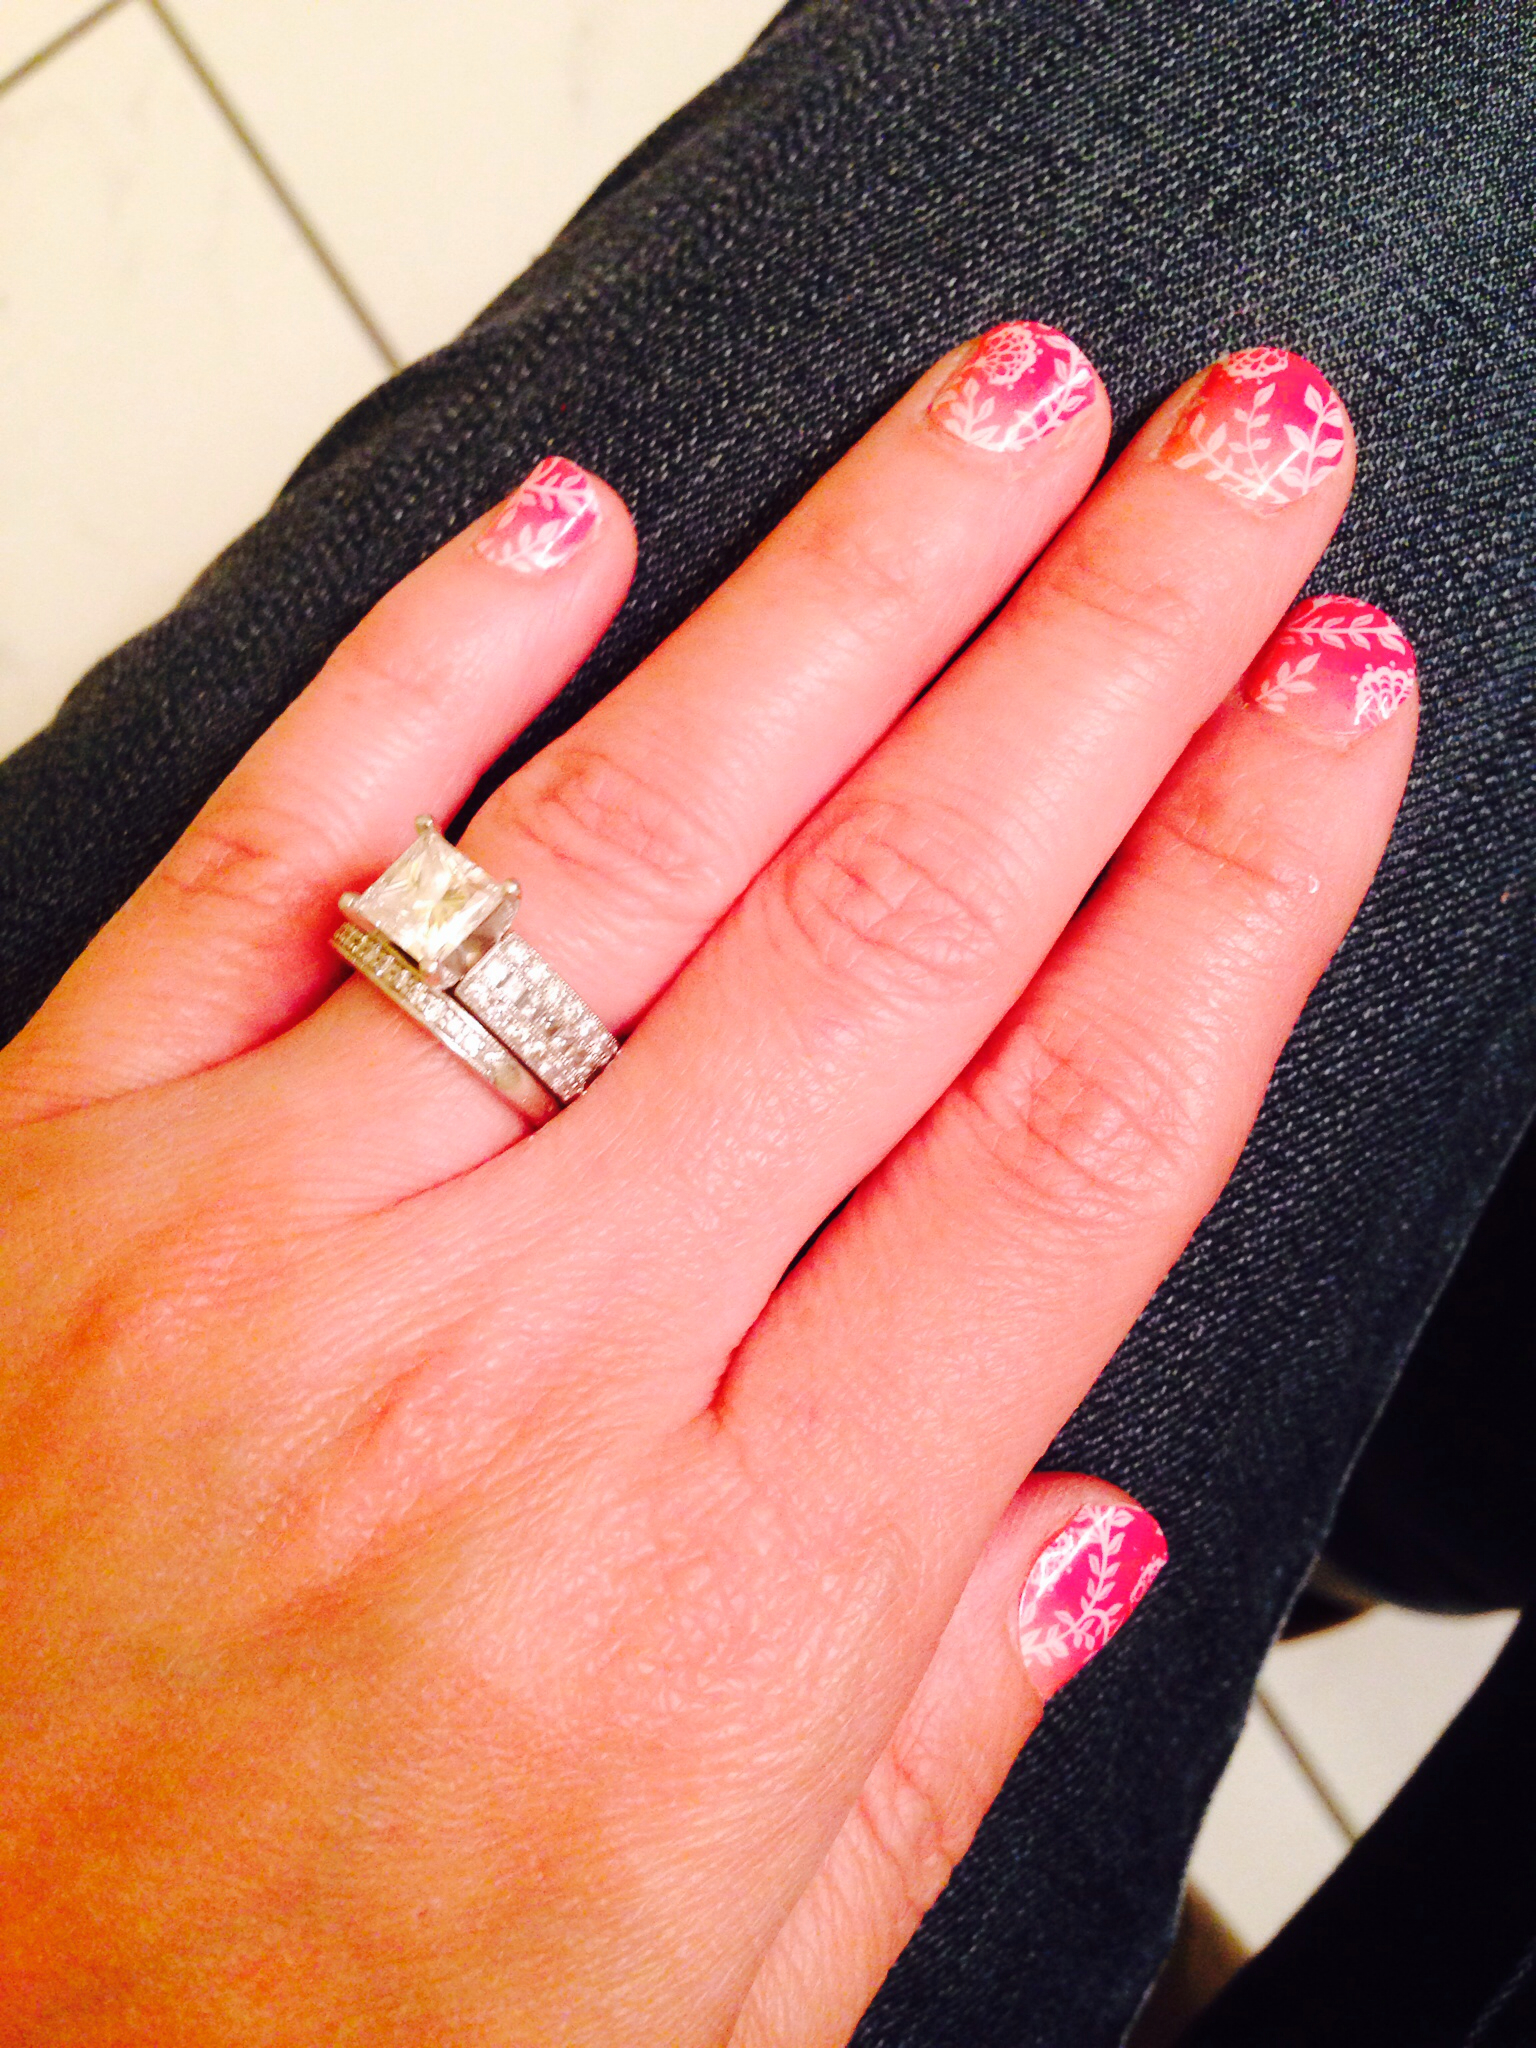
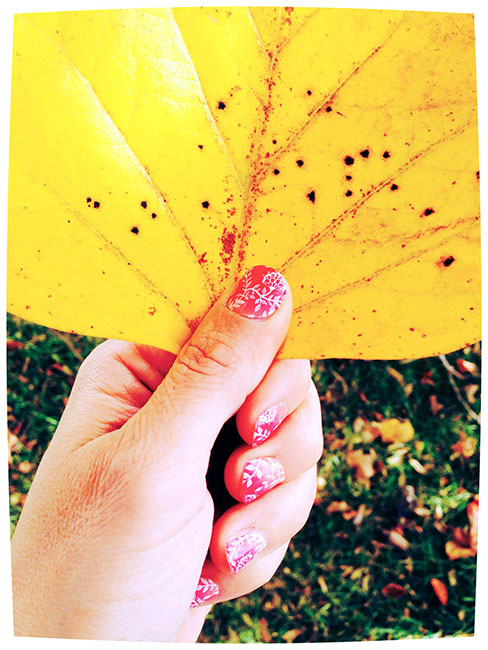
Here is what my nails looked like after my first ‘jamicure’.
Application (How I Did It)
I waited until the weekend, so that I could give my first Jam mani my full attention. I watched the tutorial video, which was only 5 minutes long and explained everything I needed to know.
I then went in the bathroom and set up my application station: hair dryer, alcohol w/ cotton balls, nail file, nail scissors and my jamberry wraps.
I rubbed my nails with the alcohol on a cotton ball and then filed them lightly. Push your cuticles back with cuticle stick.
The wraps are on a clear sheet, so it is easy to match the size to your nail. I couldn’t find a perfect match with one of my fingers, but all I had to do was trim a little off of one of the wraps.
I put the wrap on my cuticle stick, so that I wasn’t touching it and used my hair dryer on it for 5-10 seconds. Then I adhered the wrap to my nail and used the cuticle stick to push down around the edges and middle of my nail to adhere it.
Then, take your rounded nail scissors (these are much easier to use then a nail clipper!) and cut off the top part of the nail wrap so it is even with your nail. File the tips of your nail at a 90 degree angle and buff.
THAT’S IT! It took me probably 45 minutes, including the time I spent watching the video. I know I could do it much quicker the next time, now that I know what I’m doing.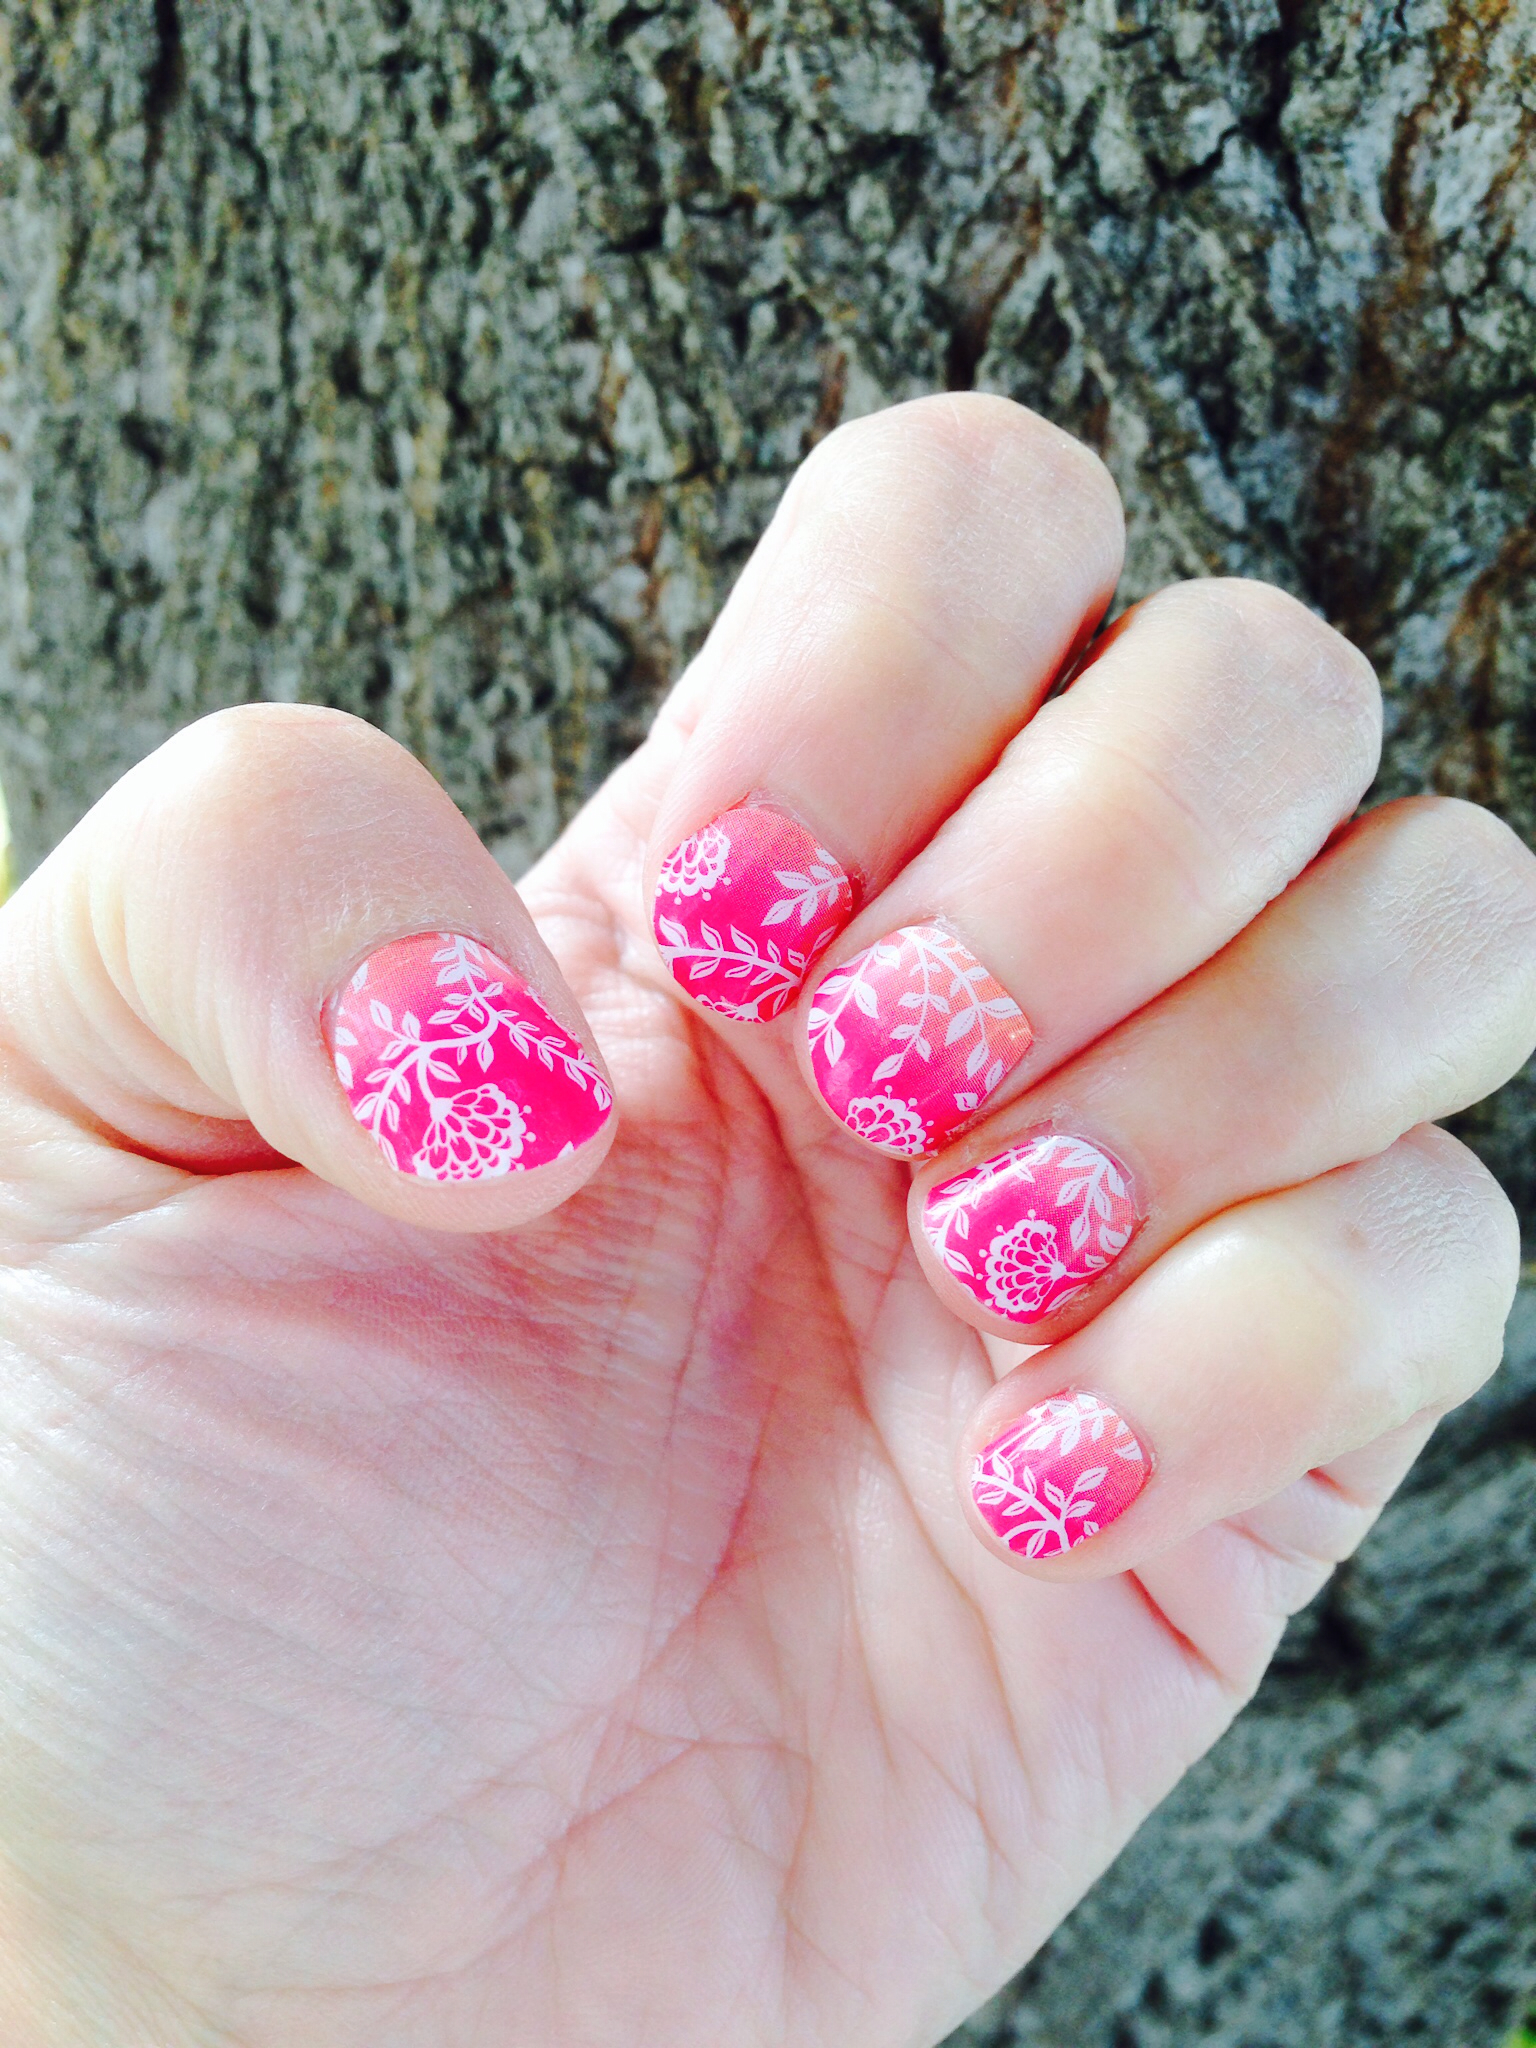
The pattern that Shaunacey sent me was the Carmen Ombre wrap set. I was really glad she sent me such a pretty design. I even have some wraps left to use as accent nails later on.
My Honest Thoughts About Jamberry Nail Wraps
So, are you wondering what my opinion is of these Jams? WELL… I can honestly say that I LOVE them!! I actually took advantage of a deal that Shaunacey is having on her Jamberry Facebook page (see link HERE) where you buy 3 sets and get 1 free. She was running a free shipping deal, too and I took advantage of that as well. Unfortunately, the free shipping deal is over, but she may offer it again sometime soon!
I am going to really love wearing these Jams during the holiday season. Who has time to paint their nails every 3-4 days after they start chipping? I love Essie, but even with a top coat… I still get chips! I craft and do a lot of DIY projects… it is just inevitable. Each set of Jams lasts 2 weeks! They easily come off after dipping your fingers in nail polish remover.
So far my Jams have stayed put and I have done dishes, taken a Lush bubble bath, cleaned for hours, pealed Frog tape to prep an area for painting and the list goes on and on. These really do stay put!! I highly suggest using a dull buffer to buff the tips of your nails after applying them, to get a nice smooth edge.
These are the sets I got: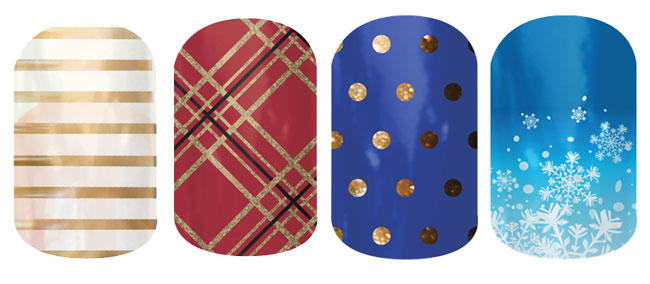
Metallic Gold Pinstripe Tinsel Town Icy Berry Polka Let It Snow (Mommy & Me Set)
When I told Shaunacey my order, she was excited with my picks and even gave me more ideas of how to wear them. She told me the Metallic Gold Pinstripe is clear and so I could wear a polish under it and the gold stripes would show over the polish color. She said it’d look great with red for the holidays. She also said that the Metallic Gold Pinstripe and Tinsel Town would look fabulous together.
The Let It Snow set is a Junior Set, so I ordered it for my daughter, because she loves the movie Frozen! I will probably put it on one nail and paint the rest of her nails in different shades of blue for an ombre look!
My favorite set that I ordered was the Tinsel Town, it is sort of a Christmasey plaid. And, who doesn’t love tinsel?!
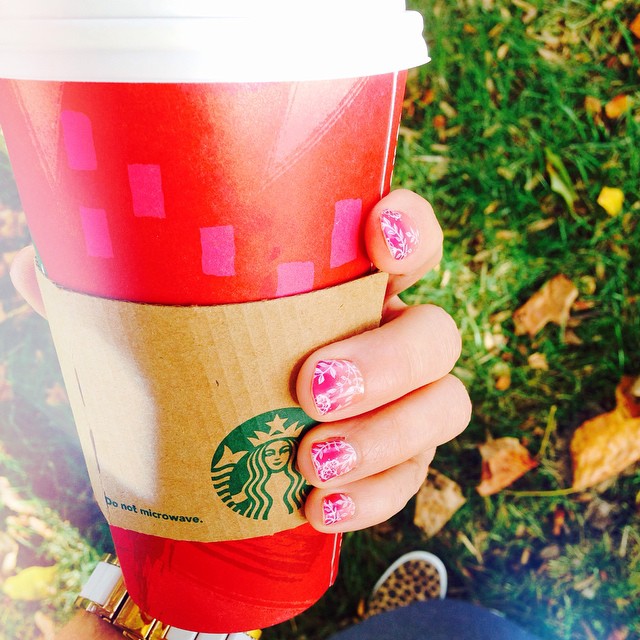
I even enjoyed my first red up with these jams on!
Are you interested in trying some Jams? Contact Shaunacey!
Here is her Facebook page (click HERE) and her Jamberry page (click HERE).
If you decide to try them out, be sure to let her know I sent you! AND, enjoy!!
Linked up with:
Mommy Monday Link Up
