First, I have two announcements… (1) Motivational Monday will continue again on January 4th. We are taking some time off from the link party so we can spend time with our families. I wish all of you a blessed Christmas and New Year! (2) The winner of the Datevitation Coupon book is Sarah and Datevitation has sent you an email to let you know you have won!
I won’t be blogging as much in the next two weeks, because the kids are home from school. I am sure I will get on here a couple times a week, though.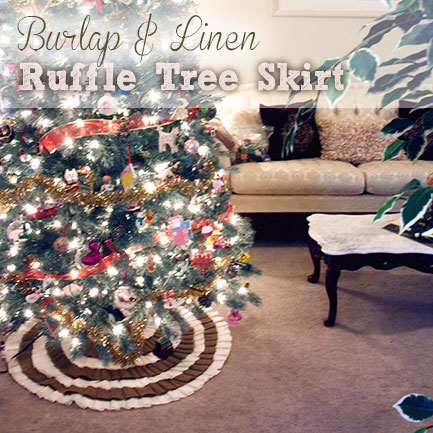
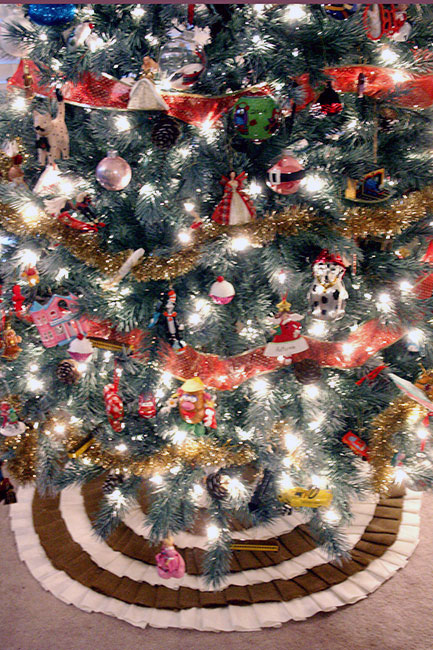
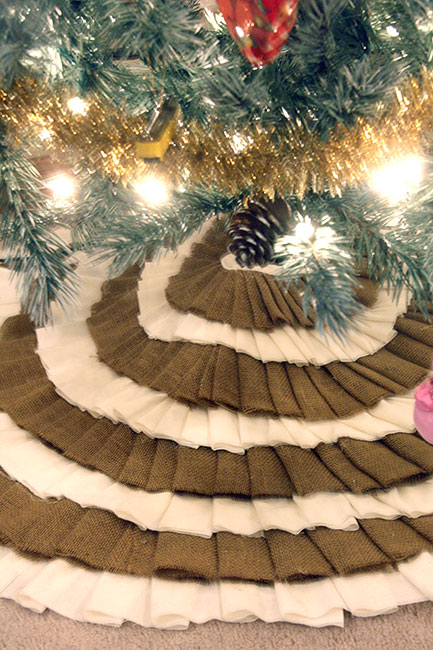
Today I wanted to share a Burlap & Linen Ruffle Tree Skirt that I made for our Christmas tree! I just finished it up today, but last week I was busy gluing down all of the ruffles (it was an 8 hour job, I do not lie!). I have seen these all around blogland and Pinterest and I so wanted one for my very own tree… thankfully, I was able to fit this project in and finish it before Christmas! The neutral colors of the burlap and linen blend perfectly with our living room and I can’t wait to enjoy this tree skirt next year and many more years after! Since this skirt was time intensive, that is why I am sharing this Christmas project with you the week OF Christmas! Gulp!

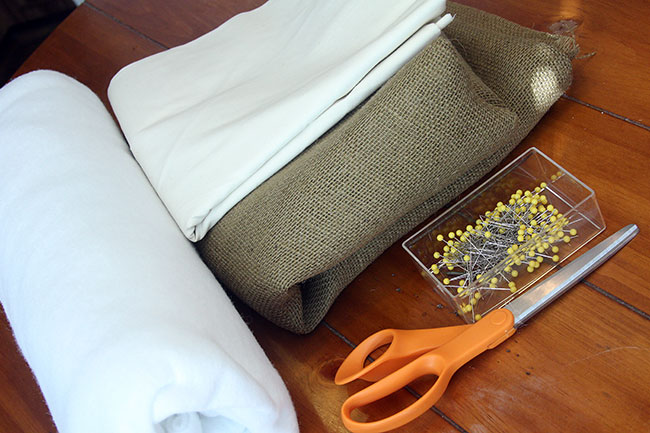
The supplies for this skirt were pretty minimal… 2 yards of linen, 2 yards of burlap, 1.5 yards of felt, twine, scissors, pins… OH, and a cordless glue gun with LOTS of refills!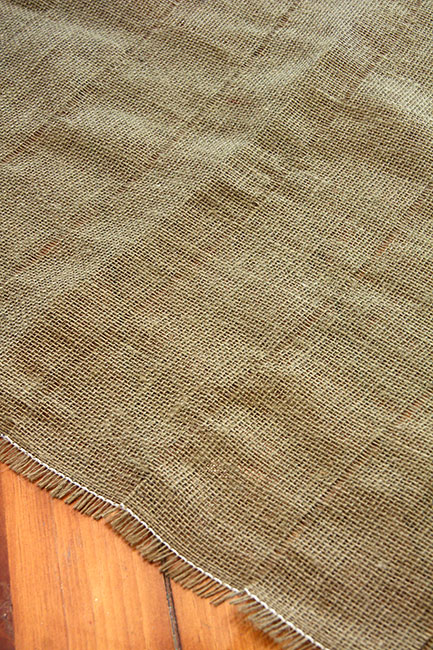
First you want to cut your burlap and linen into 3″ strips. I suggest doing this on a completely separate day, because it takes a little bit of time… and, you’ll be too tired to start the ruffle hot gluing process! To easily cut burlap, you can make a little cut and pull out one of the strings and it’ll leave a ‘guide’ for you to cut.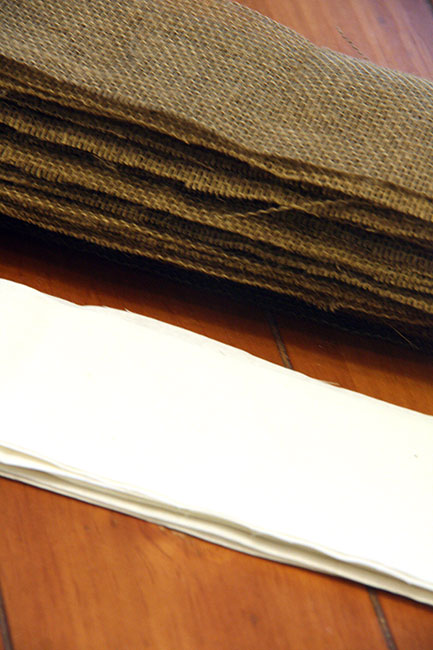
Linen and Burlap is cut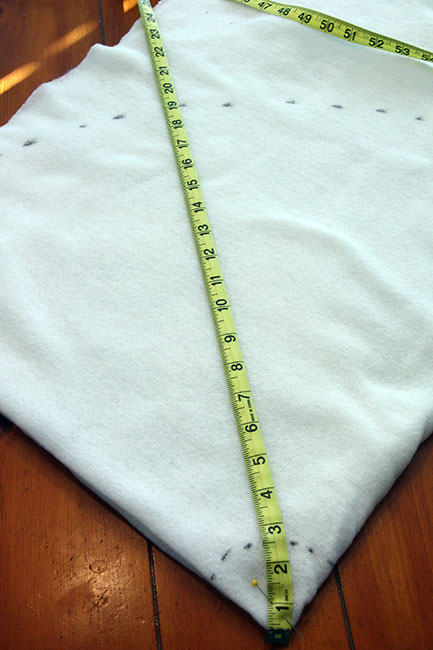
Next you’ll want to create a felt base for your tree skirt. Fold your felt in half and then fold it again to make 4 squares. Where the two folded ends meet, pin your fabric tape measure down. Then use the tape measure as an ‘atlas’ to make marks on your felt- the outer circle will be 24″ to make a 48″ circle (mine is slightly smaller here, because I bought a roll of felt and not exactly 1.5 yards) and then for the center hole (where the tree base is), measure out 2.5″, so it’ll be 5″ when you open up the felt. Cut along the dotted lines that you made on the felt.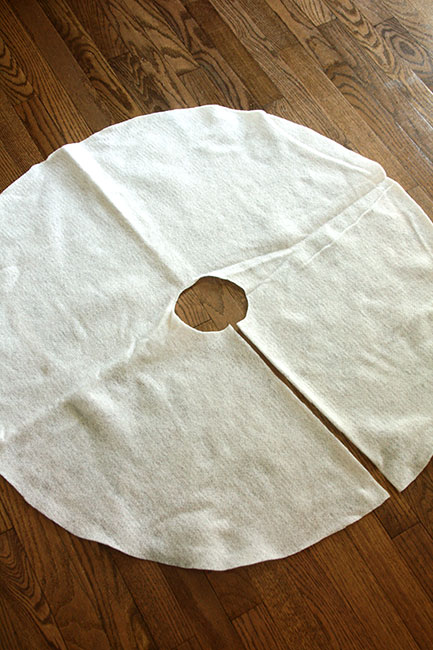
Unfold the felt and you’ll have a tree skirt!
Next start making your ruffles! The linen was easier to work with then the burlap and I didn’t need to use pins. I would hot glue each individual ruffle down as I worked around the base of the skirt. You’ll want the linen to hang off of the felt of the skirt base a little for this first layer.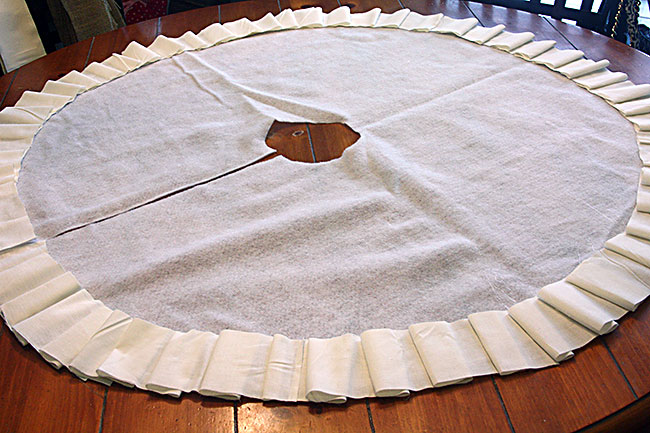
Here is what the first layer of linen looked like after I hot-glued it to the felt base. Thankfully, it just gets easier on out after you do the first layer! The layers of ruffles will get smaller and smaller as you get closer to the middle of the felt base.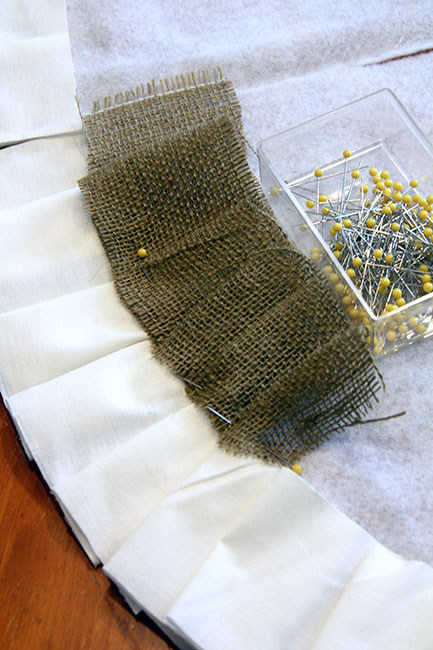
Once I started working on the burlap, I would pin down about 5-6 ruffles at a time. You can hot glue one or two at a time and then work on the next few. This part took the longest, so you may want to turn on some Christmas music or show reruns!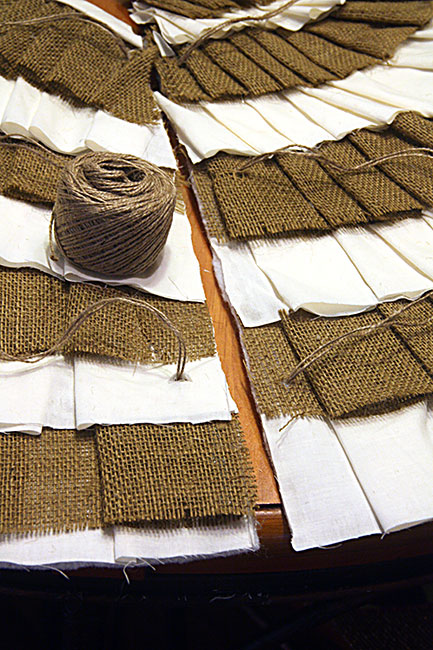
Many hours later, after you are done with the ruffles… you can finally make the ties for the skirt! I just used my fabric scissors and made a little incision so that I could pull twine through the hole.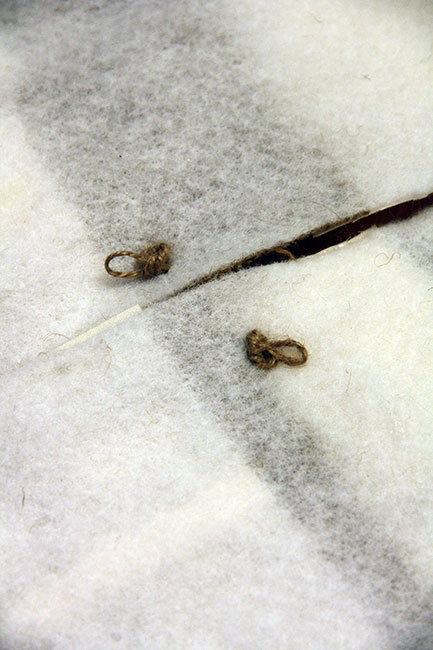
Here are the knots I made with the twine on the back side of the skirt.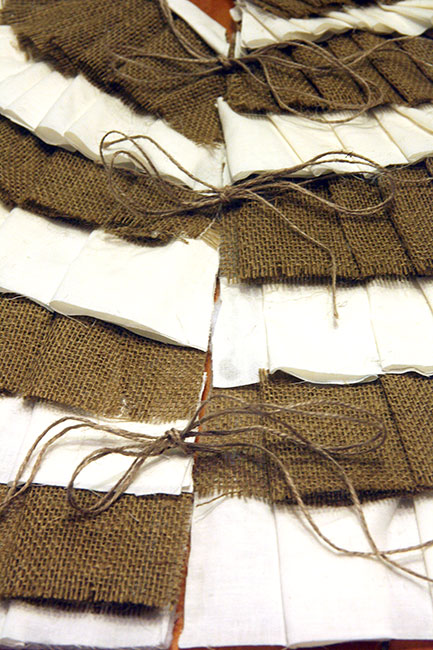
And, this is what it’ll look like once you tie it under your tree!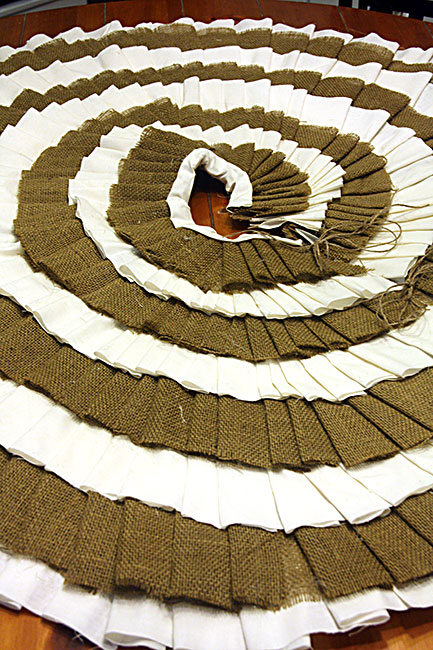
The final skirt.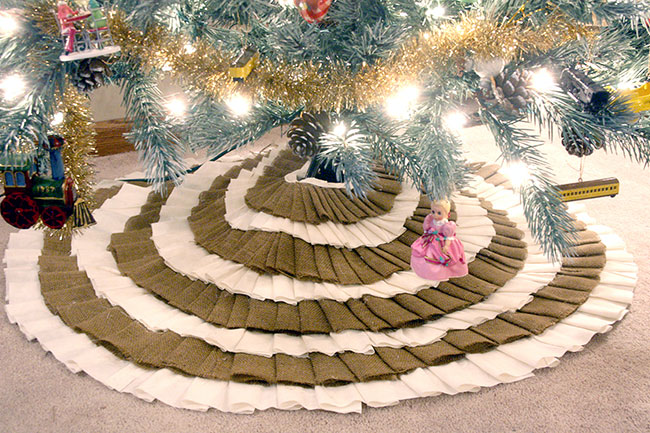
And, here it is under the tree.
It was a little (ok, a lot) more work then I thought it’d be, but I am in love with this new ruffle skirt! And, next year… it’ll be already done and I can just pull it out of the storage tub and put it under the tree! Yay!
