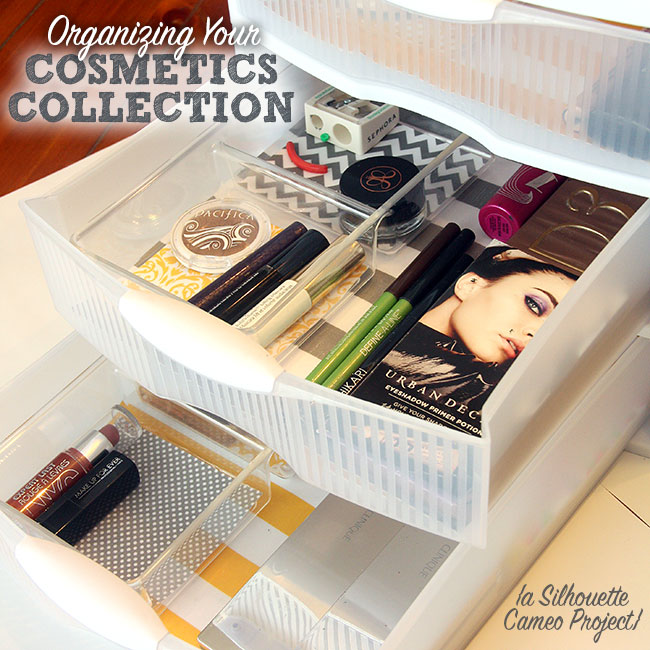
Well, it is February and I am finally sharing my first Silhouette Cameo project with y’all. It is a simple one, but this is the first project I ever did on this machine… SO, it wasn’t so simple for me! I have wanted to organize my cosmetics collection for a long time… mainly, I needed more space for it all… but, I also wanted to organize it by types (face, eye, mouth, etc.). I would have probably done more projects with my cameo, but honestly… we have had SEVERAL full weeks of illness in this house. This winter has been brutal… ok, enough on that.
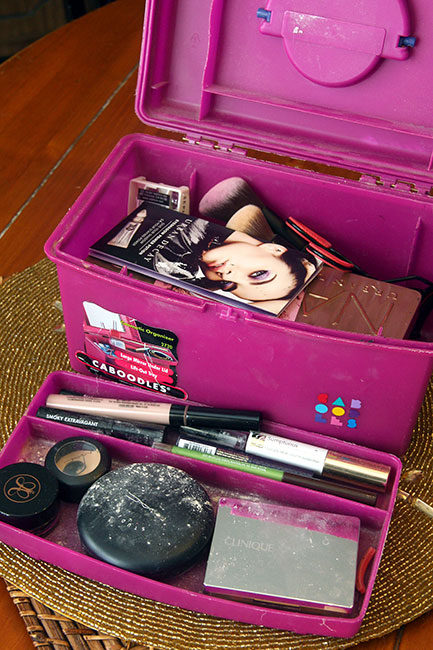
This is my old makeup box… yes, welcome to the 80’s and the Caboodle box. Am I the only one still using one of these? Plus, this isn’t a very big box… but, it seems my makeup collection has grown since I’ve become more interested in it. Oh, and I guess my Ipsy subscription doesn’t help. 😉
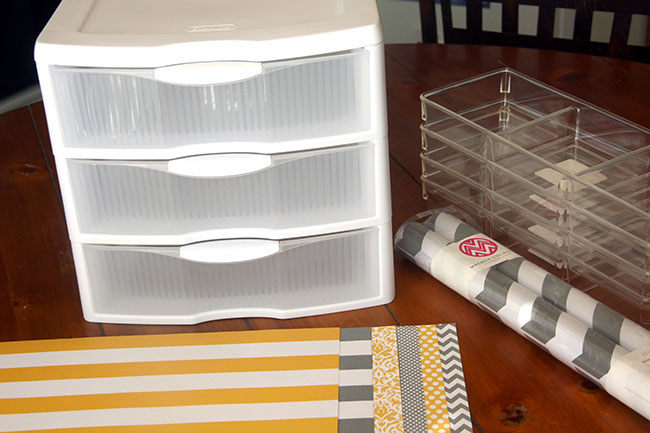
So, off to Target I went for some supplies. 🙂 I bought a small 3-drawer storage bin and some clear compartment boxes from Target, craft paper and shelf liner from Hobby Lobby.
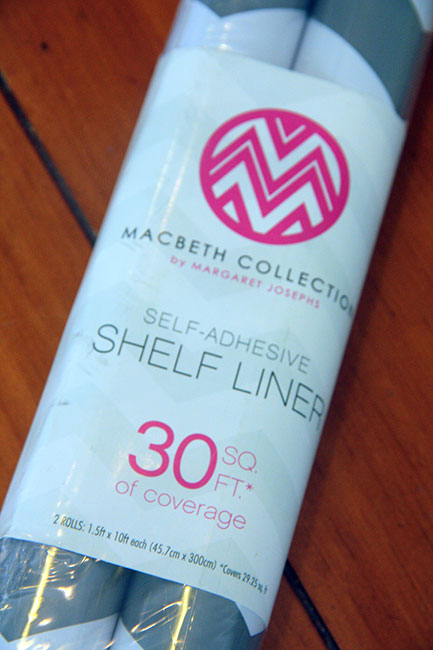
The shelf liner isn’t really for this project, but I plan to line the bottom of the vanity in the bathroom with it. Its so dark when you open the doors and I think this will really lighten up the space. I am also planning on painting the vanity, so I’ll probably share a reveal of this once I get it painted.
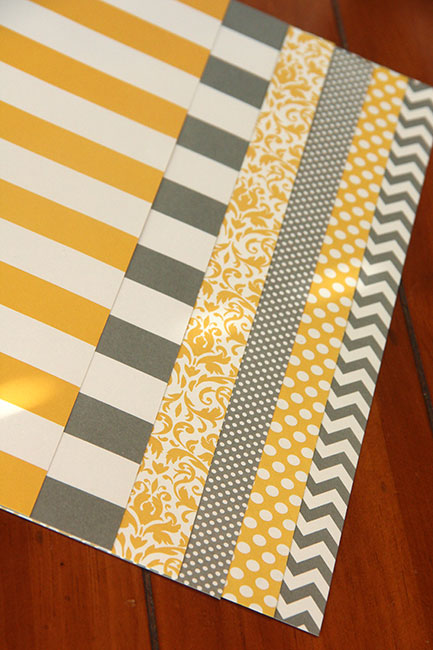
Our master bathroom has whites, yellows, greys and a hint of dark purples in it. I decided to select some basic patterns such as stripes, polka dots, paisley and chevron in these colors for the liners for my new cosmetic organizer.
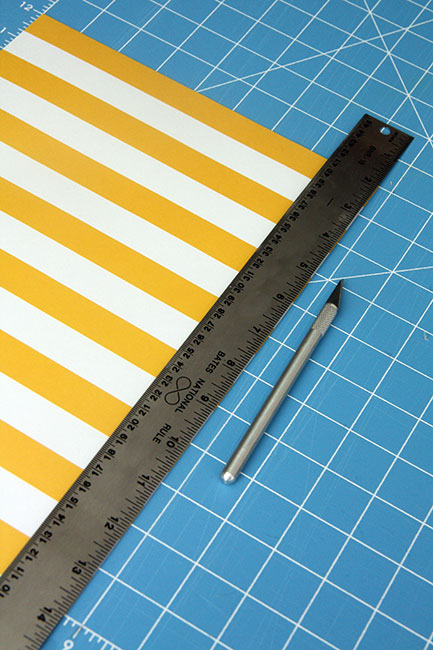
For the large sheets that would line the three shelves of the drawers of the organizer, I cut them with my X-Acto knife instead of using the Silhouette… it was just easier, since you have to peel the paper off the sticky matte of the Silhouette (my matte is really new still and quite sticky!).
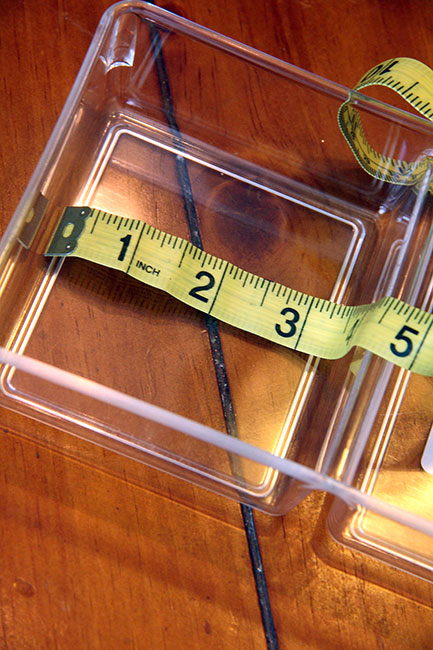
Then I measured the compartment boxes to find out their approximate width and height.
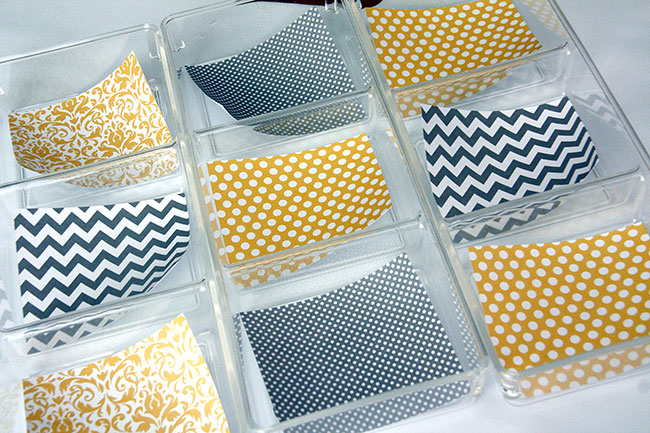
Ok, so here is the part where I used my Silhouette Cameo… this is a REALLY basic project, so I made a square on the screen and then in the width and height box, I typed in what size the inner squares were for the compartment boxes. I duplicated these on the screen several times and then I set my blade to the craft paper setting… then, it cut out all of these lovely squares for me just like that!! I hate cutting by hand with the X-Acto blade, so this saved me a lot of time! And, didn’t they turn out beautifully?!
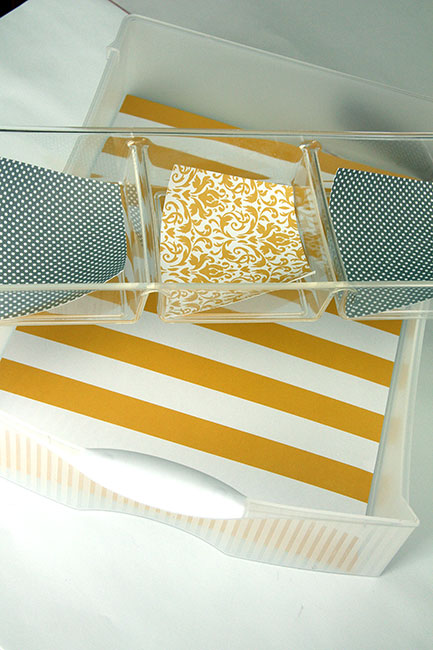
And, look how great these compartment box liners go with the paper in the pull out drawers? I just love mixing and matching these colors and patterns!

I didn’t have this on the supply list above, but kind of thought about it after… since I’d be putting makeup such as loose powder in these bins, I may want to clean them up from time to time with a wet cloth. I thought about using regular Modge Podge, but it isn’t waterproof. So, I decided upon using this wonderful outdoor Modge Podge that is waterproof!! Yay! You could also go the easy route and just laminate the paper, but by using the Modge Podge, you get a nice texture.
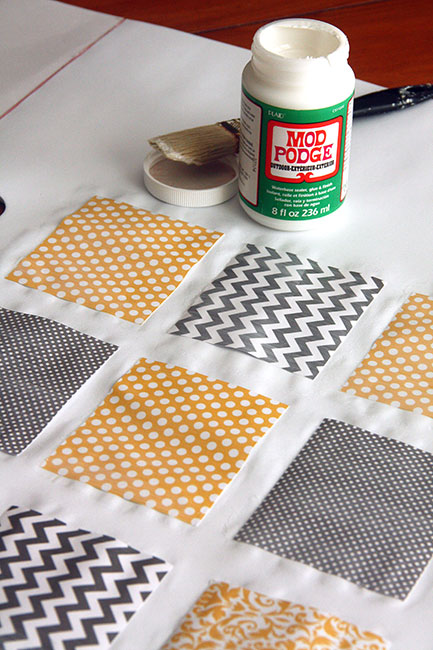
I applied three coats of Modge Podge, letting it dry in-between coats.
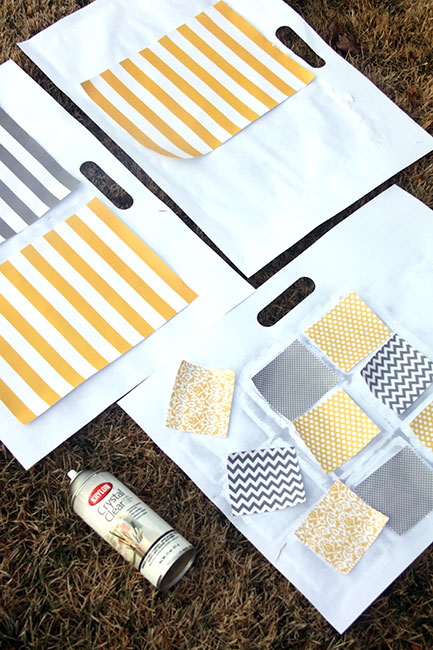
After the Modge Podge dries, you’ll notice that it is a little sticky to the touch… yuck, right? Well, to fix that, just spray a thin coat of acrylic spray over it. Ta-da! No sticky residue!
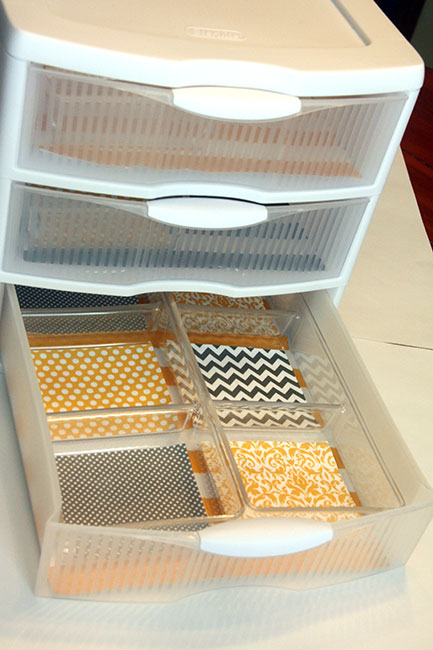
After the acrylic coat dries, place all of your liners in your new cosmetics box!
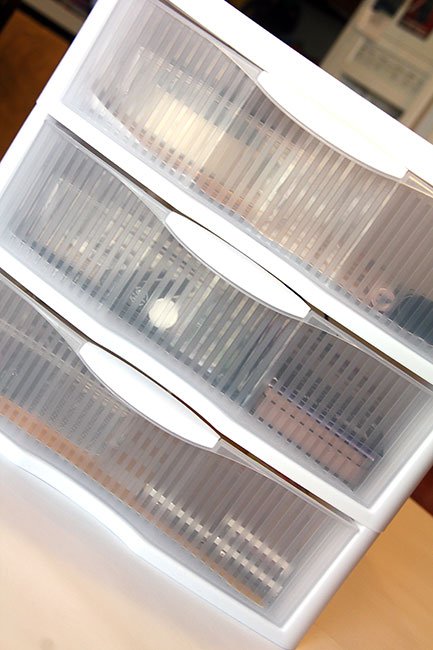
So, are you ready to see the finished piece with my makeup inside it?
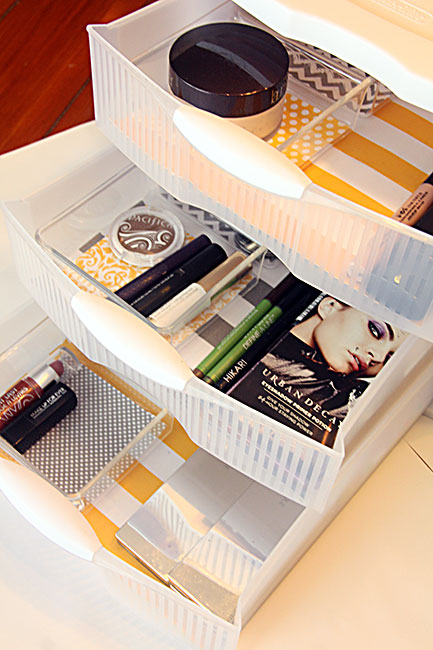
Isn’t this the most cheerful cosmetics box you’ve ever seen? I can’t wait to see this every morning when I may not be… uh, cheerful. And, you can customize this in any color for your bathroom!
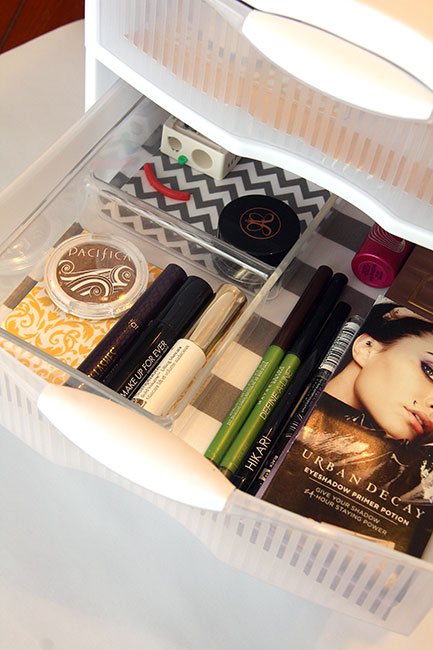
This entire drawer is for my eye makeup.
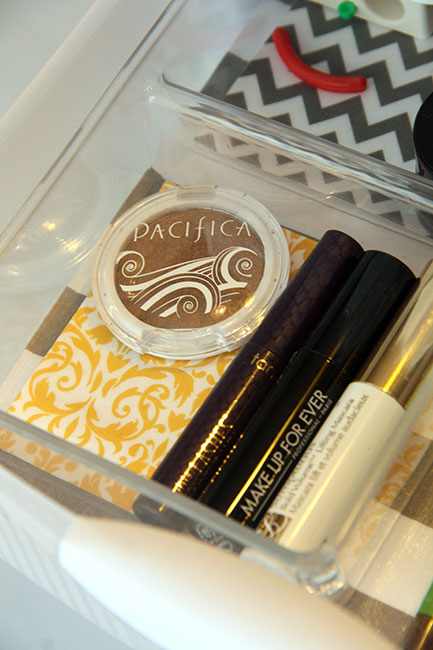
I love how the little trial sized mascaras I’ve received here and there fit perfectly in one of the compartments.
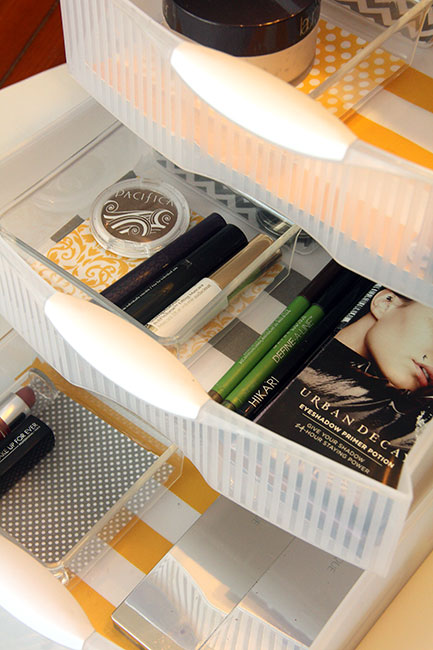
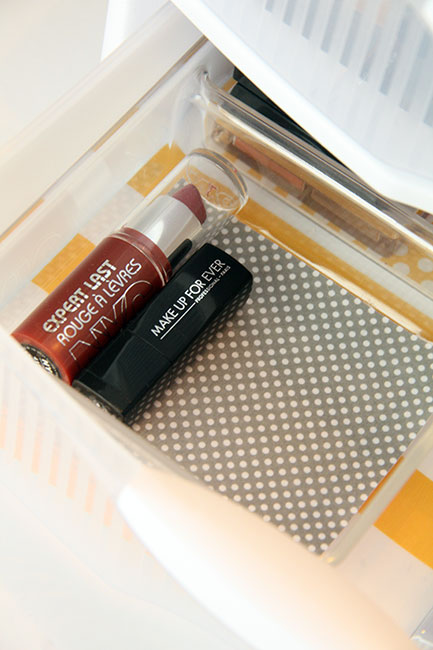
And, yes… I do have more lipstick… it is just all over the place (in my purse, car, different areas of the house), because I never had a place for it!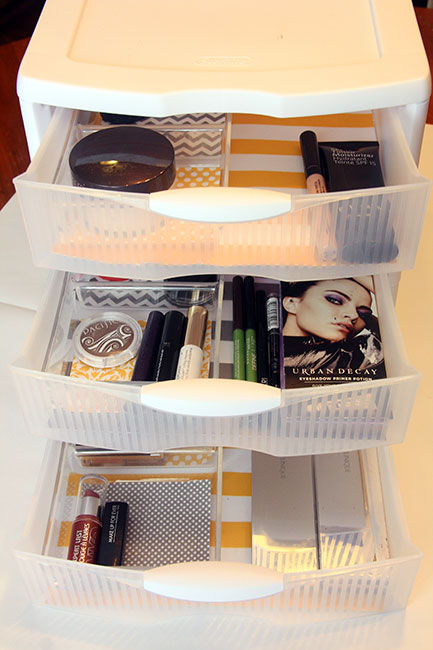
I’m so relieved to have another organizational project done! It feels great… and, my master bathroom is one step closer to being ‘done’.
So, you may be wondering what my next Silhouette Cameo project is… I am planning on doing a couple of projects with GOLD vinyl! I already have everything on hand, I just need time to work on it. I can’t wait to share these projects with you! I am just in love with my Silhouette Cameo! Thanks Mom!
Linked up with:
Hit Me With Your Best Shot
Worthwhile Wednesday
Fluster’s Creative Muster
A Little Bit of Everything
Moonlight & Mason Jars
Create It Thursday
Your Turn to Shine
Craft Frenzy Friday
Inspiration Gallery
Totally Terrific Tuesday Link Party
Bloggers Who Have Inspired Me
Share Your Style
Two Uses Tuesday
Best of the Weekend
Share Your Creativity
Frugal Crafty Home
Merry Monday
Monday Funday Link Party
