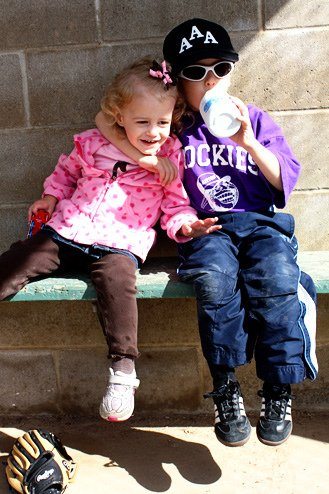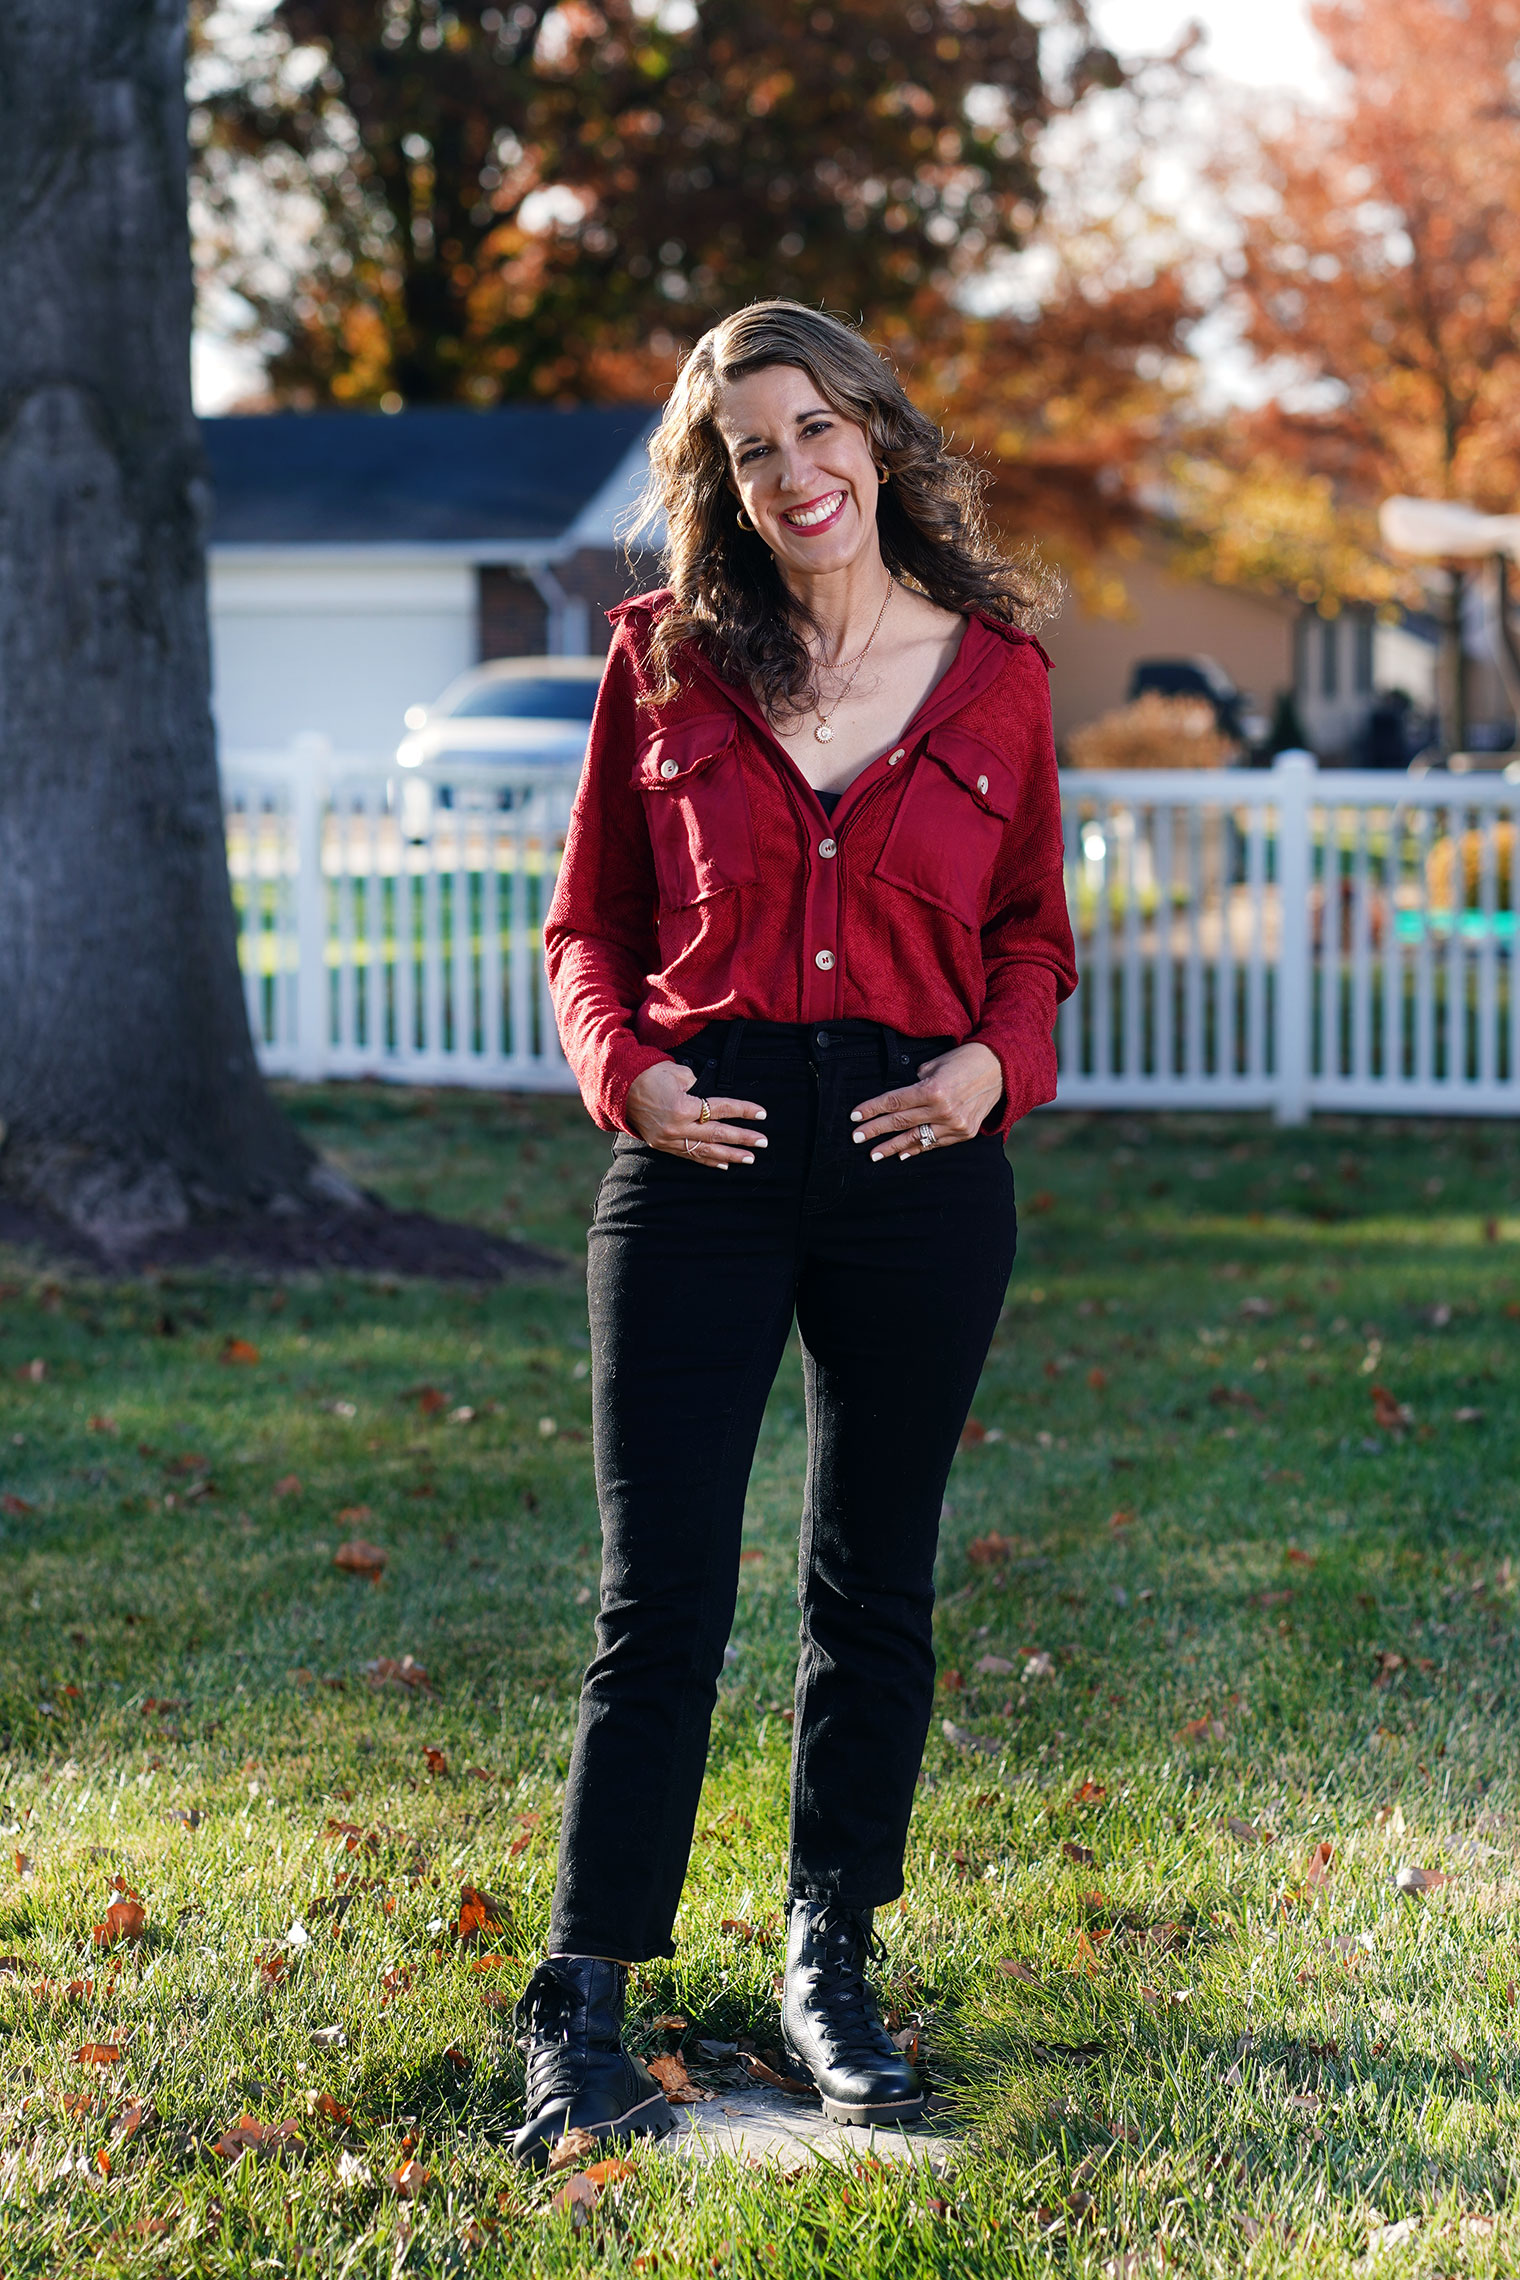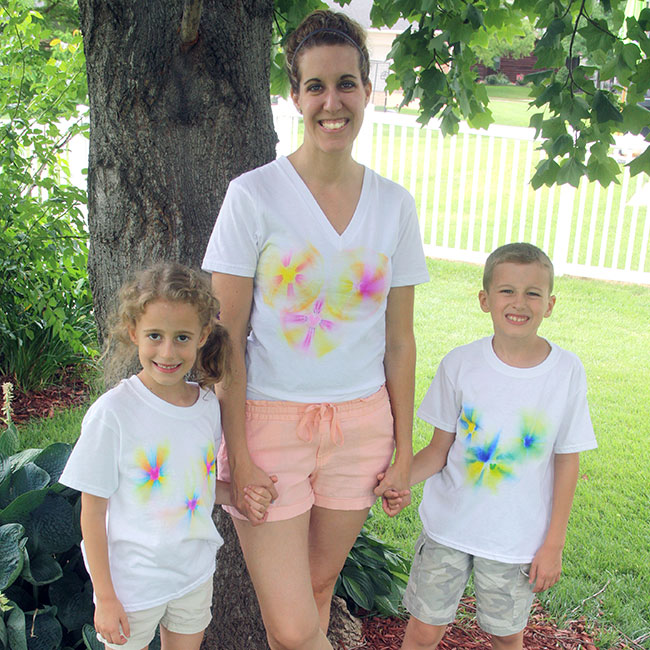
For our Disney trip, I wanted to make some personalized shirts for all of us to wear one day. I really didn’t think Brian would want to participate, but he was sad I didn’t make him a shirt (wife fail!). 🙁 Unfortunately, I would have made him one if I wouldn’t have waited till the last minute to make ours. I guess there is always next time and he does have a Mickey Mouse shirt I got him at Old Navy for our last trip that he can wear (and that he ONLY wears when we are at Disney! ha!). 
When I looked on Pinterest for ideas, I saw that for the regular Mickey tie-dyed shirts, you needed to sew a Mickey face and then go around it with a bleach pin afterwards. Bleh, too much work! I was busy getting their Mickey Mail ready, packing for THREE (thank goodness Brian packs himself) and trying to get everything set on the blog before we left… I wanted a SIMPLE tie-dye idea for a shirt!
SO, let me introduce you to a SIMPLE and QUICK Disney Tie-Dye Shirt method:
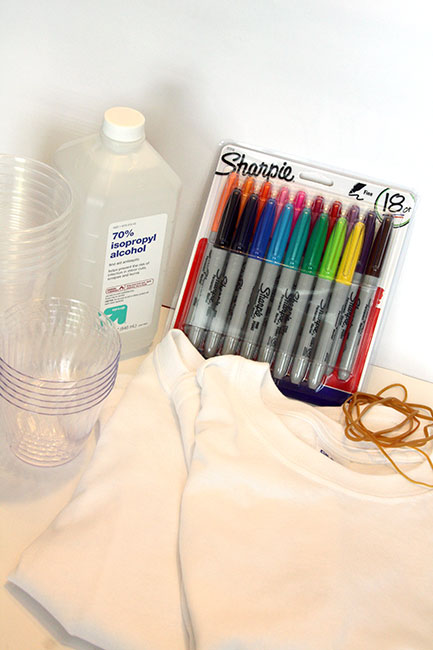
The supplies were really basic:
- Sharpie Fine Point Markers
- Isopropyl Alcohol
- Rubberbands
- 1 Large Cup or Bowl
- 2 Smaller Cups or Bowls
(I landed up using glass Pyrex bowls in two sizes instead of the plastic cups)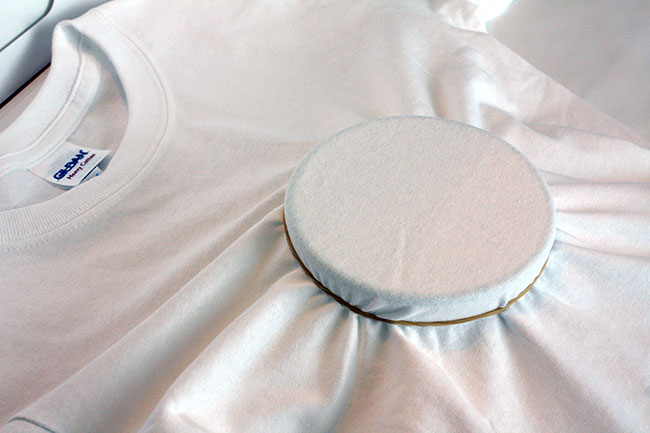
First, take the larger bowl and rubber band it onto the shirt. You’ll want to do this in the middle of the shirt, so that you have room for the ‘Mickey ears’ above it.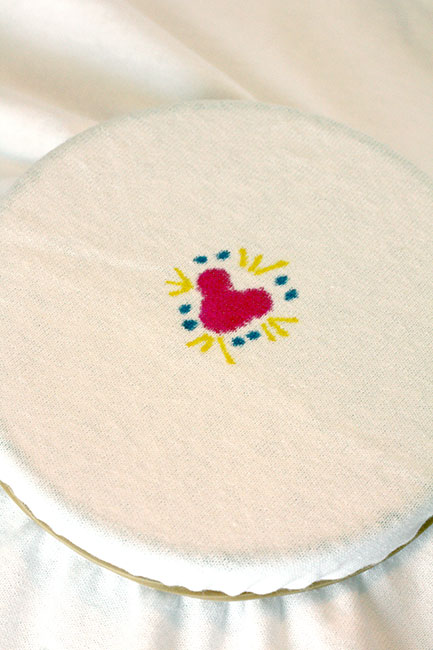
Draw a Mickey shape and a few dots and lines around it in the center of the space that you have rubber banded. This area that you draw should be no larger than a quarter in size.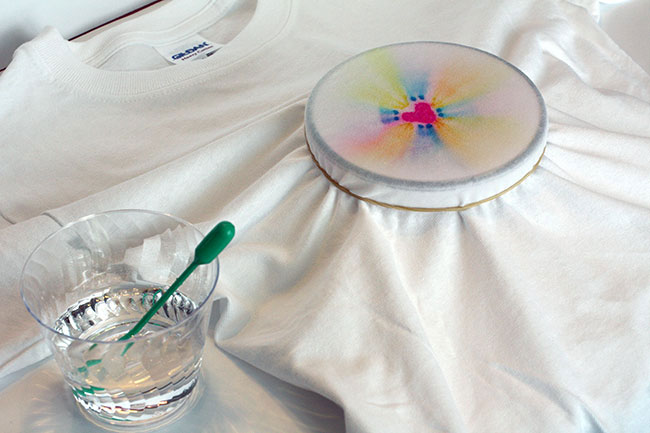
Take a dropper and drop several drops of the isopropyl alcohol over the sharpie design. Do this until it bleeds all the way around the circular area that you have rubber banded off.
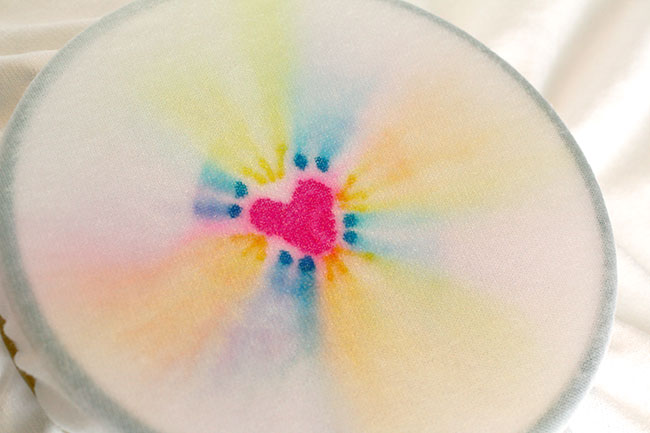
This is what it will look like once the sharpie has bled all the way around the circle.
Let this area dry. Once dry, remove the bowl and insert some cardboard in the shirt to prevent any bleed through to the back. I had some rectangle cardboard cake boards that I used to prevent bleed through.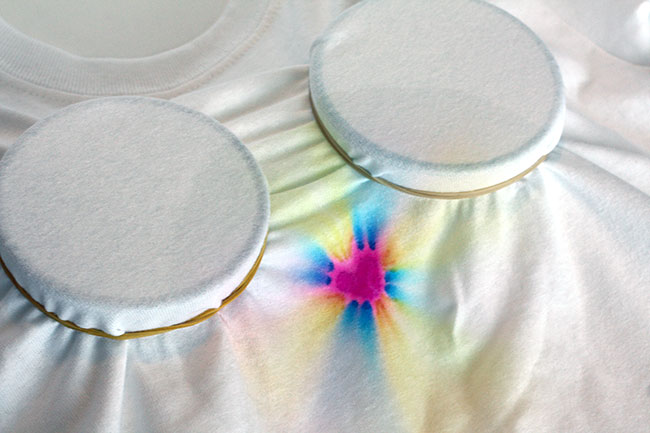
Now, take your two smaller bowls and overlap them a little with the bigger circle. Rubber band the shirt to the two smaller bowls. These will be the ‘Mickey ears’.
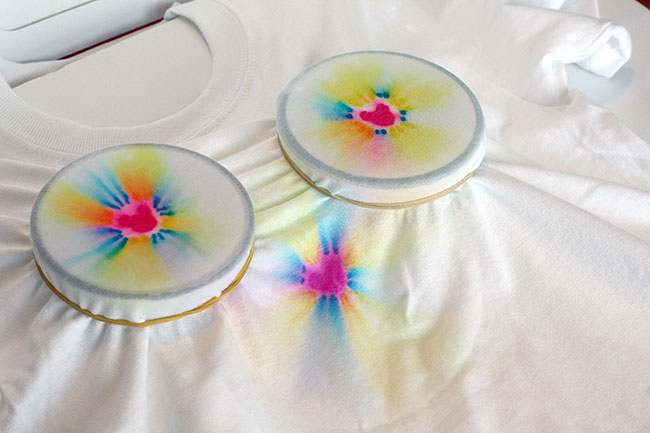
Repeat the same steps you did for the first bowl, such as drawing the Mickey sharpie design and then dropping isopropyl alcohol on it.
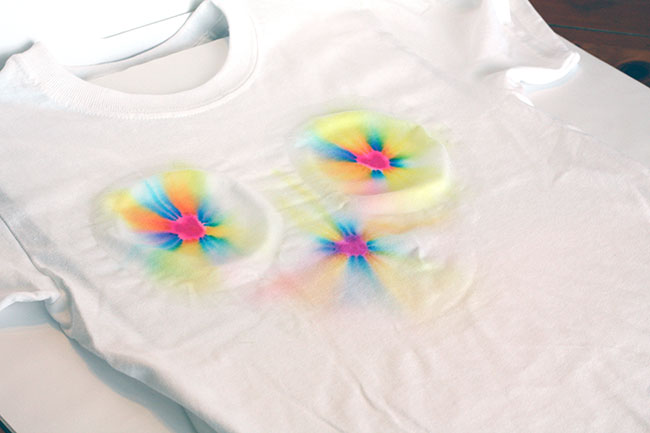
Let it dry for 5-10 minutes, then remove the bowls and let the entire shirt dry completely. Turn inside out and put in the dryer to set the colors. Then you can wash it in the regular wash once before you wear it.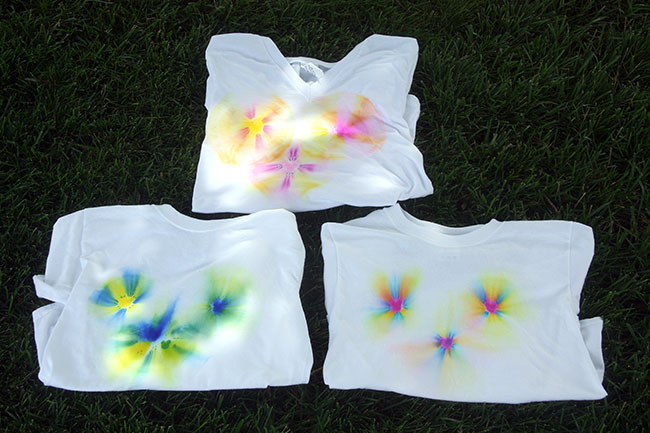
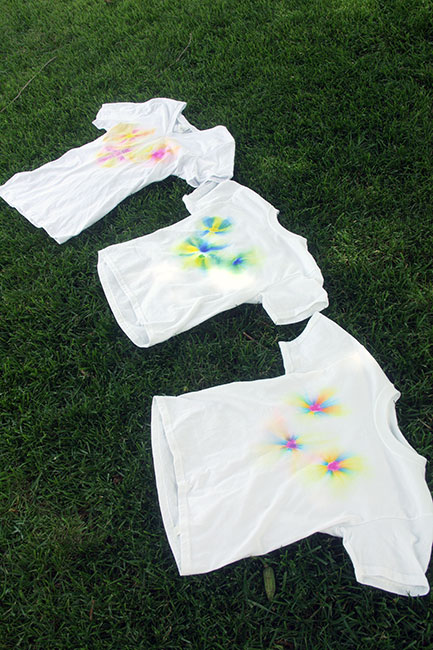
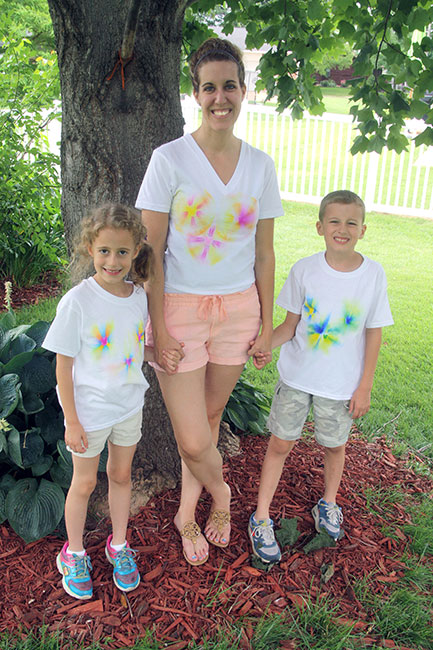
This was a fun project, especially since we did different colors for each shirt! I think I like how Nathan’s and Autumn’s turned out more than my shirt! However, I kind of wanted my shirt to match my comfy melon shorts, so I’d have an excuse to wear them to the park… so, I’m good. 🙂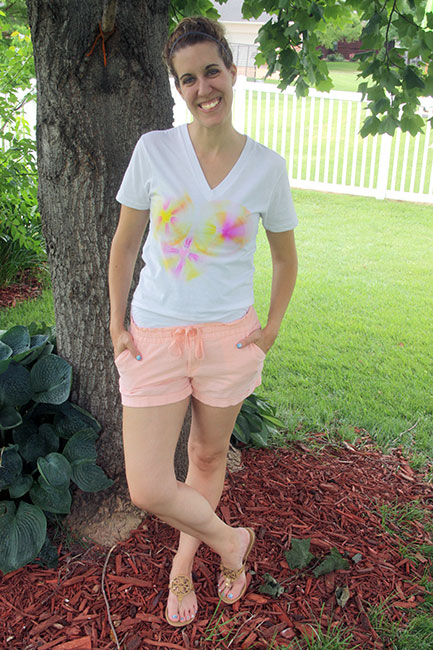
I can’t wait to wear these fun Mickey shirts on our Disney trip and the best part is the shirt is mostly white (and therefore cool!) and the Mickey faces we tie-dyed on them are such fun, bright colors… YAY! Bring on Disney!
To see which parties I have linked up with, click HERE.

