I recently did this post as a Guest Post on Ada’s blog, Elegance and Mommyhood and wanted to share it here as well!
I have been seeing a lot of tassel necklaces (and tutorials) lately on other blogs and Pinterest and I decided I wanted to try it out myself. So, today I am sharing a fun little DIY tutorial with you on how to make your very own beaded tassel necklace!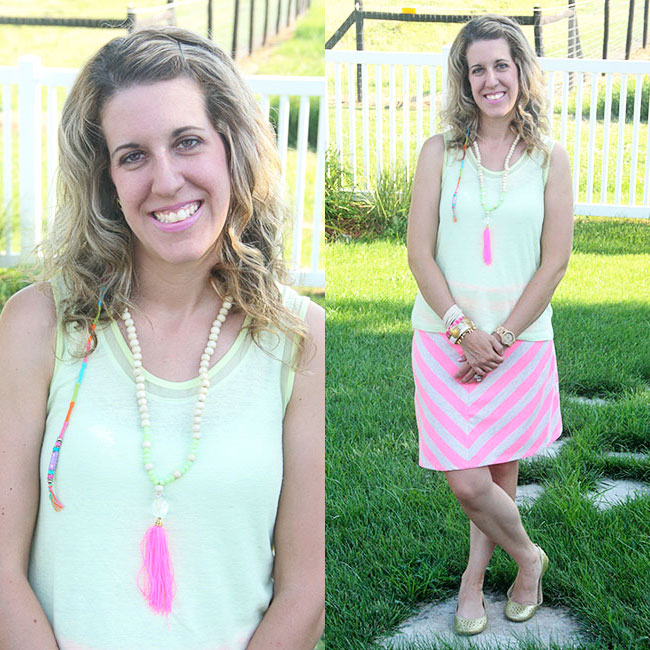
Supplies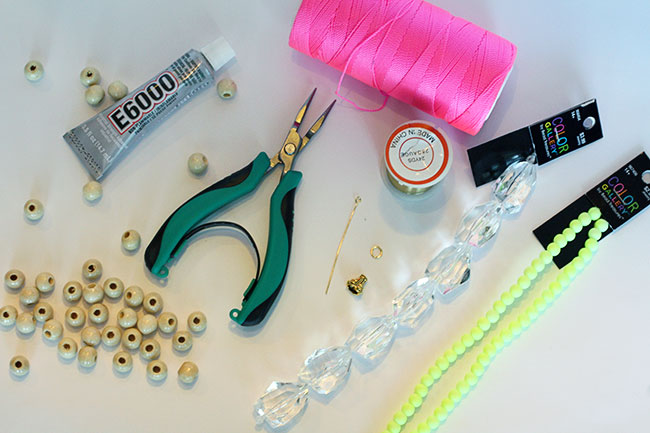
I bought all of the supplies for this necklace at Hobby Lobby. You will need:
2 packages of wooden beads (7mm-9mm in size)
1 package of accent beads, mine were neon yellow (Make sure they are a smaller size than the wooden beads to make the necklace more interesting)
1 accent piece (I bought a strand of clear crystals)
Metal Bead Cone
Nylon Thread (this is for the tassel, mine is in hot pink. Nylon thread is MUCH better to use than embroidery thread IMHO)
Bead Wire in Gold
2″ Open Eye Pin
E6000 Glue
Round Nose Pliers
Capped Topper Instructions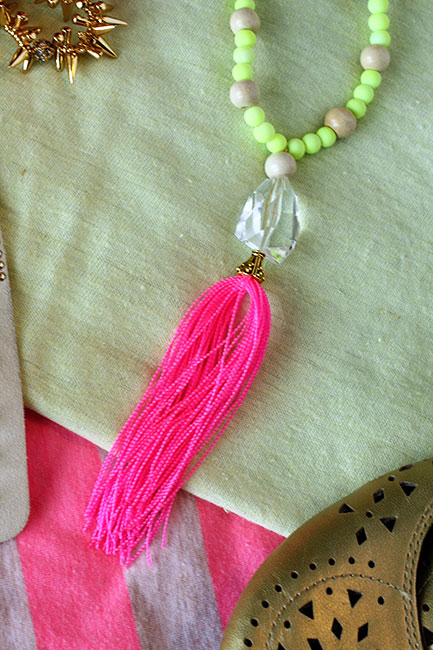
The first step of the process is making a topped tassel topper for your necklace. This is the most complicated part of the entire process, but once you do it once you’ll be a whiz!
Take your nylon thread and wrap it around a 7″ book (or piece of cardboard) 20 times.
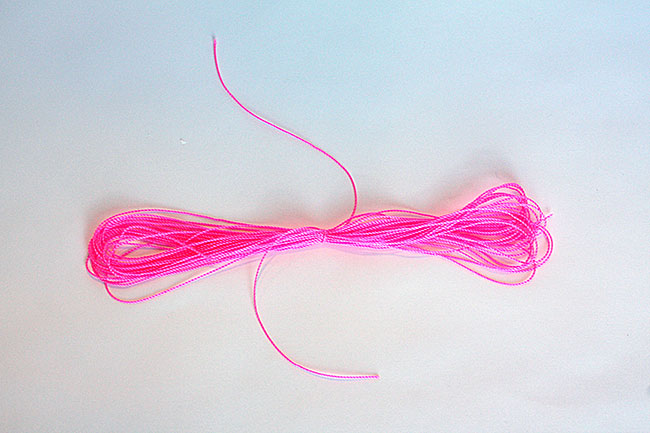
Carefully remove the string from the book. Take a small piece of the nylon string and use it to tie the string in the middle.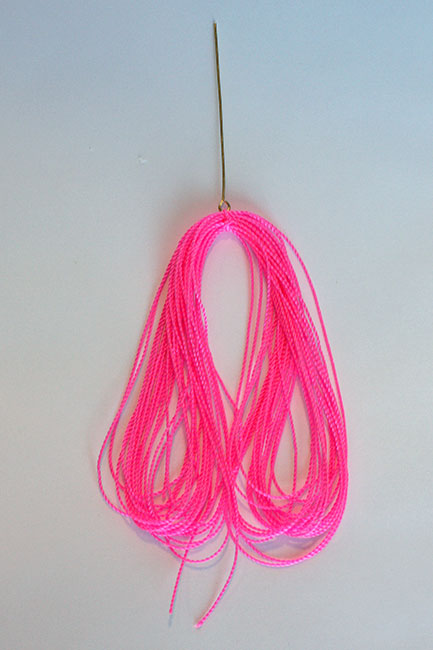
Take the 2″ open eye pin piece with your round nose pliers and open up the eye/hook on the end, so that you can hook it onto the string in the center of your tassel. 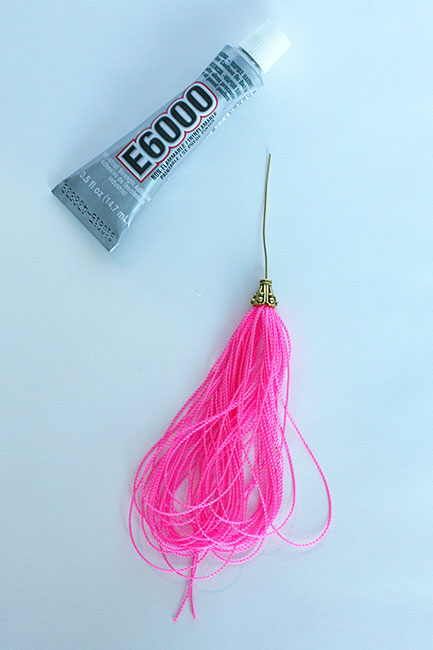
Then, close the hook and secure it by adding a couple drops of the E6000 glue. Add some glue inside the metal bead cone and then slide it down on top of the tassel. You’ll want part of the tassel inside the cone. Now you can cut the tassel and trim it up.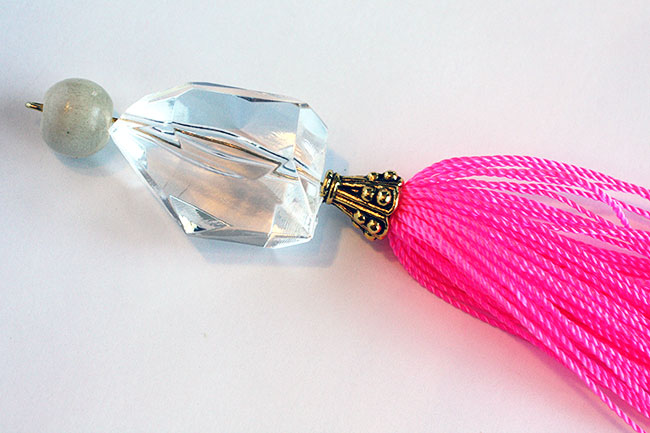
Then add your clear crystal (or whatever accent piece you chose) and a wooden bead on top of the metal bead cone. You don’t need to add any glue to them, just slide them onto the 2″ eye pin.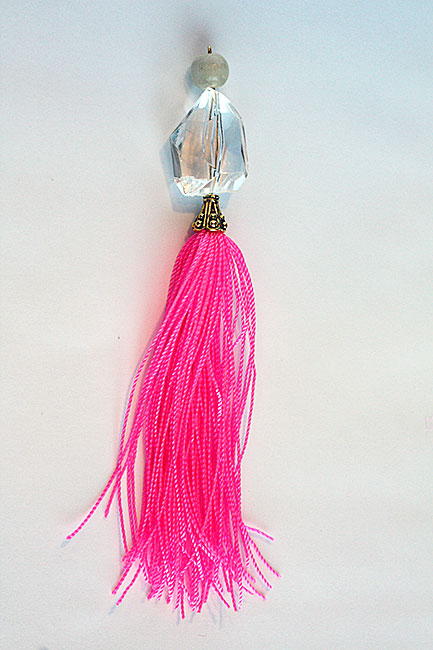
You can see here that I took my round nose pliers and curved a little loop at the top of the 2″ eye pin. This is where your bead wire will go through to form the rest of your necklace!
Beaded Necklace Instructions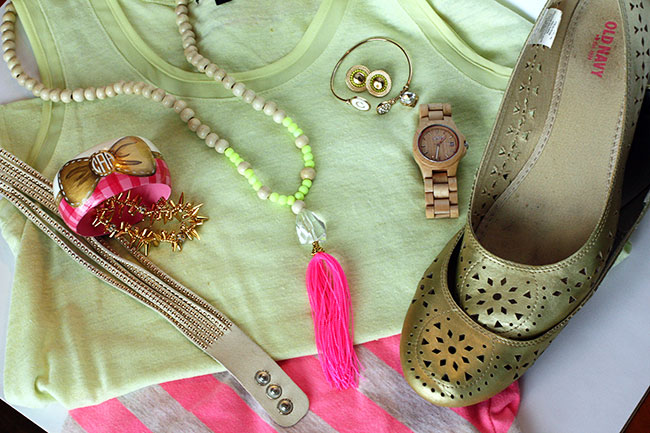
Now, we have a capped topper for our necklace, but no necklace! So, let’s get started on the easest part of this DIY, the beaded necklace itself!

Ok, so… see this mess of bead wire? Um, yeah… be careful with that stuff. Once you unrap it, it starts unraveling and will not stop until you have a big tangled up mess. Yes, this happened to me. 🙂 Anyway, you’ll want to figure out the length you want your tassel necklace to be and cut a strand of the bead wire at that length. I decided to make the necklace 30″, since tassel necklaces are a little on the long side. I think when I make another necklace, I will go to 31-32″ for a little extra length since I am 5’7″. Here is a wonderful chart I pinned (see it HERE) to go by when selecting a necklace length.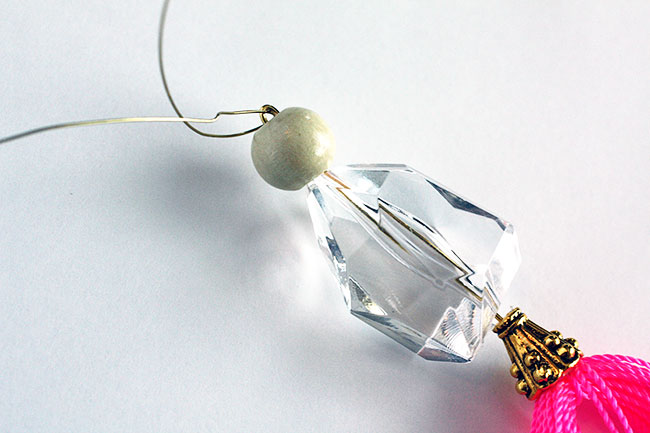
Take the bead wire and loop it through the eye you made at the top of the eye pin.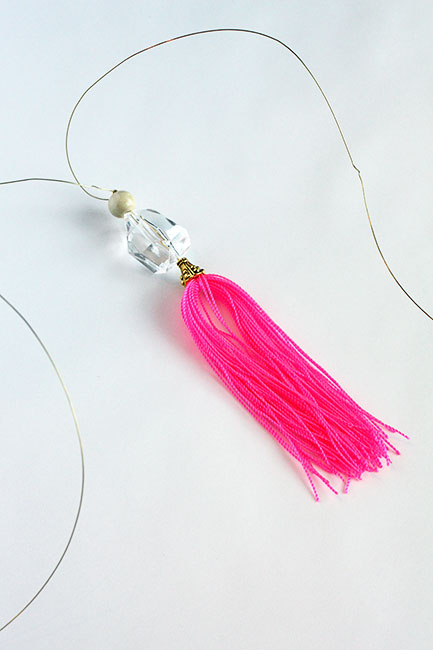
Take the bead wire and pull it up and make sure it is even on both sides. Now you’ll start adding beads and you want to count how many beads you put on each side so that the necklace is even on both sides of the capped topper.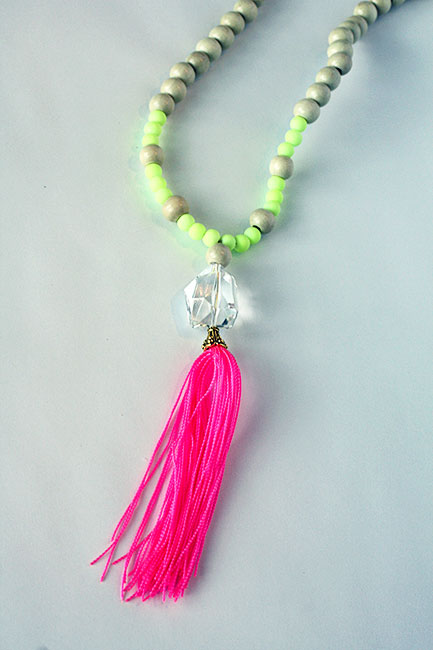
You can do any pattern you want with colors and it helps to pin photos of beaded tassel necklaces on Pinterest or on fashion blogs you follow to get some ideas going before shopping for beads and planning out your necklace. I have an entire tassel folder on Pinterest that you can find and follow by clicking HERE.
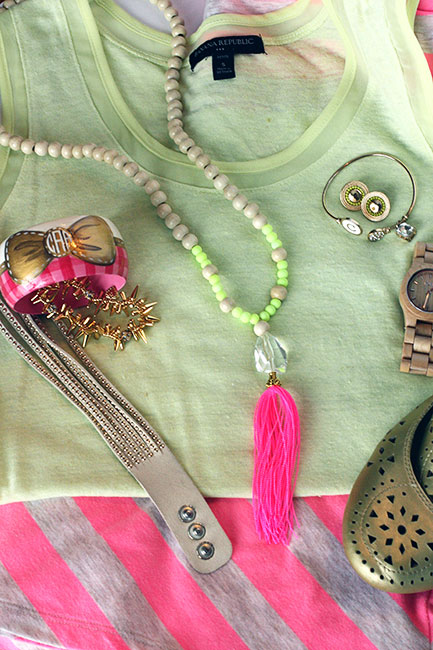
What I did for this necklace was 3 neon yellow beads on each side, 1 wooden bead on each side and then I repeated it two more times. I finished the rest of the necklace off with wooden beads.
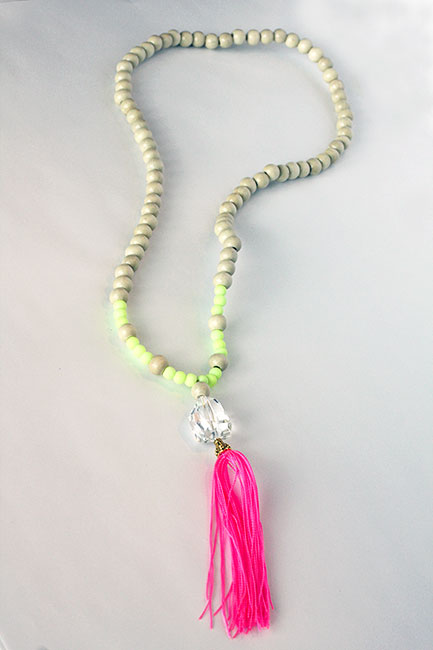
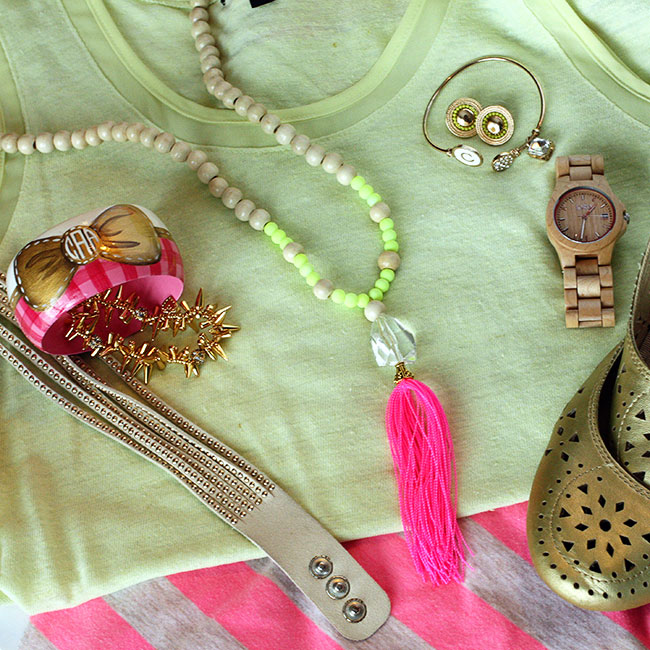
Finished necklace.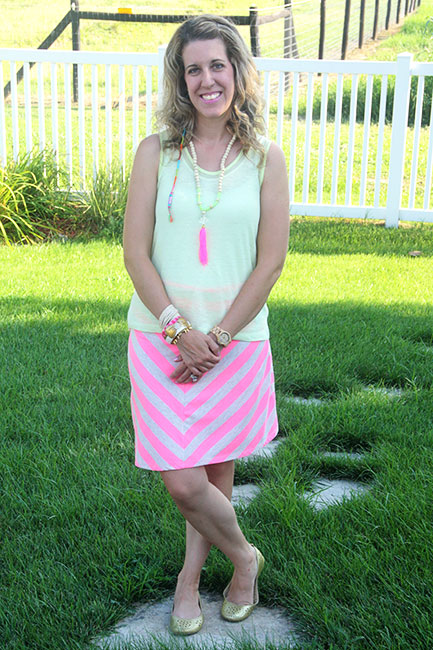

And, of course I have to show you what the necklace looks like on!
I hope you enjoyed this tutorial on how to make a fancy beaded tassel necklace and that it helps you to make your own. I am already starting to think about some fall colors to use for tassel necklaces.
I hope you enjoyed this tutorial! I can’t wait to try an agate necklace and some tassel bracelets next!
To see which parties I have linked up with, click HERE.

