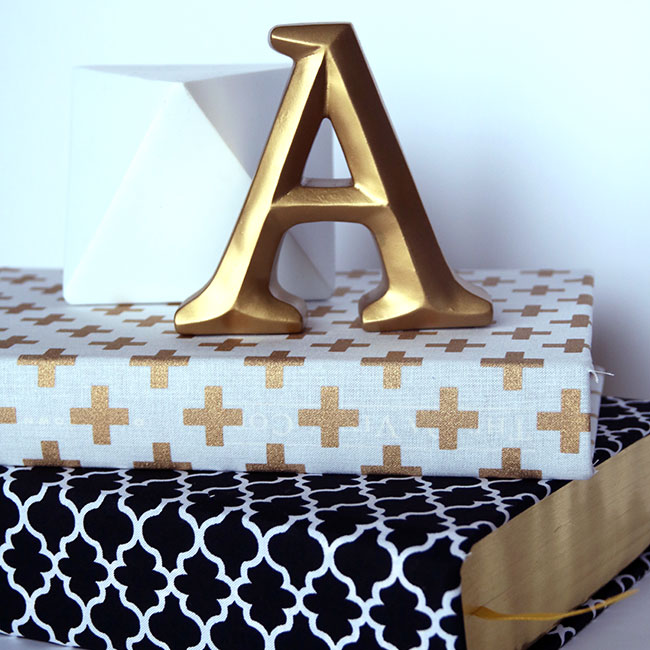
You won’t believe this, but I have FINALLY finished decorating the gold bar cart from Target that Brian got me two years ago! I am really pleased with how it turned out and I can’t wait to reveal it with y’all next week! This bar cart has ALSO inspired me on how I want to decorate our family room- in gold, black and white! 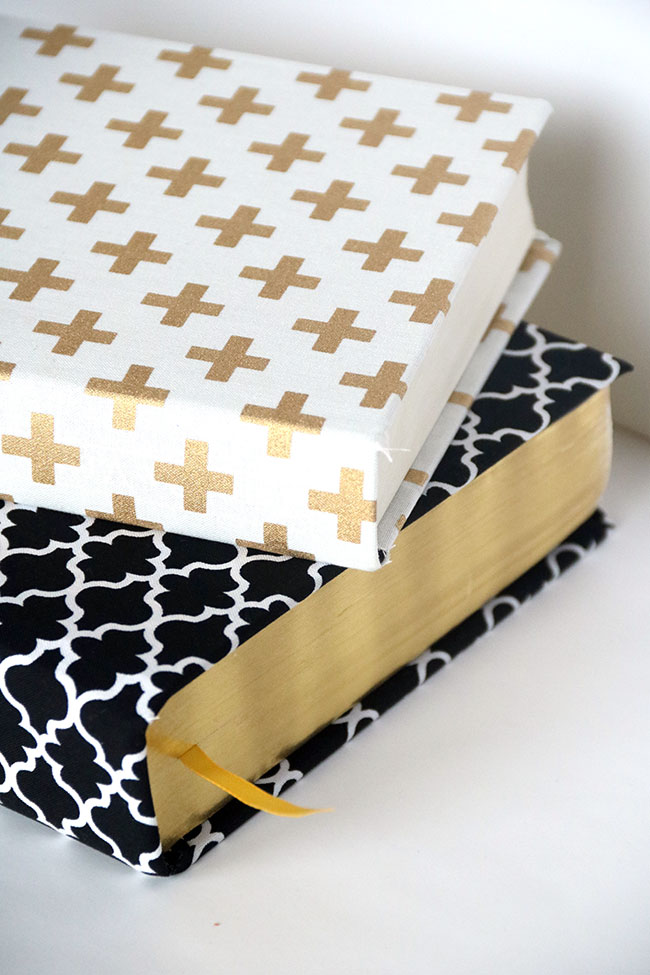
I could have sewed fabric book covers for the cart, but I wanted something quick and easy… because, I am a busy mom and I also have a lot of unwanted books downstairs that need to be put to use. I was going to use three books, but when I added a couple of knick knacks on top of the books… I realized it looked perfect.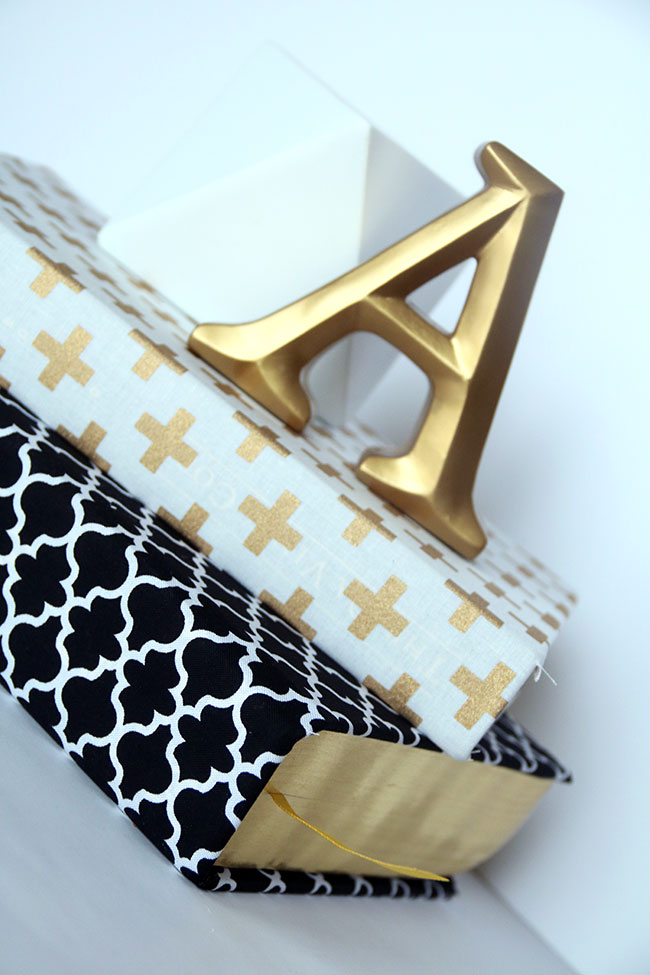
Once you learn how to do this, you’ll be thinking of places to add fabric covered books in all areas in your home. Its quick and easy and who doesn’t want to look through all of the fun fabric patterns and colors at Hobby Lobby?!
How to Create an Easy Fabric Book Cover
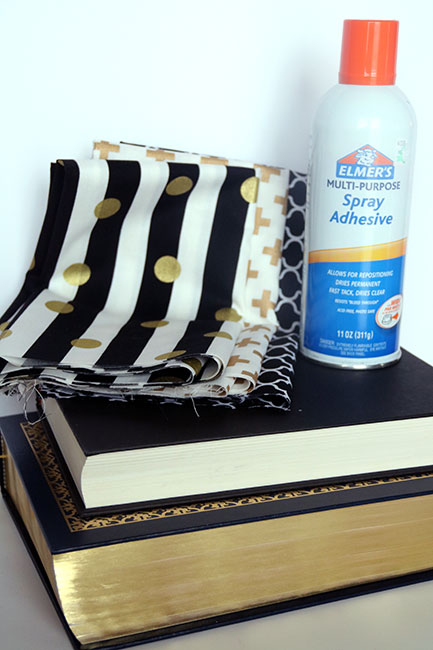
For this project you’ll need:
- Fabric
- Old Books
- Spray Adhesive
- Fabric Scissors/Glue Gun (Not Pictured)
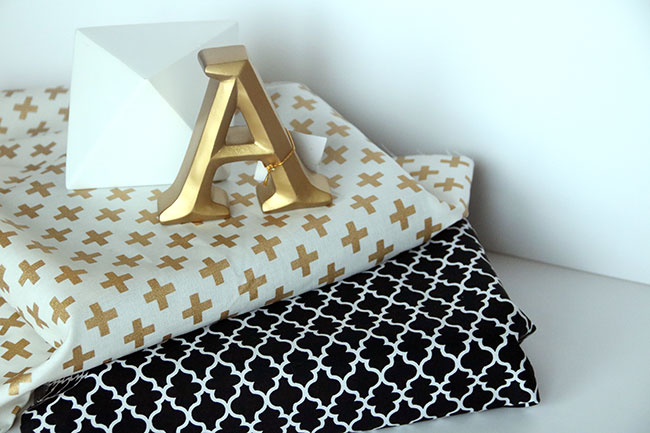
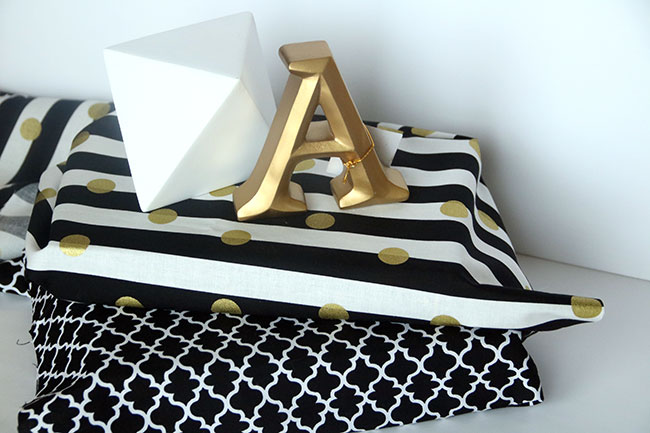
For this project, I had purchased THREE fabrics, because I thought I’d make three fabric book covers. However, when I decided to do just two books, I had to single out one of the fabrics. I decided to go with the first photo and the top fabric in the second photo I tossed (well, it’ll get used for something else).
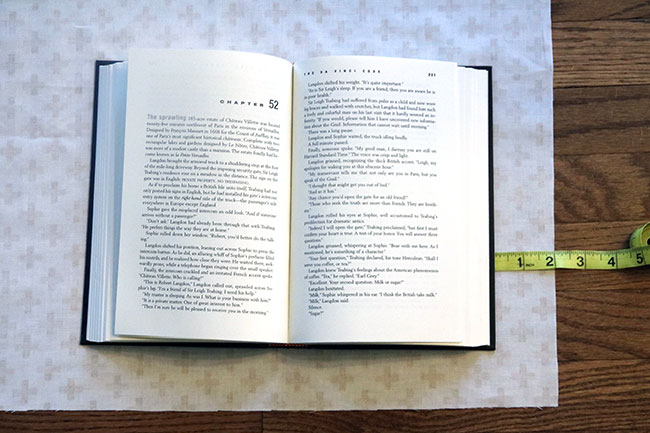
Lay your fabric on the floor and measure 2″ out around it, Then, cut the fabric.
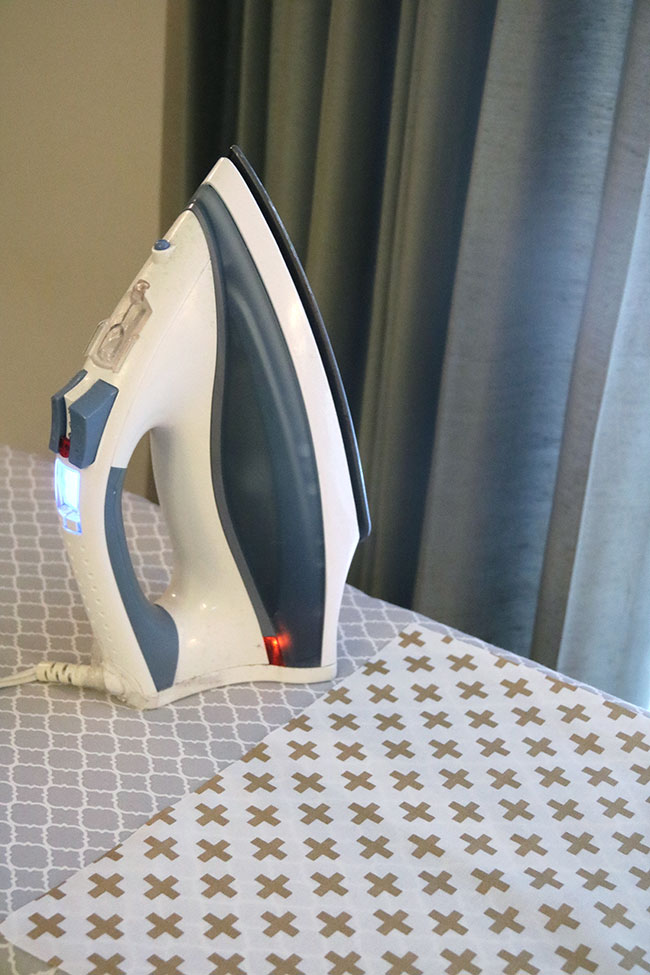
You could iron your fabric first, but I like to iron it after I cut it. Its more manageable that way and not a huge piece of fabric.
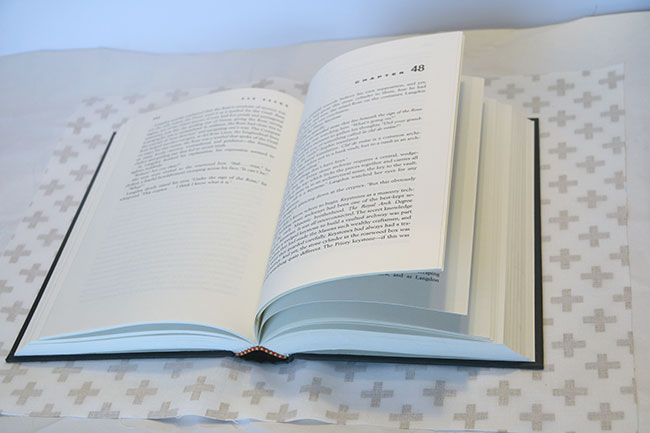
Get a big piece of scrap paper or cardboard and go outside or in the garage and spray the inside of your fabric with spray mount. Then lay your book (open) on top and press down so that it adheres to your book.
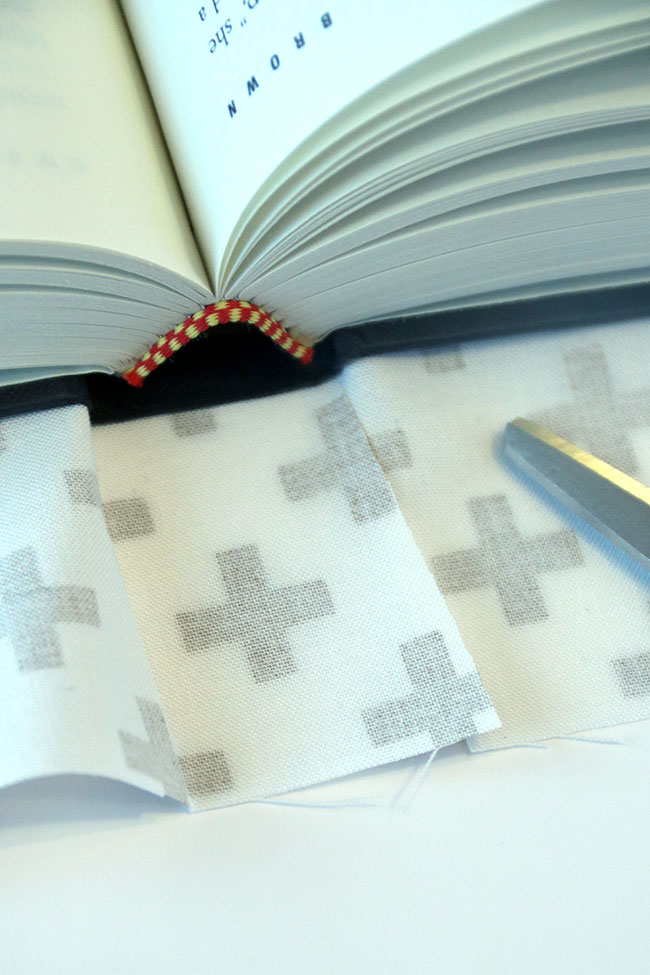
Cut two strips on each side of the spine. You will tuck this fabric into the spine later.
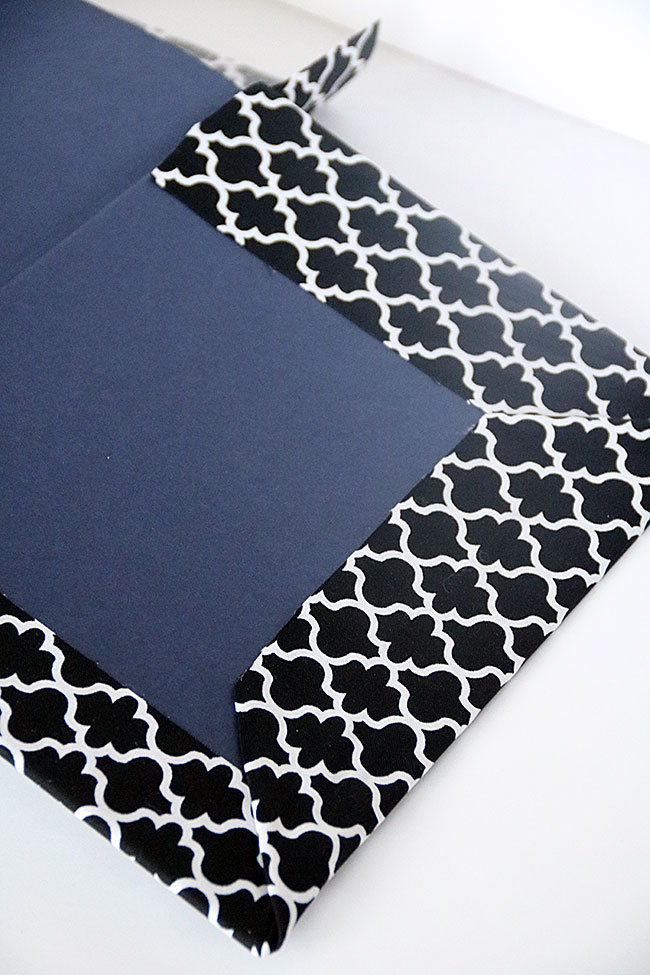
Use your hot glue gun and glue the fabric that hangs over onto the inside of the book. Fold in the corners so that it looks like the above photo.
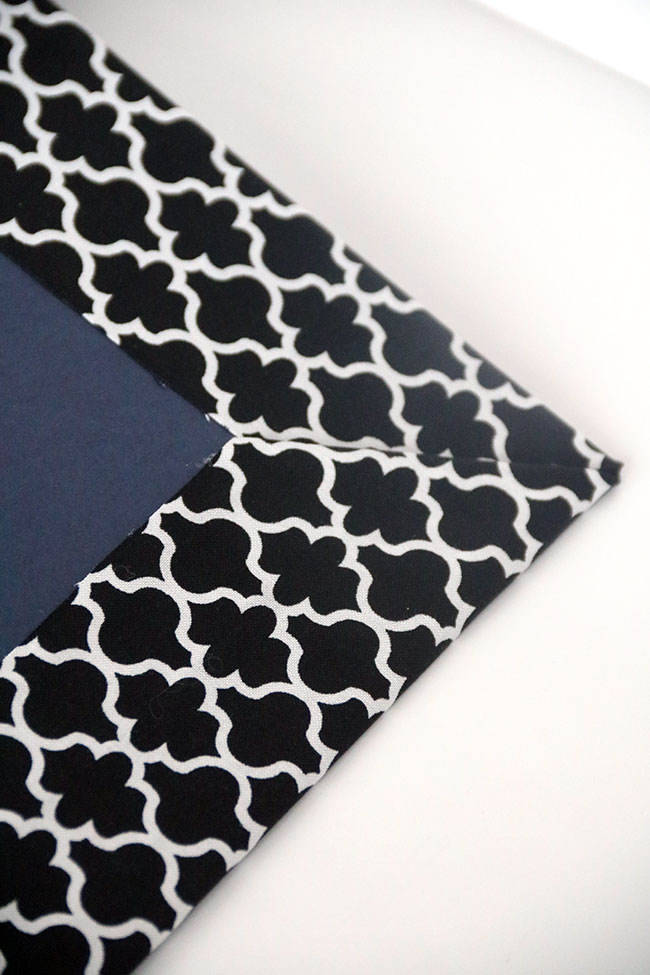
Here is a close up of one of the corners I hot glued down.
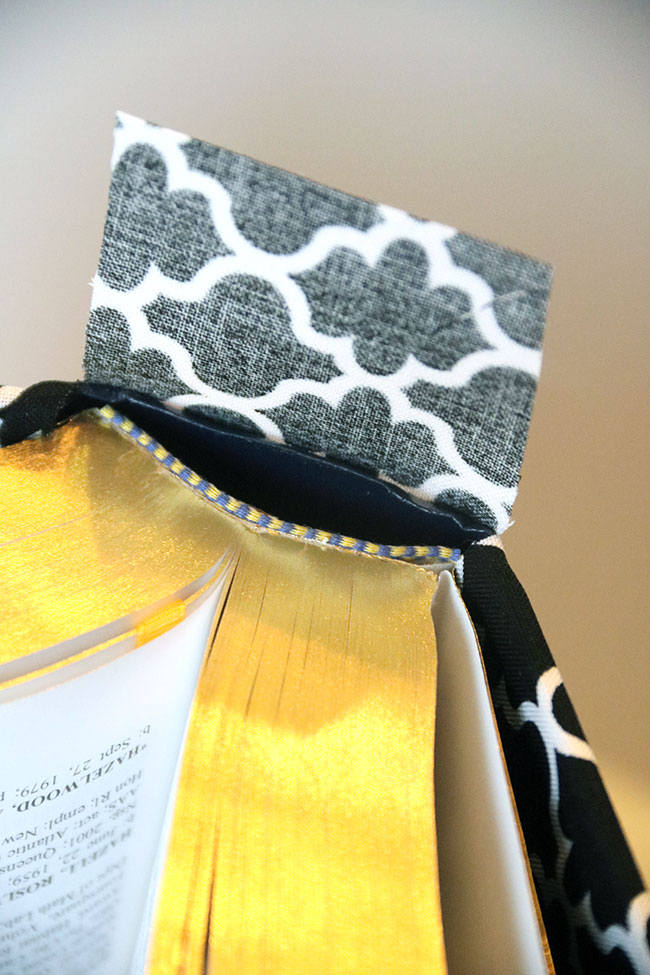
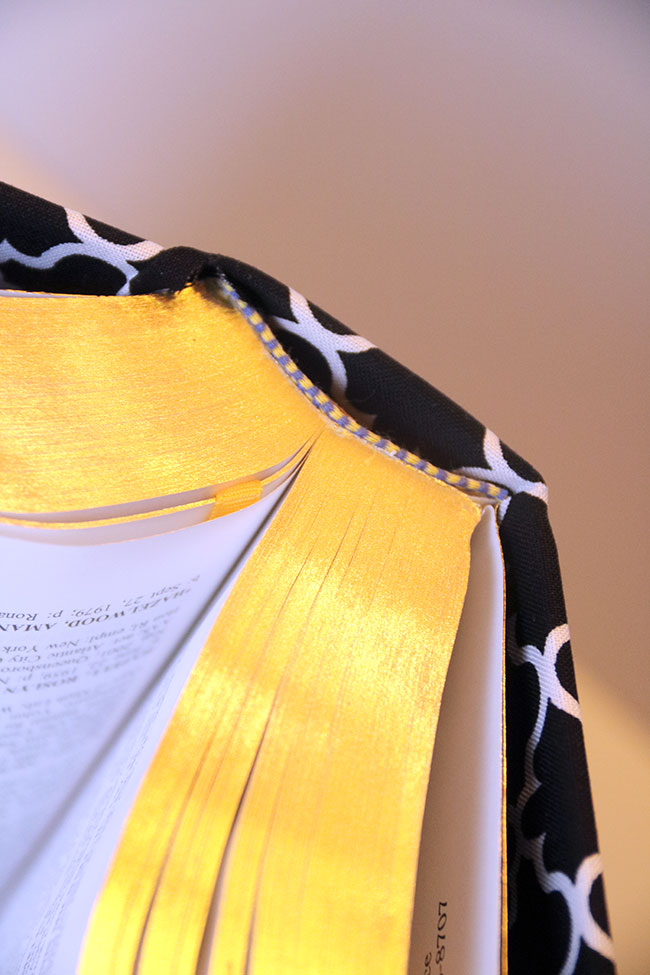
Now, use a your finger or a dull knife to tuck in the flap of fabric into the spine.
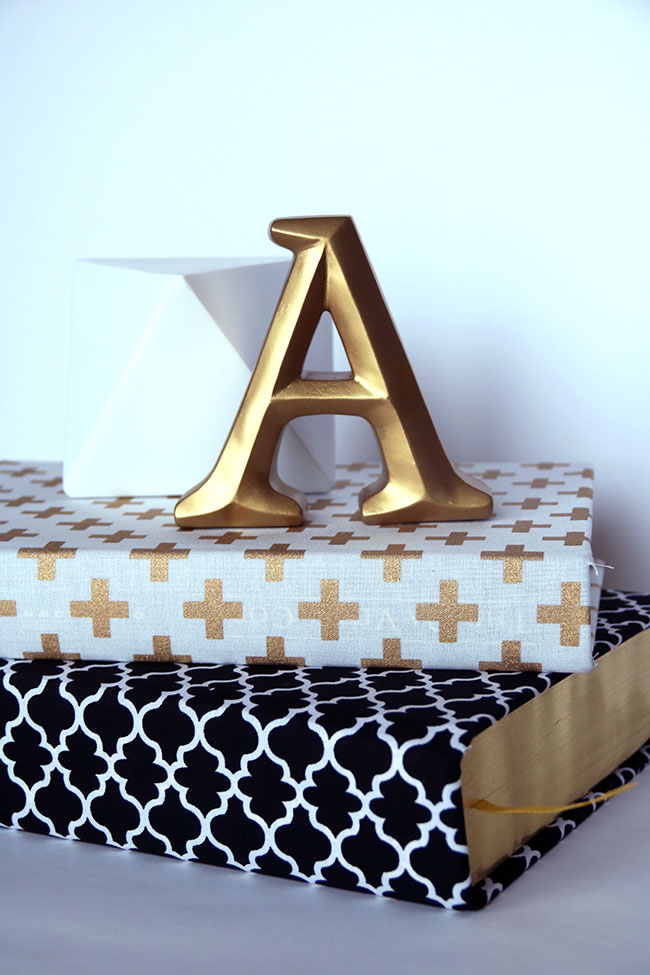
And, that’s it! Next week, you’ll see how I placed these books on the bar cart! Stay tuned!
Join my NEW Monthly Newsletter – Curly Crafty Mom News!
I am starting my first ever monthly newsletter for this blog and I would LOVE for you to join my mailing list! I plan to add topics to the newsletter that aren’t on the blog, including a blog tip of the month, an oldie but goodie (I’ll share one of my old posts that was popular), a featured blogger of the month AND more! You can subscribe by entering your email address in below and hitting ‘Subscribe’!
Subscribe to Mailing List


