Welcome back to 12 Months of Wreaths!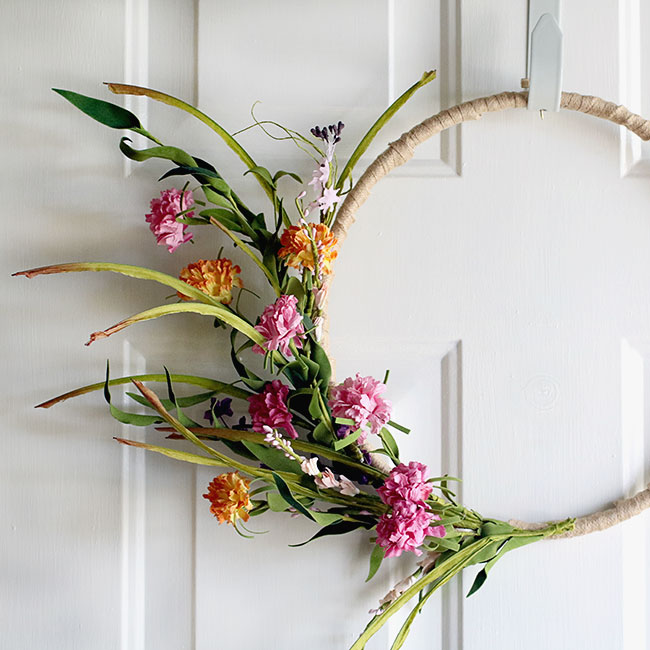 Hi everyone! Welcome back to our fourth month of 12 Months of Wreaths! This month I wanted to work on a burlap wrapped embroidery wreath with colorful Spring blooms and greens. I would love to recreate this wreath again someday with FRESH blooms. Wouldn’t that be amazing? I guess it wouldn’t last long, though. This wreath was SO easy and took me a little over an hour. You’ll also notice it isn’t ‘neutral’, but I’ve decided I want lots of color on my porch this Spring… the neutral colors can stay inside the home. 🙂
Welcome to 12 Months of Wreaths – April!

Curly Crafty Mom – Simple Spring Wreath on Burlap Wrapped Embroidery Hoop
Mom Home Guide – April Flowers Wreath
The Southern Couture – Mother’s Day with a Heart Shaped Photo Wreath
Bethany at The Southern Couture Blog | Facebook | Pinterest | Instagram | Twitter | Google+ | Bloglovin’
Floral Wreath Detail Shots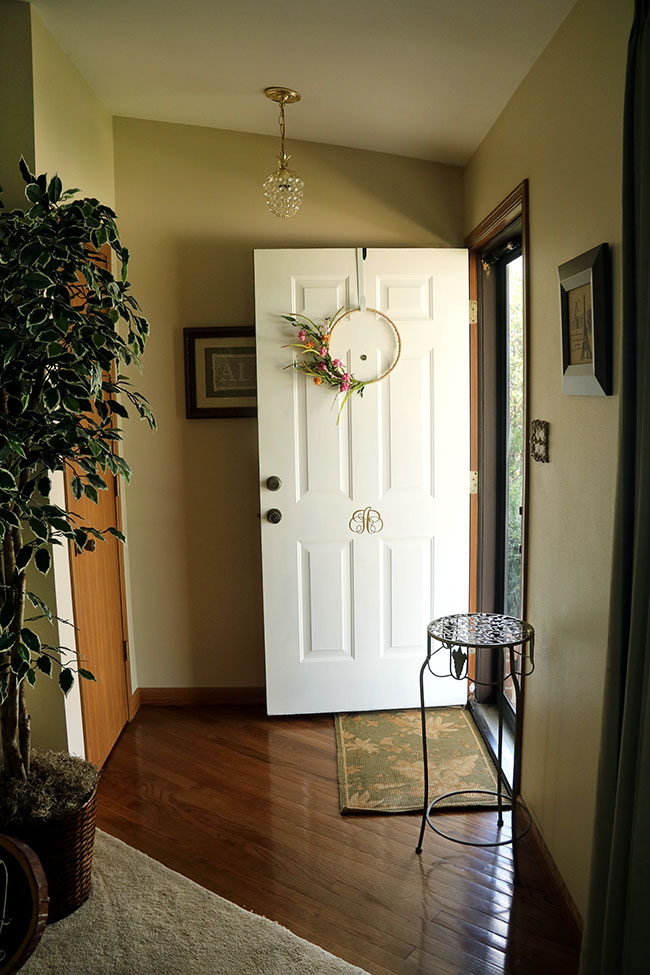
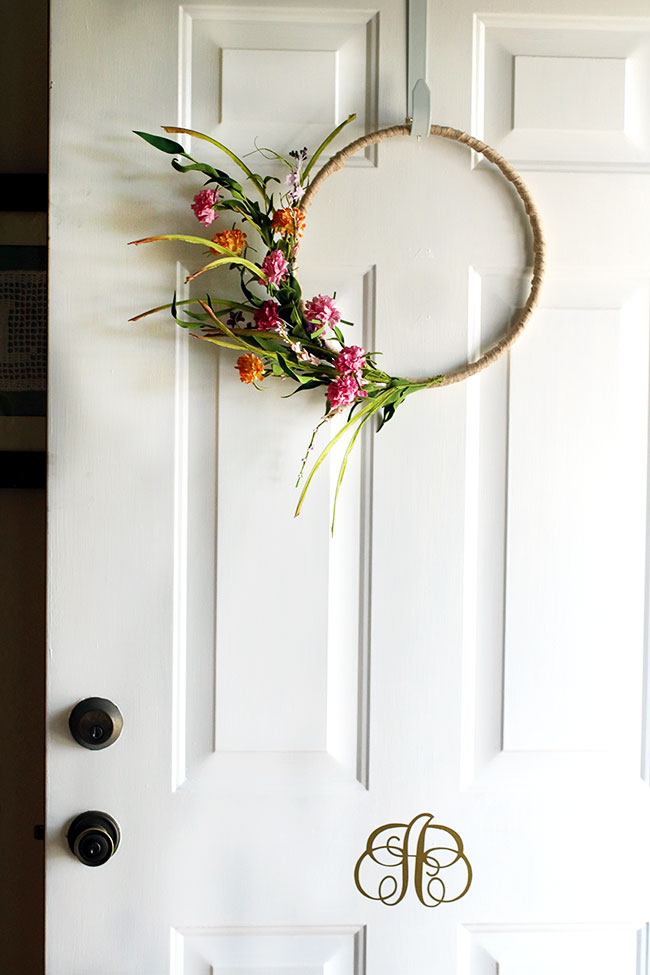
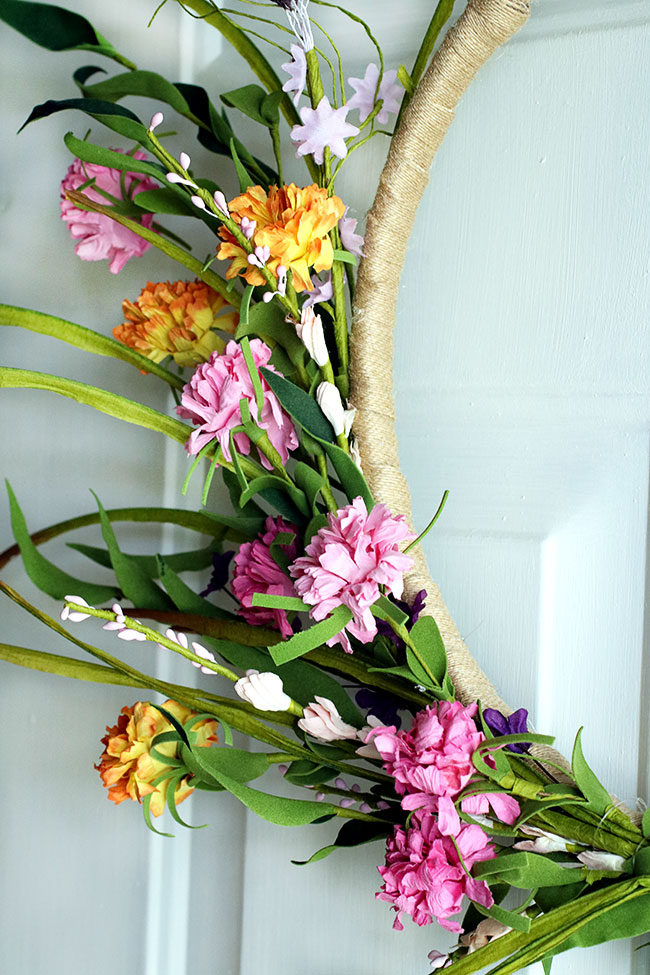
I’ve learned (the hard way) that I need a fairly THIN wreath for my front door. Otherwise it gets smushed in-between the front door and storm door! This wreath works perfectly. I did have a little trouble hanging it at first, because it wanted to lean to one side since it’s heavier on the side with the flowers. One way to fix this is to hot glue some small weights to the back of the lighter side (I used some leftover from my son’s Pinewood Derby car!) and then it’ll lay perfectly!
How to Make a Floral Embroidery Wreath
The supplies for this project were pretty simple: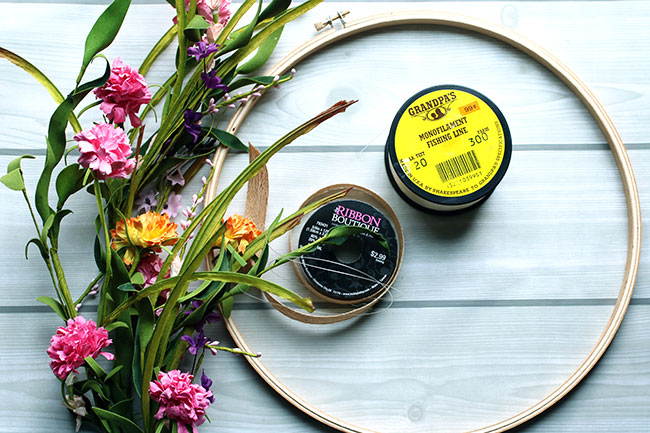 You’ll need:
- 12″ Embroidery Hoop
- One bunch of Floral Flowers/Greens
- Jute Ribbon (I had to go back and purchase another roll, so you’ll want 2 rolls.)
- Fishing Line
- Hot Glue Gun
- Weights to glue to back side so it doesn’t lean when you hang it (not pictured- used Pinewood Derby weights).
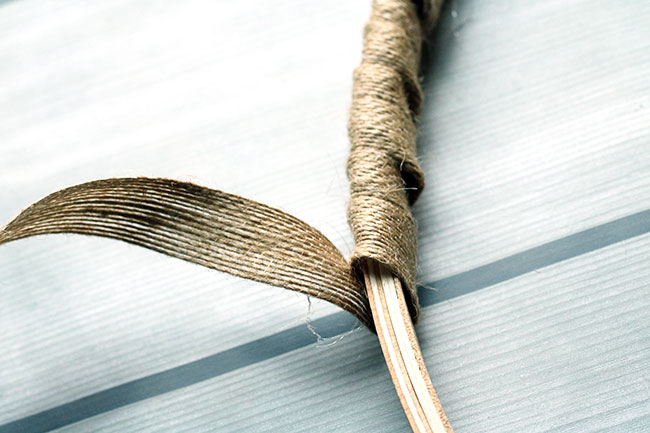
Wrap the jute ribbon around the embroidery hoop and secure with hot glue.
If your Spring flowers and green are all bunched together, cut them into individual pieces so that you can layer them on the wreath better. I had to cut mine into three individual pieces.
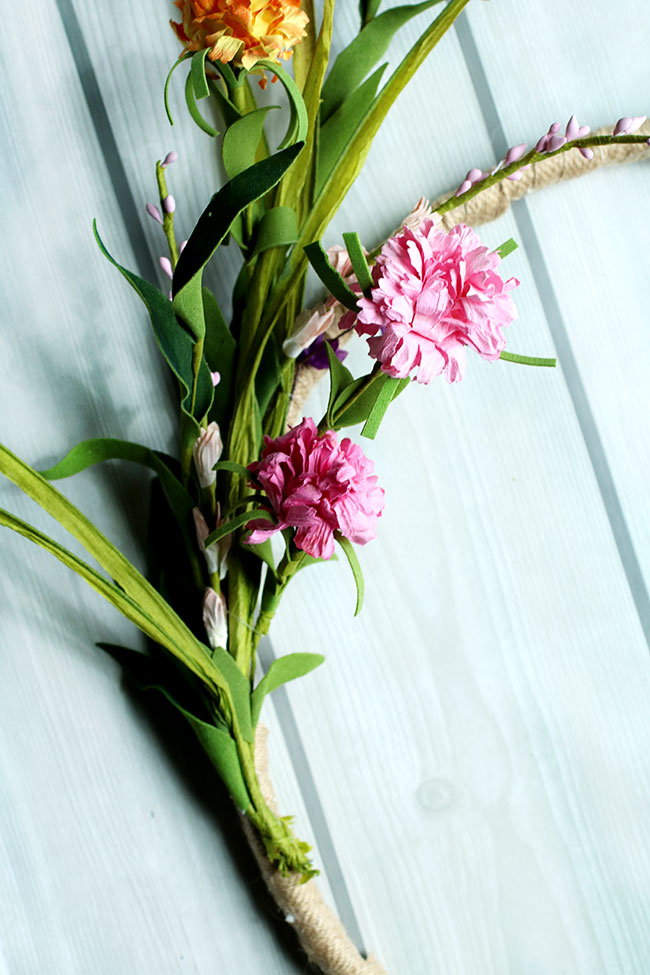
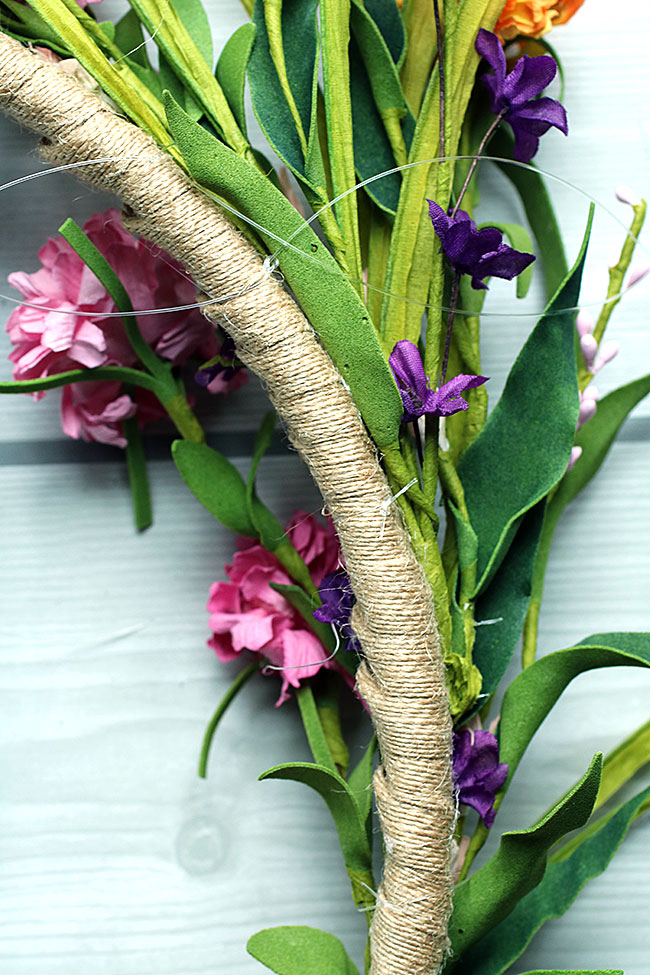
Hot glue the floral/green bunches on where you want them. Then secure them with fishing line.
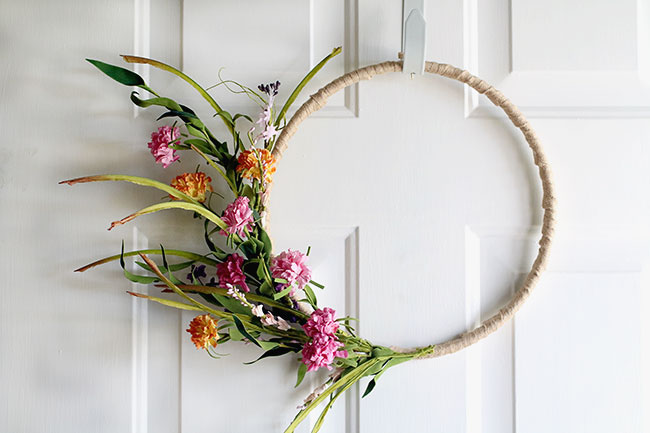
And, that’s it!! This wreath is SO easy and really brightens up my door! This wreath will work for the entire Spring! But, with summer coming up next month… I better start thinking about next month’s wreath! I have to say I am really enjoying this series and I enjoy scheming up a new wreath each month. I hope you enjoy following along with us! And, if you want to co-host with us one month, the info is at the bottom of this post! 🙂
Thanks again for joining us! We will be sharing a new wreath once a month in 2017!
Are you interested in sharing a wreath with us one (or more) months? We are accepting guest hosts! Email carrie (at) curlycraftymom (dot) com if you are interested!
