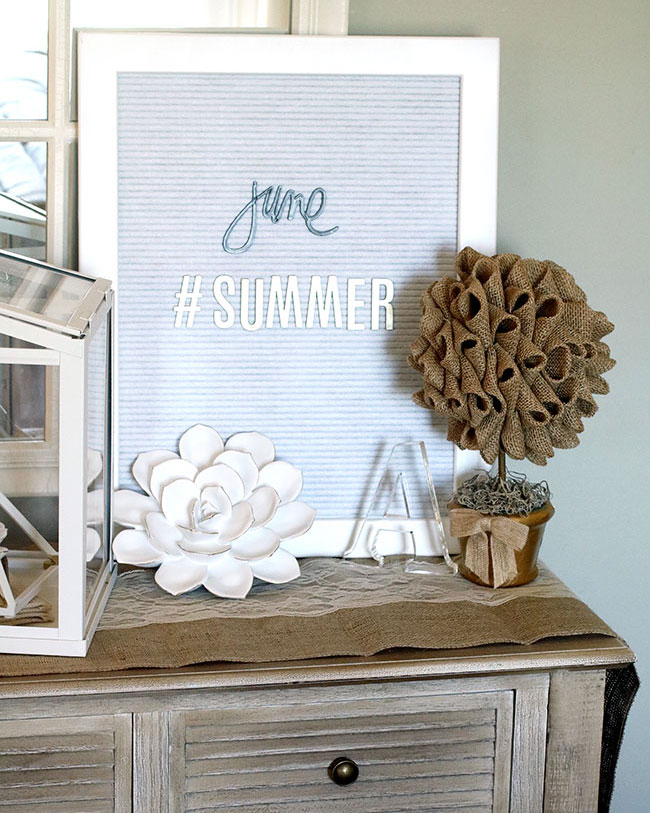
Well, Friday is here and I’ll take it! It’s been a really busy week here in our household. Autumn had two nights of dance recitals that went pretty late and I had a rush blog project on top of that. Now I am ready to relax a bit! We have a sunset dinner at the winery and also a graduation dinner for my brother planned for this weekend. Should be fun!
Today I am sharing some bubble burlap topiaries that I made! These were quick and easy and look lovely on my console table that I just decorated for the summer! BurlapFabric.com was kind enough to send me all of the burlap I needed for these topiaries and a few other items that I’ll share in this post.
BurlapFabric.com is sharing a coupon with all of you today. $5 off a $5 or more purchase. Coupon Code: CURLYCRAFTYMOM5
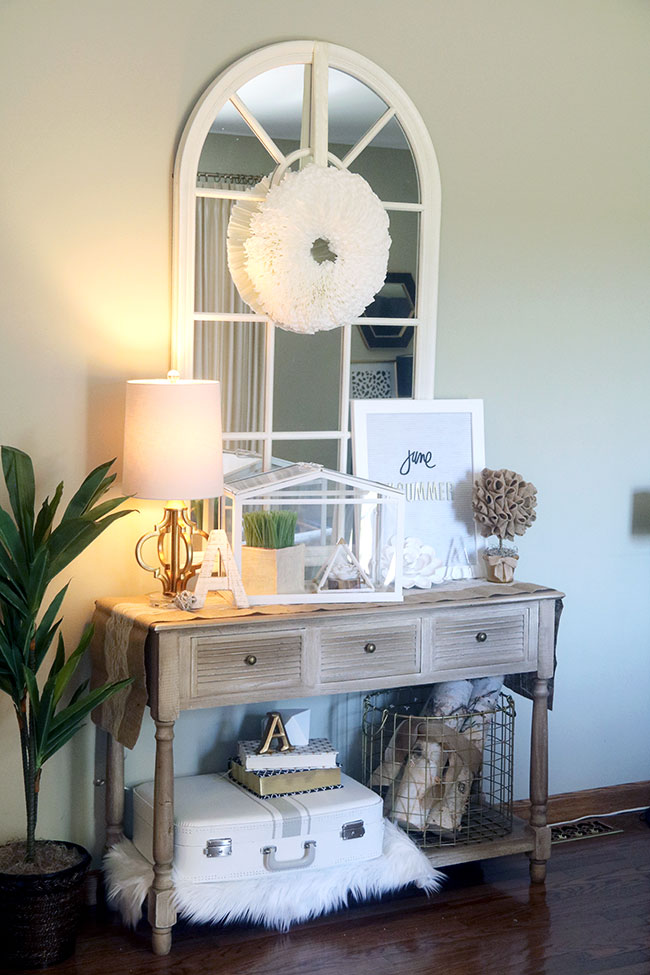
Brian gifted me this console table last year and I’ve been decorating it for different seasons and holidays. I had it all decorated for Easter, but once I took down our Easter decor it was bare! I decided it was time to decorate it for the summer.
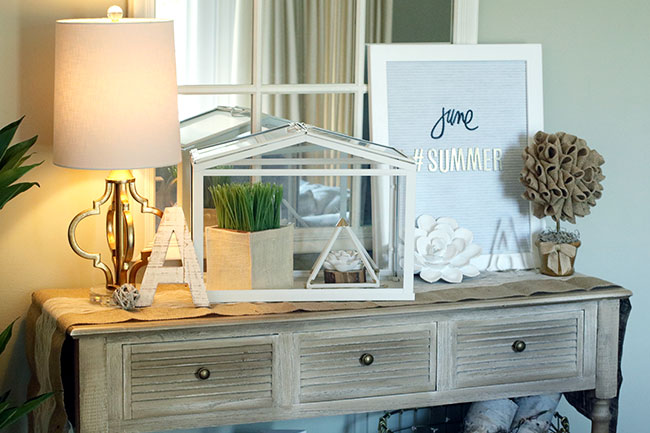
While I was shopping in Downtown Kirkwood, I was in a shop with my friends and a kind man behind the counter was giving away potted topiaries! I scored two of them for free! I put them downstairs until BurlapFabric.com contacted me about trying out some of their burlap products. That is when I knew I wanted to make bubble burlap topiaries!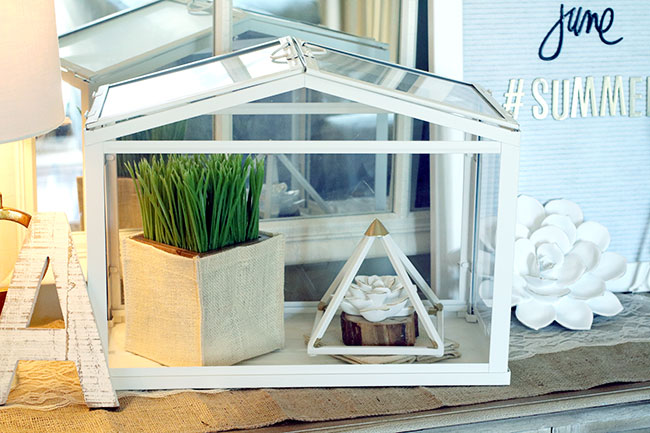
Decorating the terrarium is always fun, but can be a little challenging sometimes. I had this potted grass already, but added a burlap vase to it to soften the look of it. The white triangle with the gold points is also new.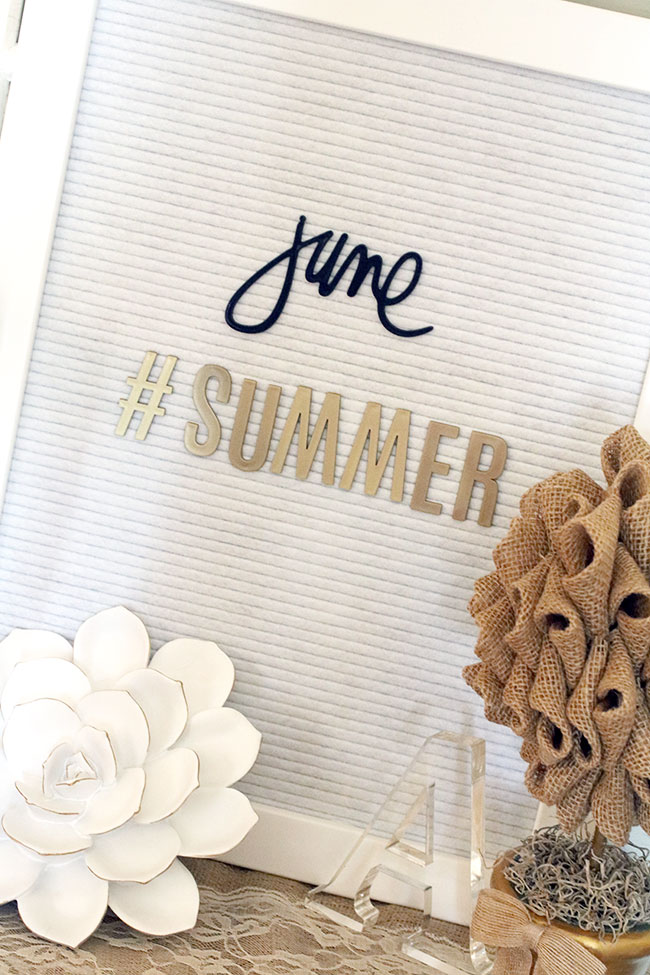
I also went shopping and purchased my very first letter board! I’ve been wanting one for AGES. They are expensive, but I had a 40% off coupon! I also purchased this white flower with gold edges and another one (which is in the terrarium) that is smaller. This clear ‘A’ is also new and goes perfect with all of the monograms and initials I have in our decor around the home.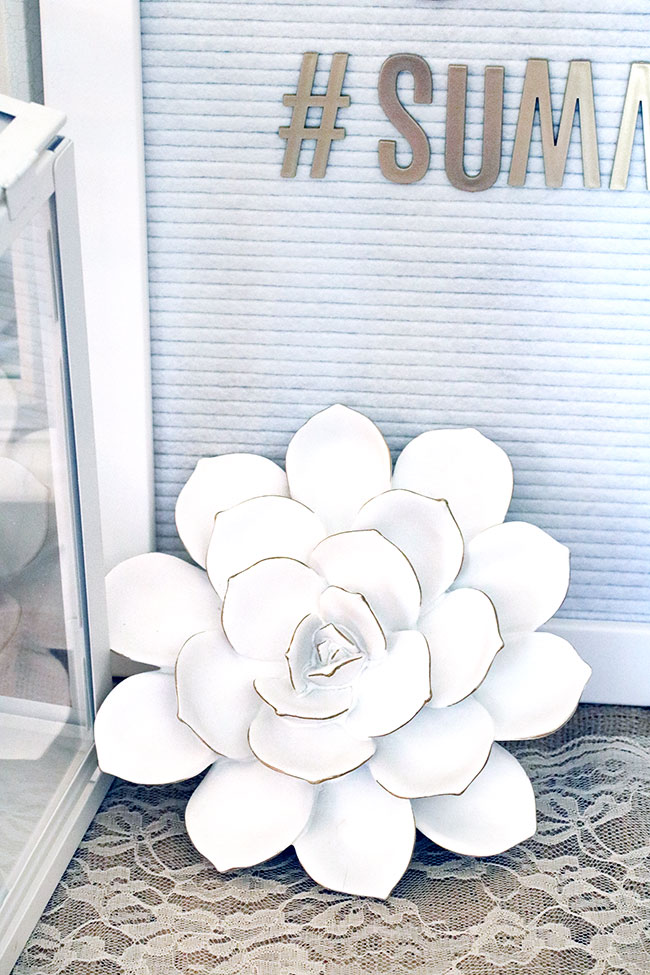
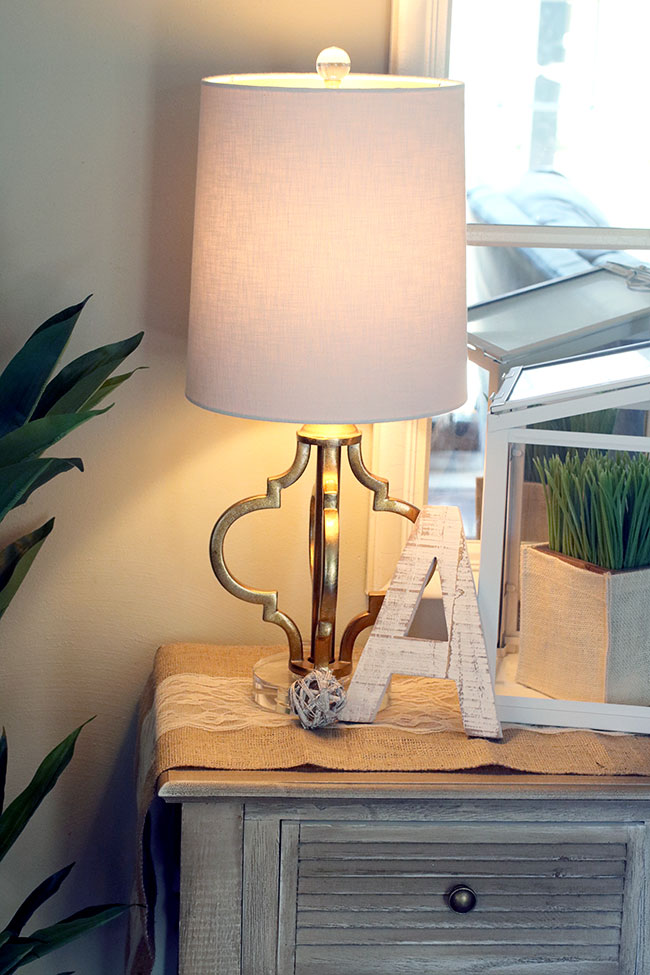
My son is always hashtag this, hashtag that. So, I decided to put June #SUMMER on our letter board. On the other side of the console table I have out a rustic looking ‘A’ and a little twisted wooden ball next to it.
You’ll see I have a new lace burlap runner for the console table. The one I had prior to this was just plain burlap, but I love the lace on this one and it is perfect for the summer!
How to Make a Burlap Topiary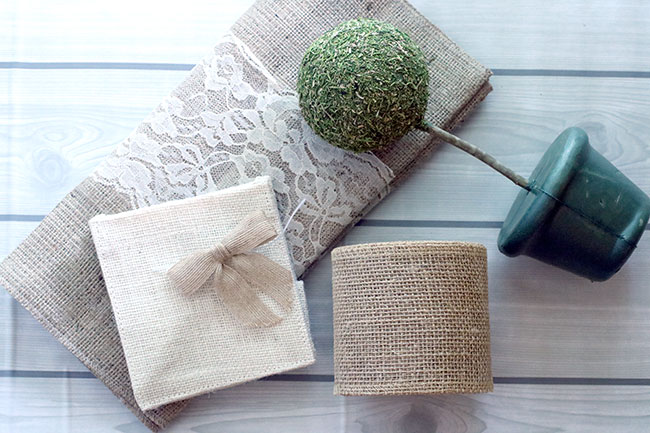
Making these burlap topiaries was easy and a lot of fun.
Here are the supplies I used:
Potted Topiary
4″ Burlap Ribbon
Natural Burlap Bow
Primer
White and Gold Paint
Ball Head Pin
Moss
Hot Glue Gun
**The lace burlap runner and burlap vase were just thrown into the photo, because they were the other items I received from BurlapFabric.com. You don’t need these to make the burlap topiaries.**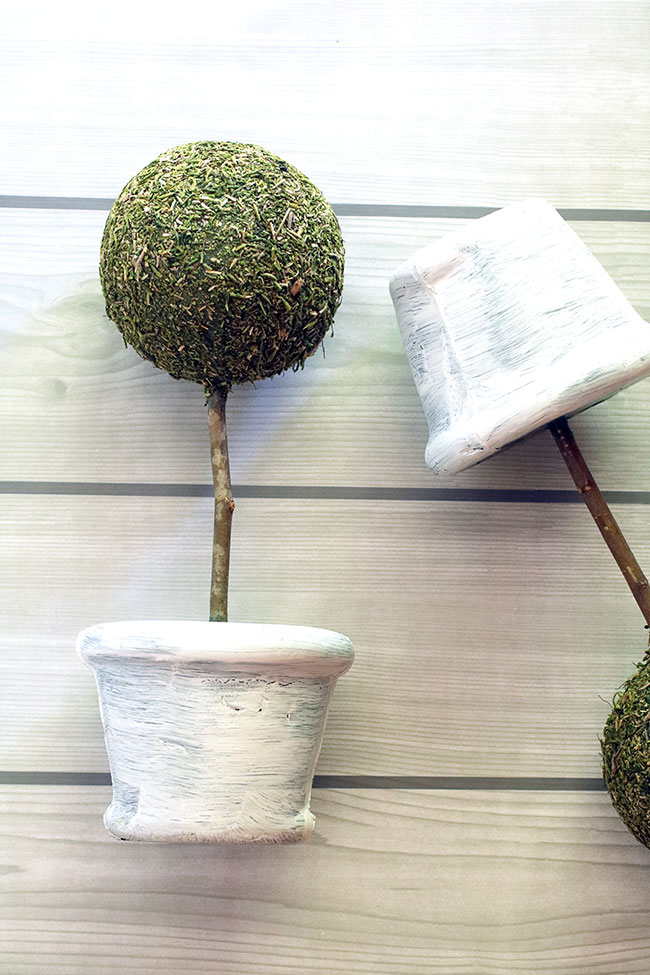
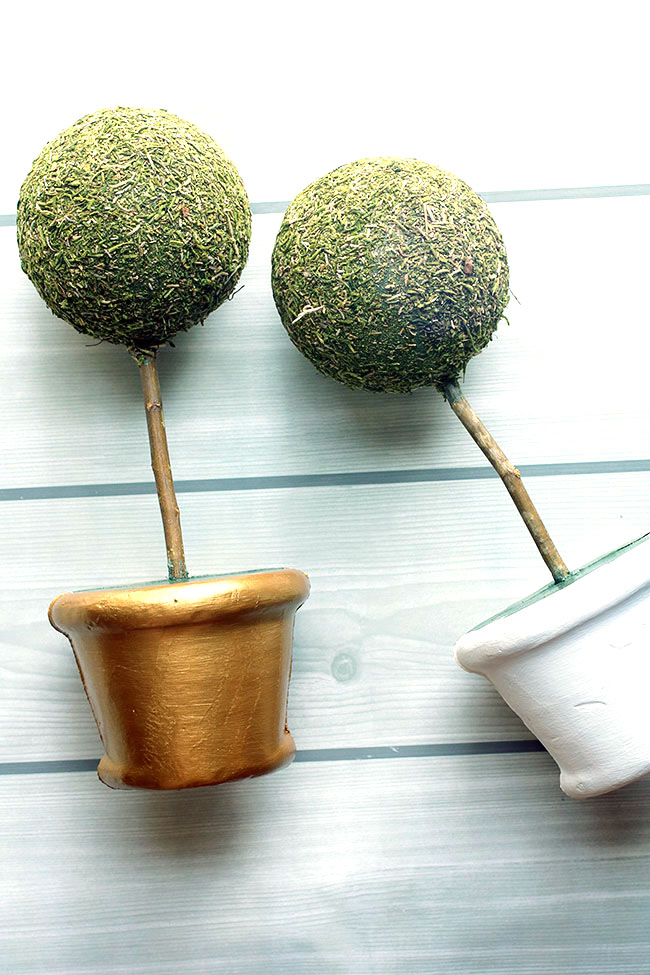
First you’ll want to prime the pots. Then I added two layers of an acrylic paint to each pot. I did one pot in gold and the other in white. You can do any colors you’d like.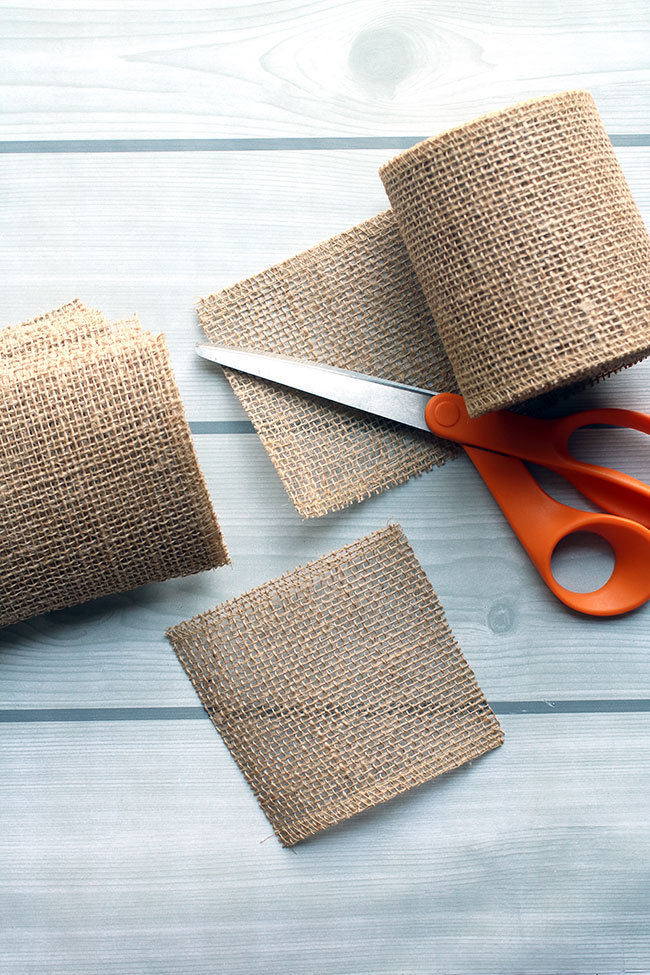
The 4″ Burlap Ribbon saved me a lot of time! I needed 4″ x 4″ squares, so I just had to cut the ribbon every 4″. If you cut out one square, you can use it as a template in which to cut your other squares.
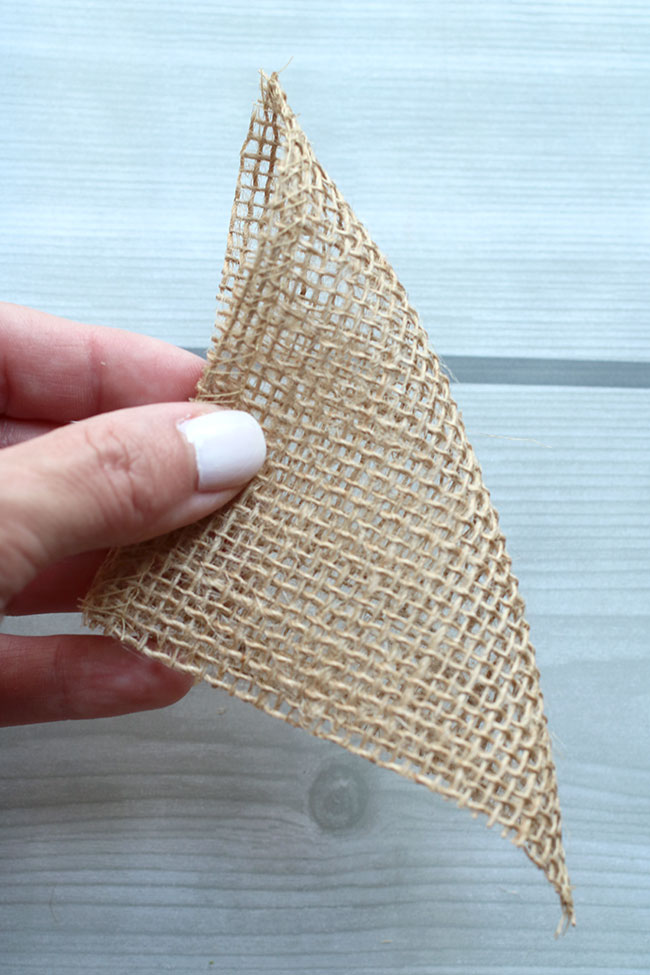
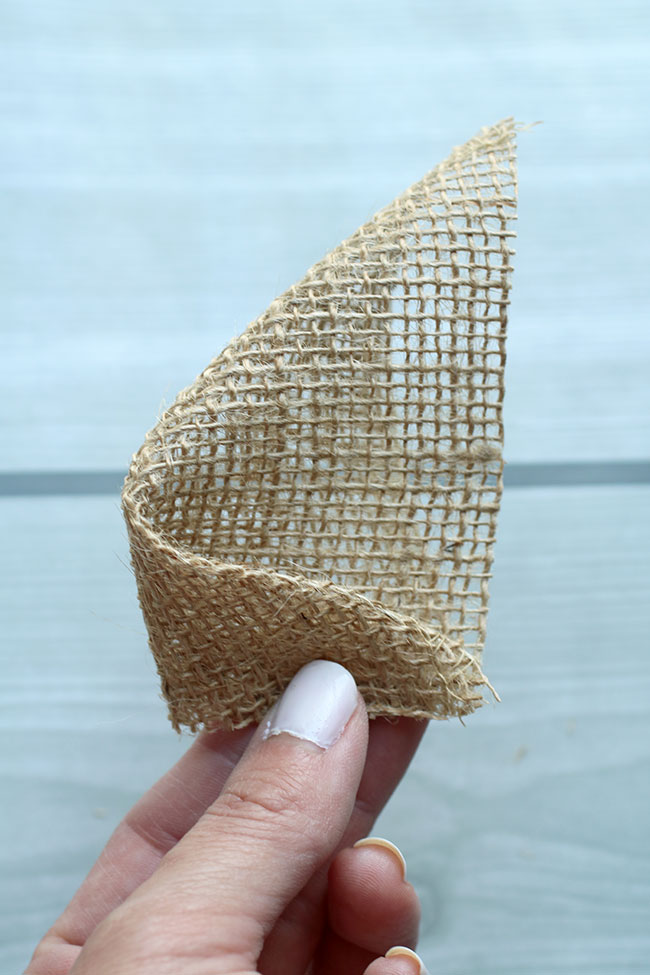
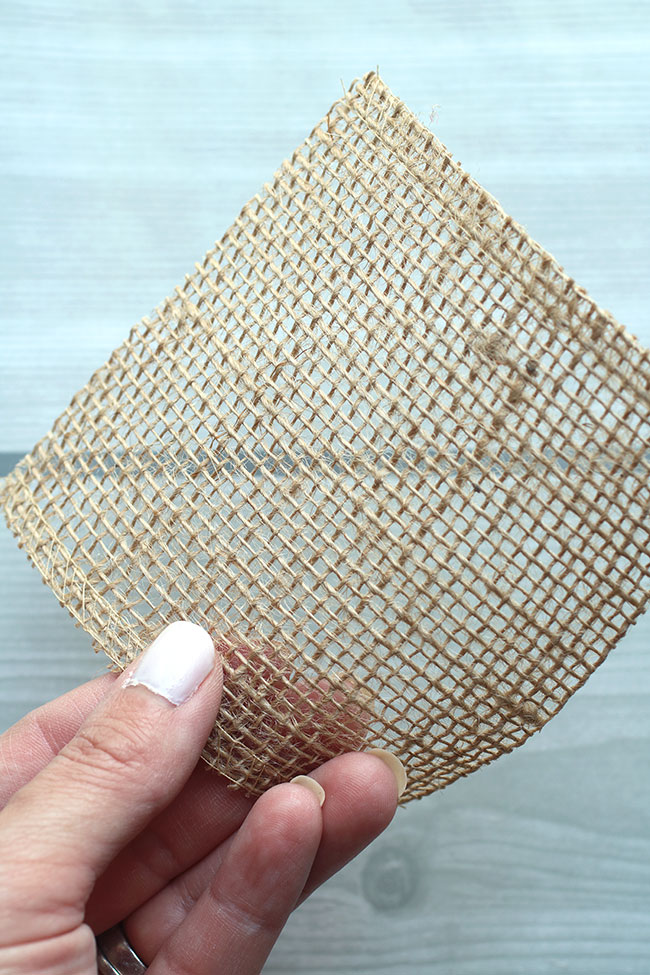
Take this 4″ burlap square and fold it in half as shown above. Fold in one corner.
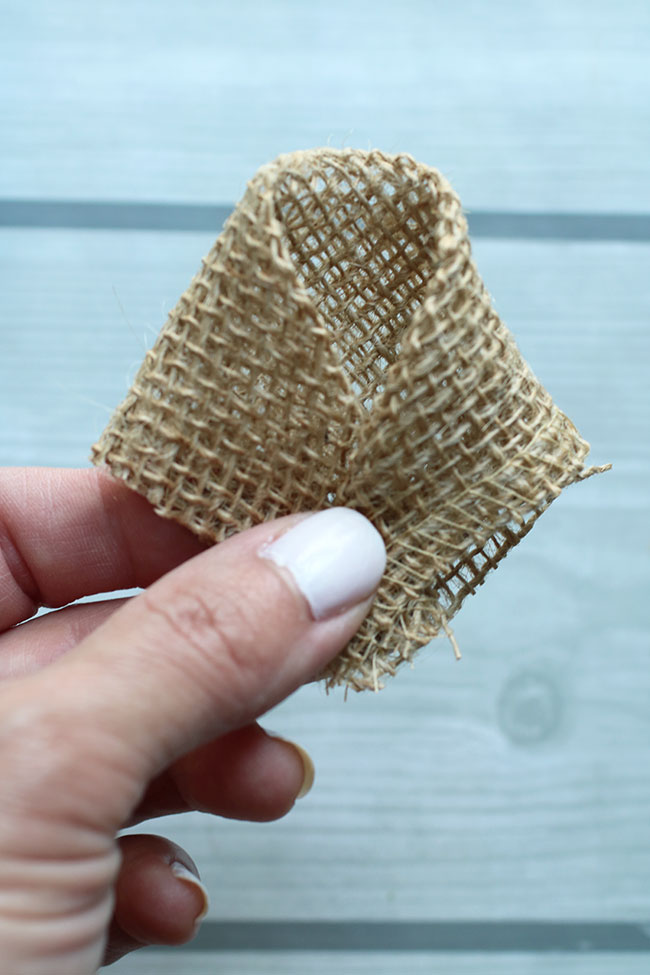

Fold in the other corner. Then, take a ball head pin and secure it to the ball of the burlap topiary. The ball should be styrofoam and will slide right in.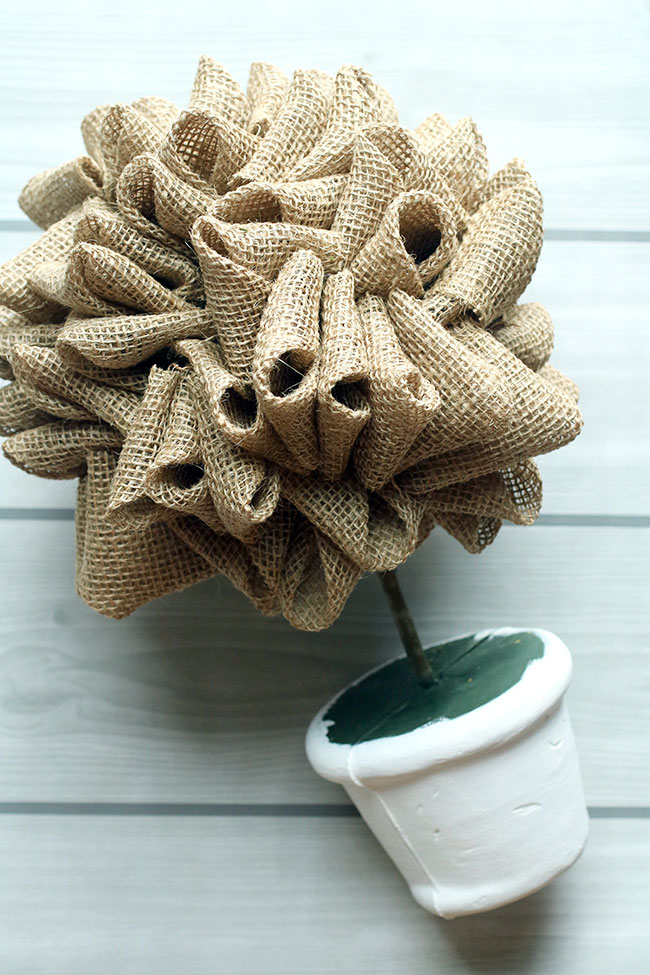
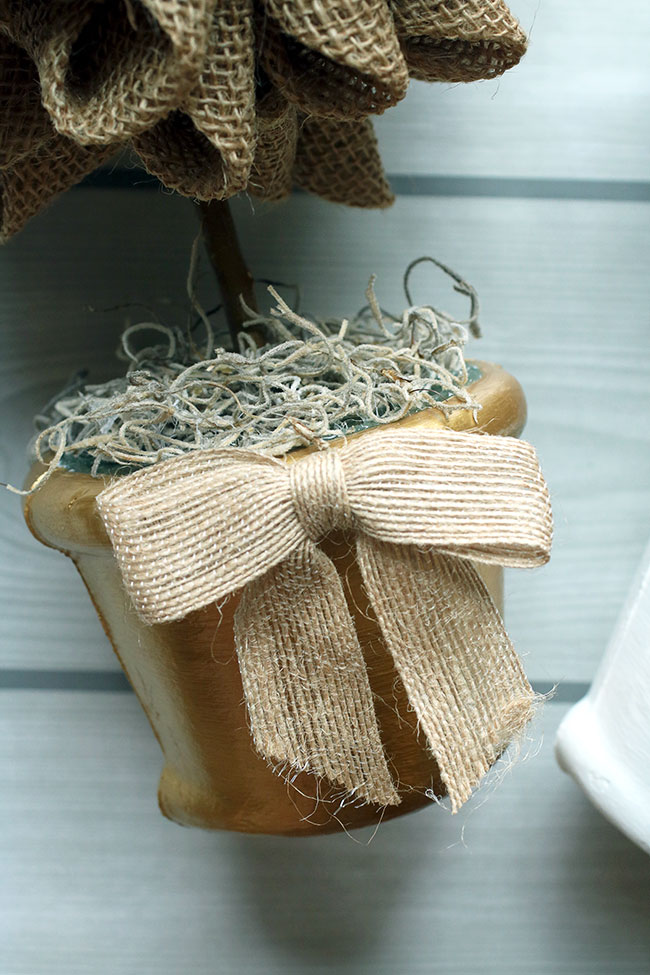
Repeat this until your topiary is full of bubble burlap pieces! Then I hot glued moss on top of the pot and the Natural Burlap Bow to the front of the pot.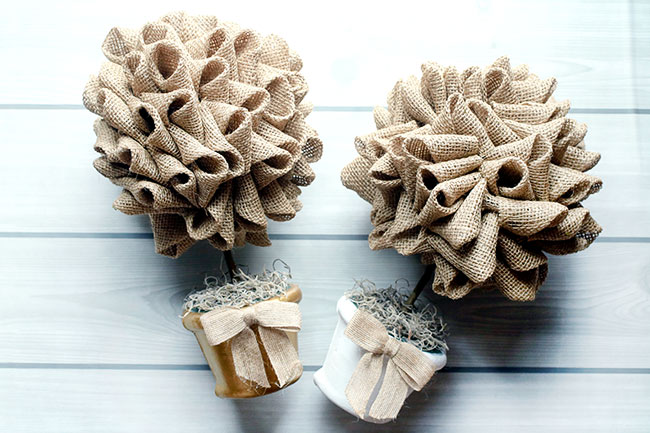
And, ta-da! You have yourself some BEAUTIFUL bubble burlap topiaries! These are so pretty to decorate your home with!
Don’t forget about BurlapFabric.com‘s coupon. $5 off a $5 or more purchase. Use the coupon code: CURLYCRAFTYMOM5
I received burlap products in exchange for writing a review on the blog. (*This post contains affiliate links.)

