Today I have Lauren Becker of ShootingStarsMag sharing a guest post on how to make your own DIY Bookmark Holder. I’ve been following Lauren’s blog for awhile now and she shares book reviews, a fun series called Glossies Made Me Do It, fashion and more. She is super sweet, be sure to stop by and say hello to her!
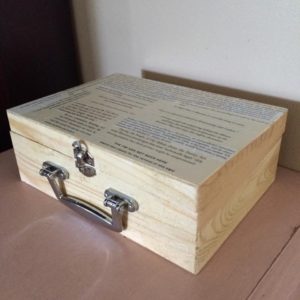
One of the things that I collect are bookmarks, but I still have a hard time finding one when I need it. Therefore, I finally decided that I needed to create some sort of box that would make a great bookmark holder, as well as a fun desk accessory. I bought this wooden box at Hobby Lobby, knowing that I wanted to at least decoupage part of the box. I decided to focus just on the top so that I could use paint for the rest of the box.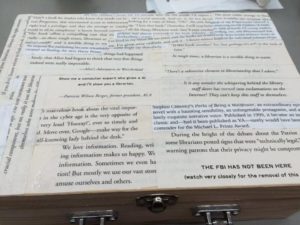
I have a master degree in library science, so I decided to use some old textbooks to find the pages I wanted to cut out and cover the top with. Normally you would probably just take pages from a book and overlap a bunch of them, but as I started cutting out things to include, I realized I wanted to be able to read a lot of these, so I found enough quotes in my textbooks to cover the top of the box without covering up too much. Now you can see mentions of books I love like Harry Potter and the graphic novel Maus. One of my favorites is in the bottom right hand corner where it says “The FBI Has Not Been Here.” That’s back when the FBI would try to make libraries give up patron information, such as what they searched on the computer. As a librarian, we’re not cool with that, so signs such as the one I mentioned were placed in various libraries.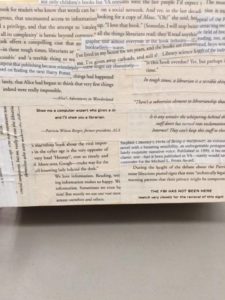
The above photo gives you a better look at the top of the box. I used a black foam paint brush and Mode Podge to glue all the pieces down. Once I had everything in place, I went back over the top with more Modge Podge to give it a more clean, uniform look. I think it turned out really well and it was a fairly easy project to work on. The longest – and sometimes hardest – part was cutting out the pieces of paper/quotes I wanted to use.
For the rest of the box, I got a gold glitter acrylic paint from Target. I soon realized the actual gold color doesn’t show up too well on wood, which I probably should have thought about, but I really like the added glitter. If it catches the sun, it really shines and it’s fun! Obviously you can use any color you want, or even leave the sides and bottom blank. I think decoupaging anything other than the top might be difficult, because while the bottom and sides are smooth, the front has the box closure and handle that might get in the way. Just don’t be like me and paint everything with the box closed. I finished it and couldn’t get the box to open because the paint had sealed it shut! My dad had to force it open and put the screws back in place, but it’s all good now! 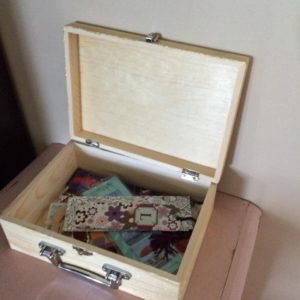
And now, you have the perfect place to keep your bookmarks, or other small knick-knacks that you just can’t seem to find when you really need them! I think it could make a nice little treasure chest for kids too. They could decoupage photos on top and keep small mementos like theater tickets inside the box.
