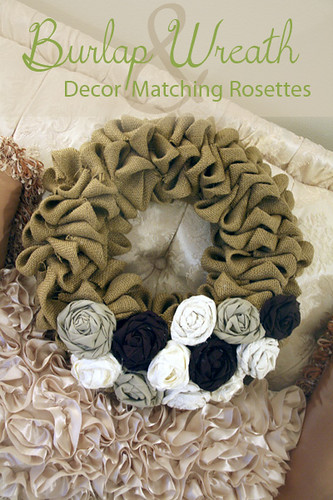
I have had this craft project on the back burner for quite some time as I had made the burlap bubble wreath and purchased the fabric for the rosettes months ago! Today I had time to make the rosettes for the wreath and hot glue them on. I cannot wait to share this easy DIY project with you. I matched the rosettes to the decor in my living room and it made a world of difference in making the wreath stand out in the room.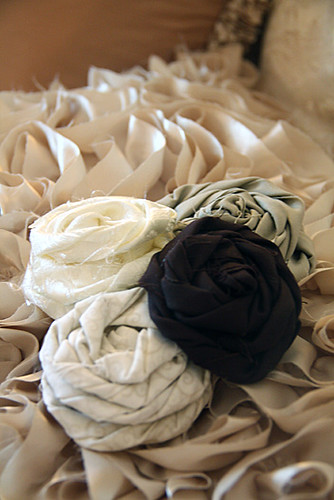
The first step is making the burlap bubble wreath, see tutorial here. Then, you will need to select four different fabrics for your rosettes in colors that match your room. I would do two light colors and two dark colors for a little bit of contrast. I selected an upholstery fabric that matched our couches, a sage green that matched our curtains, a chocolate brown and cream to match accent colors in the room. Each strip for each rosette needs to be 22″ x 3″ and you’ll want 3 rosettes in each color. Thereforeeee… you’ll want a 22″ x 9″ strip of fabric for each rosette and they can cut it in that size for you at Hobby Lobby.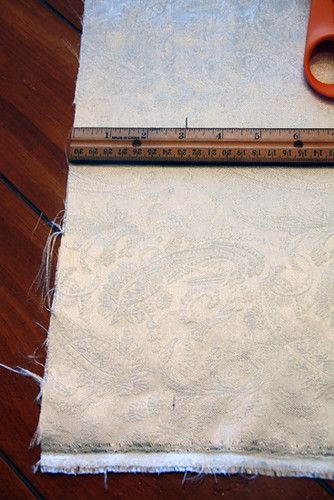
Once you get home, you’ll need to cut down each piece of fabric into 22″ x 3″ strips. The fabric will already be 22″ long, so you’ll just need to measure out 3″ and cut along the length for each strip. Be sure you invest in some fabric scissors for this, or you’ll be sorry.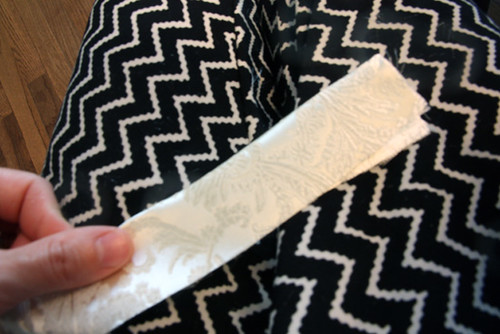
Now, fold your 3″ x 22″ fabric strip in half.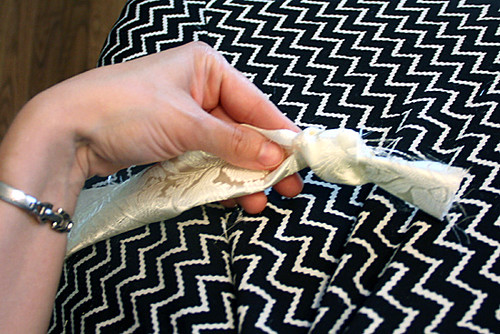
Tie a loose knot on one end of the fabric strip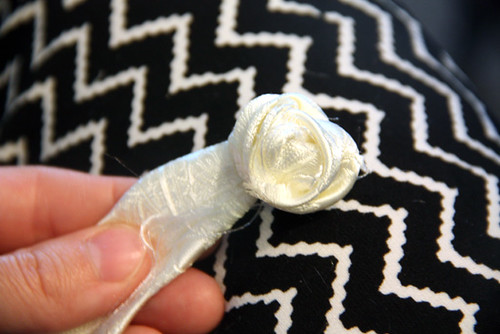
You want a loose knot, because you’ll need to tuck in the end of the fabric strip into the knot. Then, tighten the knot. Now you have a pretty little rose bud.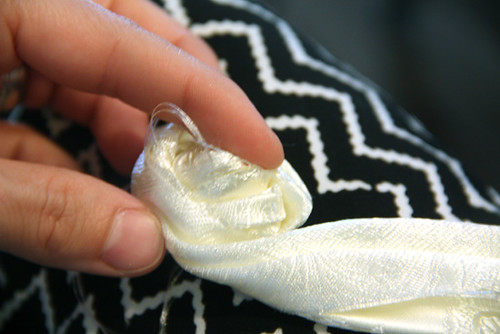
Now you will twist the fabric and wrap it around the knot, twist it again and wrap around… keep doing this until you have used up all of the fabric. You’ll want to keep the fabric folded in half with the pattern side showing the entire time. Wrap it tightly around the knot so it doesn’t come ‘undone’, if you need to secure parts of it after you are done you can use a little hot glue. 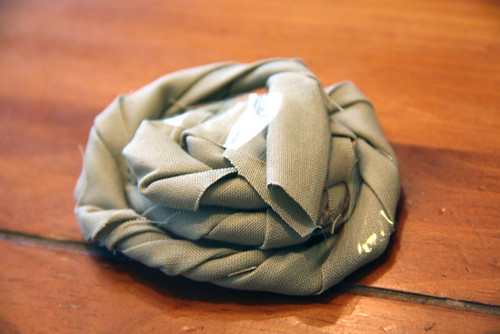
After you are done wrapping the rosette, use Scotch clear tape and tape the end piece underneath.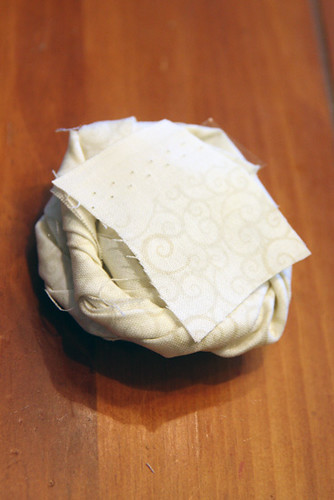
You will probably have a little bit of fabric leftover, if you don’t you can use some felt in the same color as your rosette. Hot glue the fabric or felt over the bottom of your rosette, this helps keep the rosette together.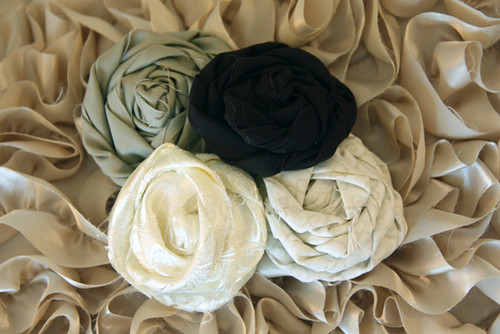
After your done, you’ll have 4 different colored rosettes, 3 of each color. Now you are ready to glue them to your wreath!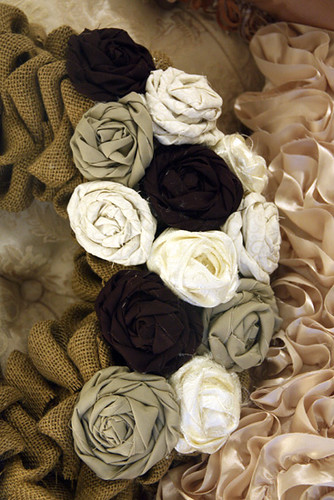
You can arrange the rosettes on your wreath in any style you wish. I set them on the wreath in clusters of three all over the wreath, in a cascade form, all on the top… etc. I decided to cascade them on the side and it turned out really nice. I decided to hot glue the rosettes directly onto the wreath, although I have seen other people hot glue them onto a piece of posterboard first so that they can remove the rosettes from the wreath and change the look of it later down the road (for holidays, different rooms, etc.).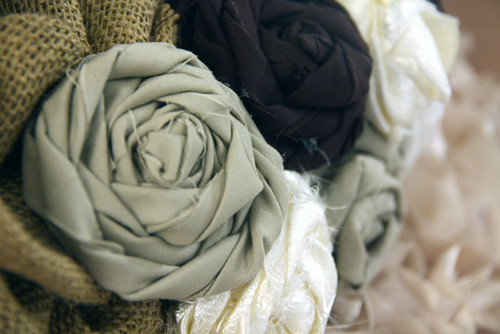
The chocolate rosette looks sort of like a dark purple in these photos, but I assure you its a dark chocolate color. I just loved making these rosettes, it was so easy and fun! I was thinking that it would be neat to make more of these to add on a coffee table picture frame in the same room. These rosettes can also be adorned on barrettes and headbands, I have seen them everywhere!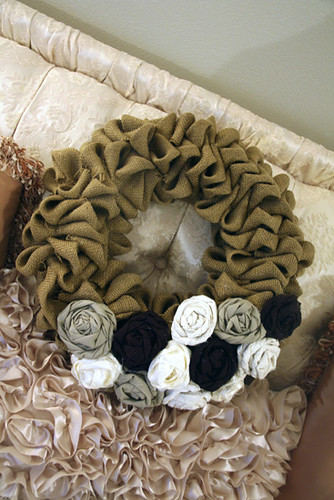
I will admit, I became the owner of these couches after I married my husband and I sort of loathed them at first. Along with them came a marble top table with hand carved legs. Just a little too much for my taste, but I have really worked on softening the room I have softened the texture of the couch by adding soft pillows and I softend the marble table, too, by adding fabrics and table decor on the top of it. A room has to be inviting, warm and comfortable in my opinion. I hope to show off what I have done with the end table later this week with a fun find I found in downtown Kirkwood this weekend and it also has a precious gift from Brian on it. More on that later.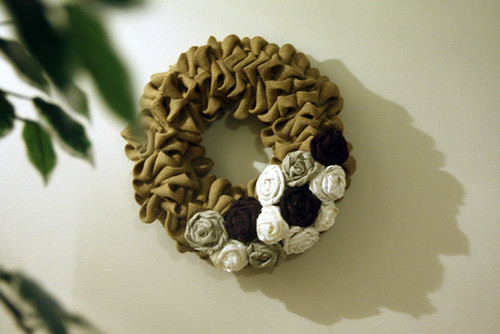
On the wall. Sorry for the shadow, I wanted to wrap this photo up earlier in the day when there was more natural light pouring into the room, but I did not finish it until later in the evening! I actually plan to hang it from the door, because Brian’s Mom knitted our last name and we are having it framed and matted at Hobby Lobby this week and I cannot wait to display it on this wall!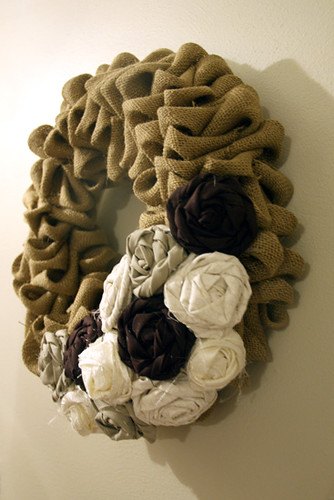
Side view. If you do cascade the rosettes, make sure you stick some of them on the SIDE of the wreath to give it more dimension. I had started to stick them all just on top of the wreath and Brian came over and showed me how much better it looked if I actually wrapped some of them around the wreath. Oh, I guess boys can be helpful sometimes with crafts! lol!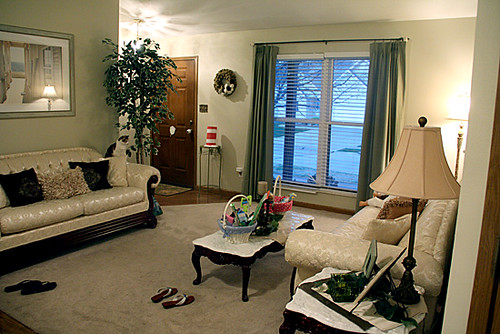
And, I was too tired to pick up the room… but, here is what it looks like on the wall. Ignore all my flip flops that are all over the floor and the kids Easter baskets. What I am trying to show is how the rosette colors blend with the colors in the room.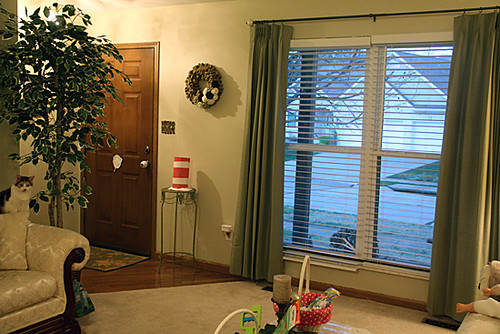
Closer angle. So, I was out to lunch with a couple friends today and I mentioned my rosette craft project I was working on and now she wants to come over for a rosette tutorial. Then, we later decided why not invite a few others over and have a crafting night! I can’t wait, we all plan to work on our own little craft so that we can share all of our ideas. Should be fun!
I wanted to share with you the two sites that inspired me for this project, as I couldn’t have done it without their tutorials: Burlap Bubble Wreath/Cascade Idea and Rosette tutorial. Be sure to check them out for even more ideas!
Linked up with:
Get Your DIY On
