I’m back with another You Asked, I Answered post! I’ve had a lot of bloggers ask me recently about how I do my indoor photography and flat lays. I’ve put a lot of time into researching photography equipment and I believe I’ve come a long, long way. My husband has also been a huge help, especially with helping me to understand how to use my camera better! However, I believe that putting time in and building up experience has a lot to do with mastering indoor photography. Just because you have all of the right equipment, doesn’t mean you know how to layout a nice flat lay or how to get the lighting just right. Lighting is critical for indoor photography. Also, I believe change is good… I used to use my macro 50mm lens for ALL of my indoor photography, but my husband bought me a new lens last August and I was having such a hard time with it. I almost gave up! But, practice makes perfect and now this is my absolute favorite lens to use indoors! And, my photography has vastly improved! I hope to keep make tweaks and changes to improve my photography on here more and more! There is so much to learn, you really can never STOP learning.

I’ve decided to start a series this year called You Asked, I Answered. This fun series will cover topics that I’ve had blog readers ask me to answer. I have a whole list in my Notepad where I’ve jotted down questions you’ve had for me and that you’ve been wanting me to answer. I figure, if so many of you are asking me the SAME questions, it would be easier to answer it in a post AND I am sure others are wanting to know the same thing!
Let’s Get Started with Indoor Photography & Flat Lay Tips:
I’ll break this post up into 5 Categories:
The Camera Lens I Use for Indoor Photography
Light Kit
Backdrop Paper
Retina Images
Photo Editing
The Camera Lens I Use for Indoor Photography

Shop This Post:
For most of my indoor product shots I use my Canon Rebel T6i with a Sigma 18-35mm ART lens. My husband got me the lens for my birthday last year, and I love it. It is definitely an investment, given that it cost more than my Canon Rebel. Investing in good glass makes a huge difference in how the shots turn out, and the Sigma is specifically made for “crop sensor” cameras like the Rebel. The Sigma gives me a good range of focal lengths from a 35mm (which is how your eye sees it) down to an 18mm “wide” angle. Using a wide angle makes the background appear farther away. There are two main settings that I use for flat lays: one for focusing closely on a single subject, and one for an image where everything needs to be sharp.

When I want to isolate a subject and blur the background, I switch the camera to Aperture Priority mode (turn the dial to “AV” on the Canon) and set the aperture to F/1.8. This opens the “eye” of the lens all the way and will create a very narrow space of focus. This focuses very closely on a product, and blurs everything else (even things a few inches away). This setting makes the focus item really stand out in the image. I usually also zoom in a little for these kinds of shots, using the Sigma’s wide angle focal lengths. This makes the background appear a little more distant and, combined with the blur, highlights the focus item even more.
As an aside—the “kit” lens that came with my Rebel wasn’t able to create this kind of blur. The lowest it would go was F/4.0, so I used a special macro lens for these shots. When I got the Sigma, I put both of these lenses in a drawer and haven’t really needed them! The Sigma is a bit of an advanced lens, though, and it took some time before I was completely comfortable with it. One trick I learned is to turn off the 19-point autofocus on my Rebel, which made it very hard for the Sigma’s narrow focus space to work. I switched to a single-point autofocus and it’s really made the lens much easier to use.

Now for the “flat lay” image itself—where everything needs to be tack sharp—I still use the Sigma 18-35mm in AV mode. I set the aperture value higher to F/8.0 and zoom out to around 30-35 mm (the not-a-wide-angle range of the Sigma).
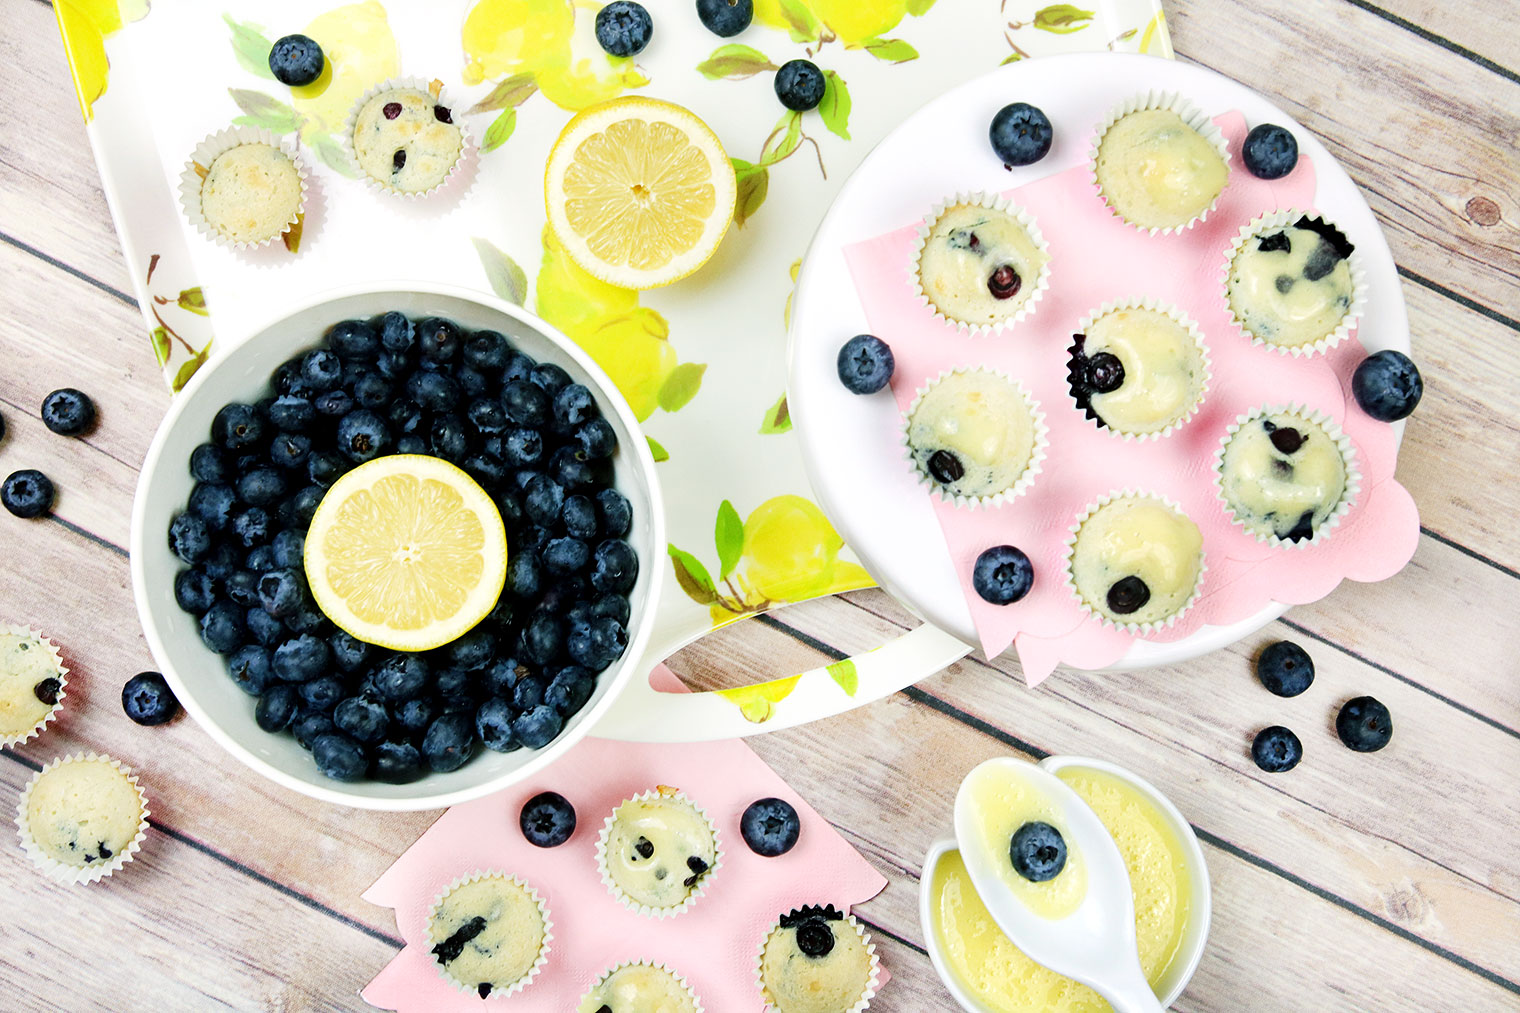
Shooting a flat lay in the F/8-F/11 range will close the “eye” of the lens about half way and makes everything very sharp and in focus. When you close down the aperture like this, however, it doesn’t let in as much light so it’s important that your scene is well lit. This takes us to the next thing I want to talk about, my Light Kit!
Light Kit

Shop This Post:
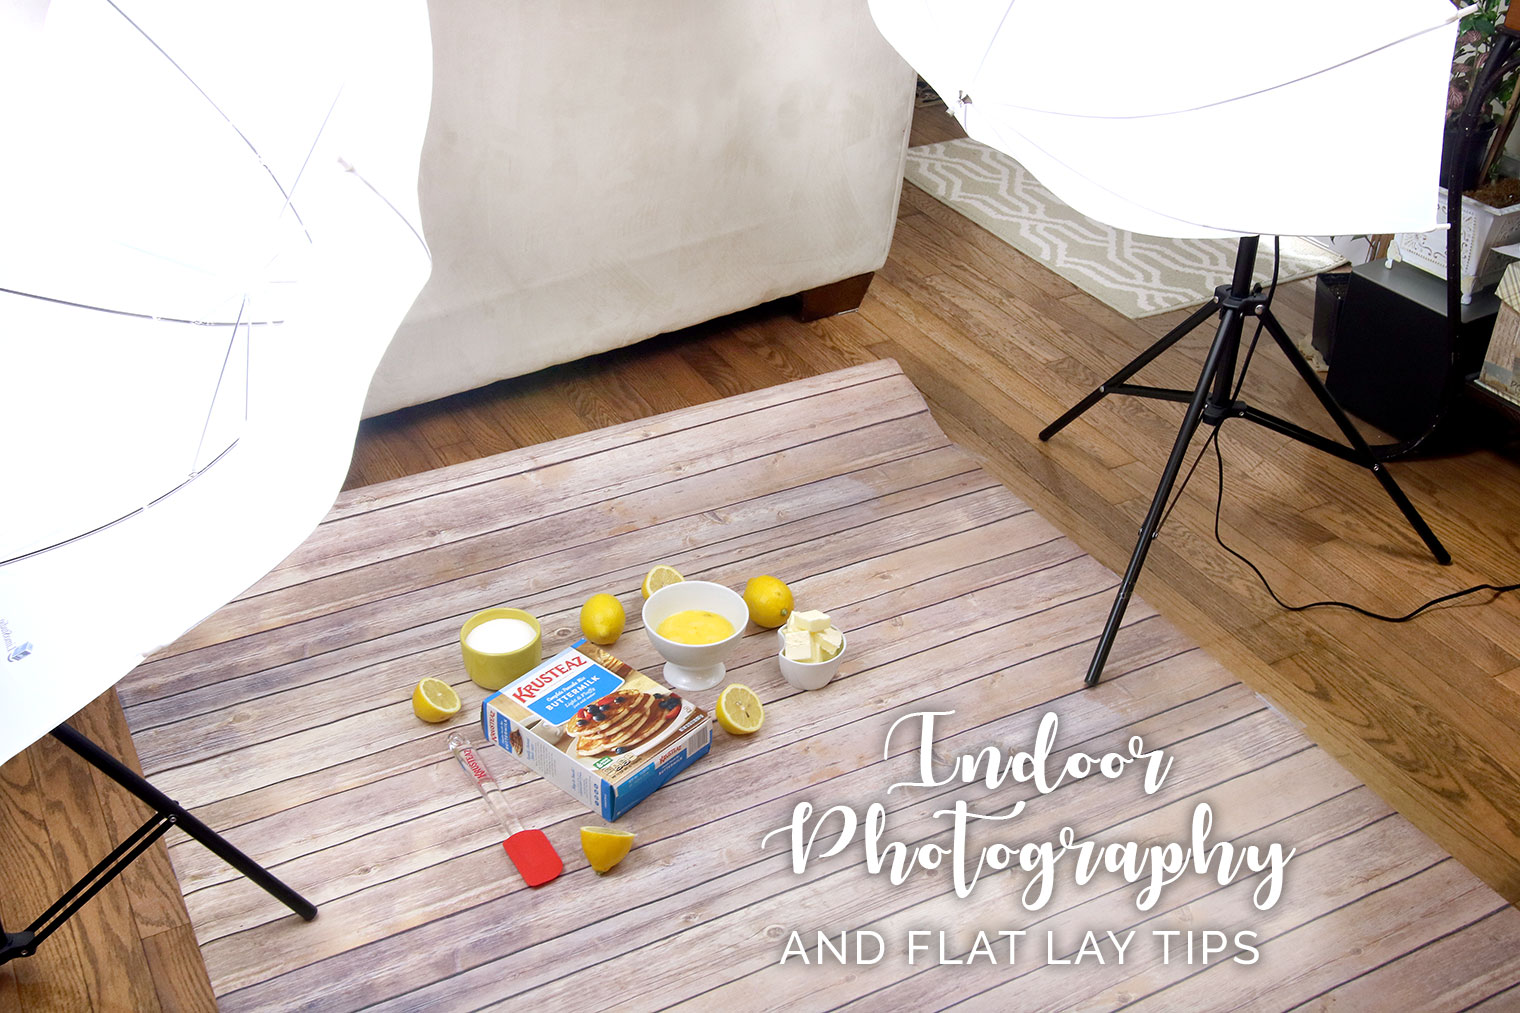
I used to rely on outdoor lighting for my indoor photography and it was such a headache! I would set up my backdrop paper and flat lay next to the patio door on sunny days and hope that the clouds didn’t cover the sun or cause different shadows while I took my photos! On cloudy days, I’d drag a lamp over to try and get a little more light. It was terrible and my photos weren’t very consistent from shot to shot. After purchasing a light kit, I realized that it was best to just close the blinds and let the soft light from the umbrella lighting be my light source! No longer did I have to plan my photo shoots on sunny days during the week, I was finally in control and the boss!

My husband also realized that sometimes I would need larger bulbs in my light kit, if I just needed a little more light… for example, if I decided to do my photos in the evening and the house is darker than it is during the day. These bigger bulbs cost as much as the light kit, so I would add them on later, after you get familiar with the light kit and the bulbs it comes with. As long as you’re shooting during the day, you should be ok with the bulbs that come with the light kit. Also, just to warn you… this photo doesn’t do justice… these bulbs ARE HUGE!!

The light kit is a MUST, an absolute must if you are doing indoor lighting! And, it is also great if you’re doing interior photos around the house in areas where there isn’t windows. I recently used the light kit for photos I did for my console table with my k-cup garland and the photo has the perfect lighting! It was hard to ‘hide’ the light kit, with there being a mirror in this photo! You don’t want to show the ugly light kit in your photo! 🙂 And, at only $52… why wouldn’t you buy a light kit?!! It really is affordable and just think about all of the time and frustration it’ll save you!
Backdrop Paper

Shop This Post:
I’ve also had a lot of people ask me about my backdrop paper. This kit that comes with four types of wood is my ABSOLUTE favorite. I love that it is a really, really big roll! You can roll it along the floor and up onto something (I use my couch, I really need to get a stand!!) so that it works as a flat lay or you can take photos and have the wood paper beneath and behind your product shots!


I really like this marble backdrop paper. It is vinyl adhesive, though, so I bought a large foam core board at Hobby Lobby and applied it to the board. It works so much better that way, but it isn’t nearly as large as the wooden paper backdrop paper that I mentioned above. You’ll definitely want marble paper, though and you may want to invest in some white fur to mix and match with it for beauty or jewelry shots. I purchased some white fur from the fabric department at Hobby Lobby or you can find it on Amazon HERE. In the photo above where I feature the Godiva chocolates, you’ll see that I layered white fur over the board on the top half of the photo. I really like to add layers, with fur or scarves, etc. over the marble to give it a nice balance and a little added texture.

This is a backdrop stand, which I would love to have… except, I don’t really have a ‘designated’ area in the house just for backdrop photos. So, I put everything away after I’m done. I do this, because I like to work in the kitchen, since a lot of my photos are recipes, etc. But, I think I’m going to invest in one eventually, since they look like they’re pretty easy to take down.
Retina Images

When I switched over to WordPress, my husband did some research and thought it’d be wise for me to start using Retina Images. These are high-res images that appear in your blog posts, if you save your images to be 1520 pixels, but then the width I set in my blog posts is 760 pixels (which is my maximum width I can use with the layout of my blog template). By saving the images at twice the size, a lot more detail is kept and when my images are displayed on Apple devices (sorry PC folks!), you’ll see a very vibrant and crisp image with SO much more detail than if I had saved my image at only 760 pixels.
Photo Editing

I edit ALL of my photos in Photoshop. I have been using Photoshop for a very, very long time… since 1996! I also have an Adobe Cloud membership, which costs approximately $50 a month. I have access to ALL of the Adobe products. You can buy a less expensive membership, which will just give you access to Photoshop. As much as having good and consistent lighting will give you an advantage in your photos, you will still want to be able to edit them. Editing photos makes them more polished and professional.
Phlearn offers a lot of free YouTube tutorials on Photoshop, which will help you learn a lot of tricks and tips when it comes to touching up photos.
I hope these tips help! I know that there are many ways to do this and other options, but this is what has been working for me to date! I am hoping to share a post about how we have been doing Fashion & Outside Photos soon (since my husband is my camera man on those!). If you have any other questions, shoot me an email or leave a comment. I know some if this may be a little technical and confusing!
If there is anything you would like to see me write a post about this year, be sure to leave it in the comments. I’d love to add it to my list of topics for this series.
Shop This Post:
*This post contains affiliate links.

