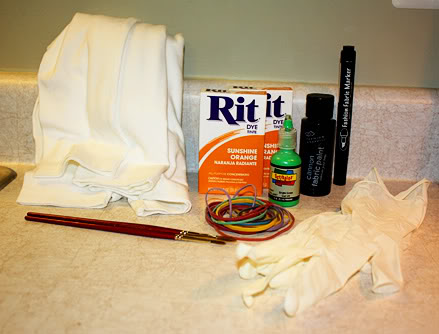
I saw this cute craft idea online last year for Halloween, but it was too late for me to get the supplies together. So, this year we finally got to make our pumpkin tie dyed shirts for the pumpkin patch. Here are the supplies you need… 2 dye packages, 2 shirts (I got long sleeved ones at Target for $4 each), fabric paint, paint brushes, rubber gloves, cardboard and rubber bands.
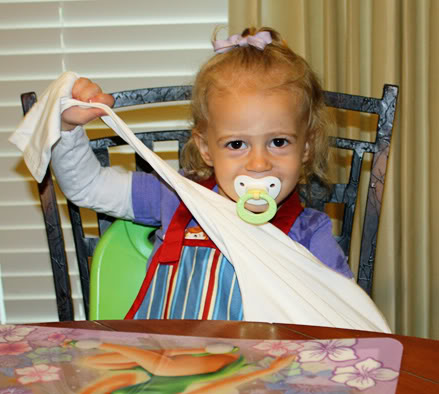
First I gave the kids their shirts. Autumn wanted to put hers on! heheh
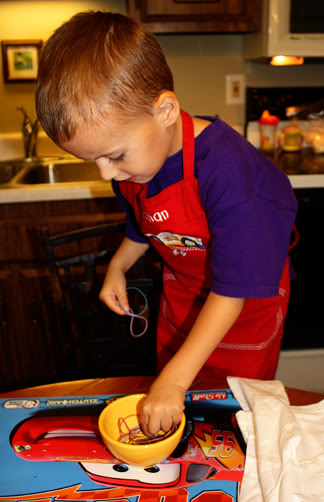
Then I told Nathan he could pick out 5 rubber bands first. Nathan is really big into counting lately, so he counted out his five rubber bands.
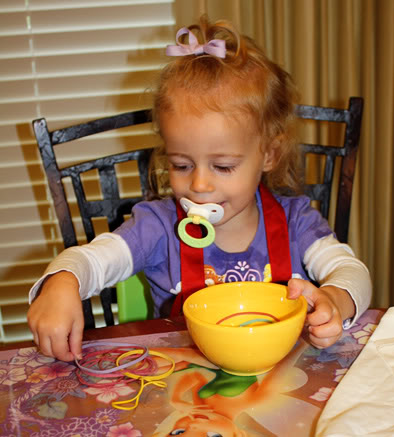
Then it was Sissy’s turn… she had to take all of the rubber bands out of the bowl one by one, then she even put a few on her arm as bracelets.
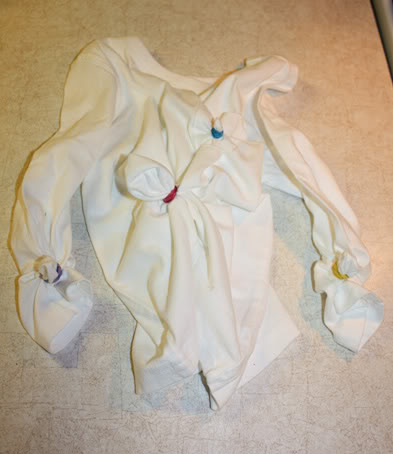
You take the shirt, and make 1″-2″ pinches in the shirt, then wrap your rubber band around that section. Each pinched section will be a pumpkin. Here is Nathan’s shirt after we rubber banded it.
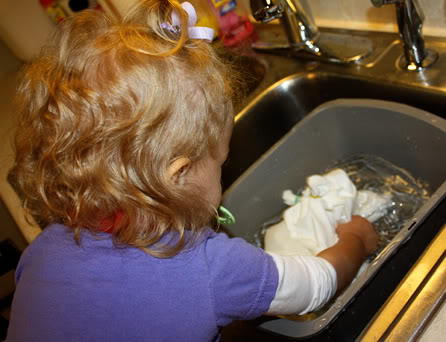
Then get the shirts wet
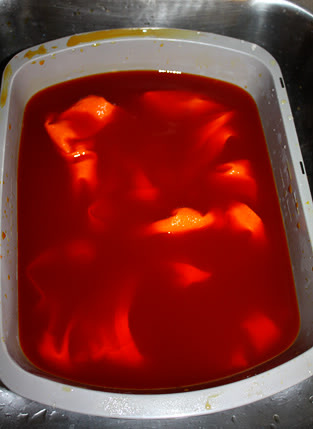
Put in dye bath. I soaked them in the dye bath for about 15 minutes, and I stirred it every few minutes.
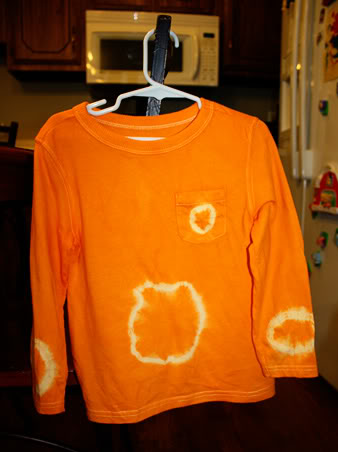
After the dye bath, rinse the shirts in warm water until the water runs clear, dye free. You can change the water to cold water after the water gets clearer. It may take awhile, but this is an important step. Then, cut off the rubber bands. Then, I washed the two shirts by themselves in my washer, and dried them. Here is what they looked like after dry.
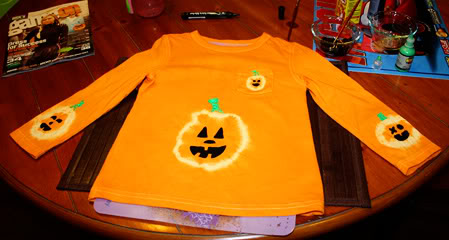
Then, we painted the shirts with the fabric paint. Make sure you put cardboard or some paper in between the two layers of the shirt or the paint will bleed through to the back of the shirt.
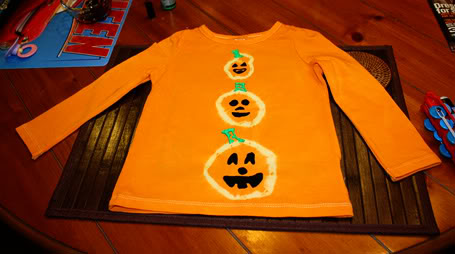
Autumn’s shirt. These turned out better then I had expected! And, it was a lot of fun. Autumn helped me paint, she pointed to which pumpkin she wanted me to paint first, second and last. Such a cutie!
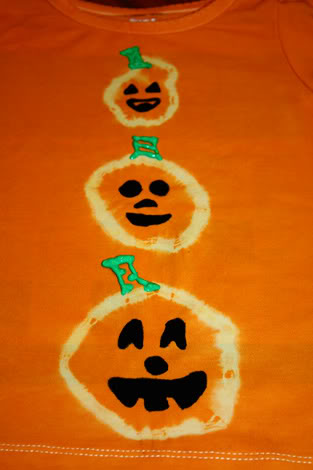
Closeup of Autumn’s shirt. I also have a pumpkin on the back, that I plan to put a number inside, with their age… along with a green stem on top!
