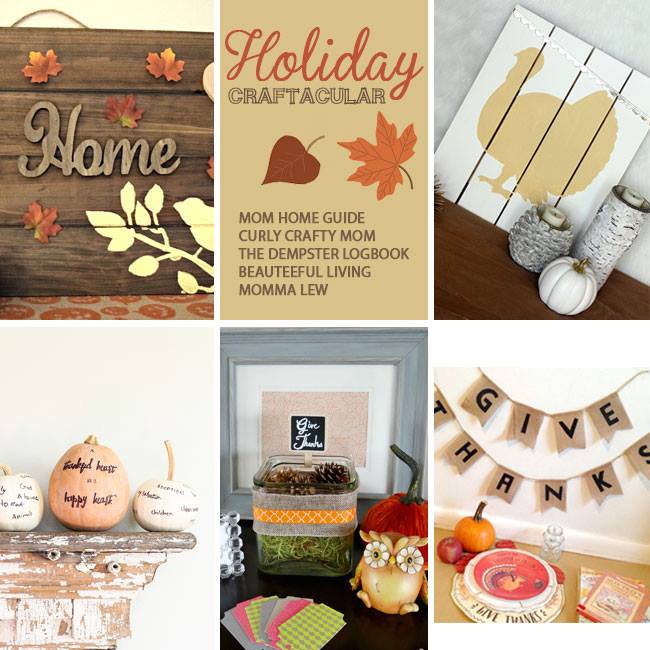
Welcome to the First Ever Holiday Craftacular Blog Hop!
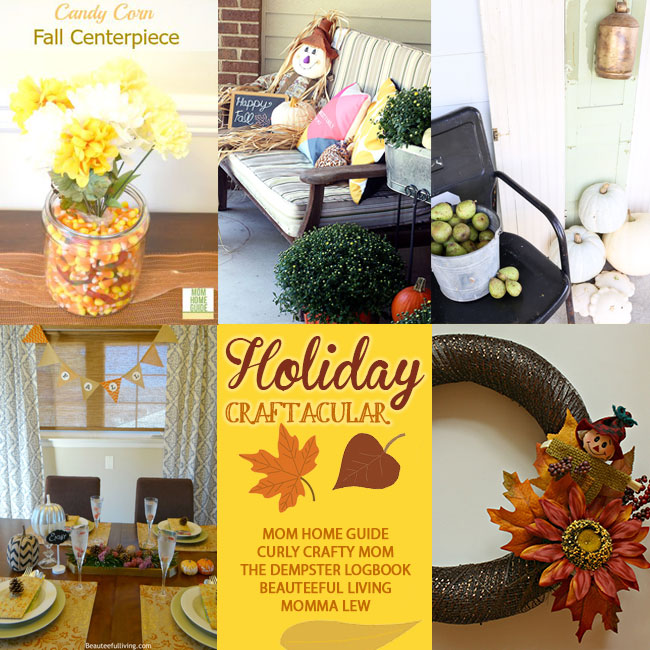 Throughout the year, my blogging friends and I will share our holiday or seasonal projects. Stop here Monday through Friday of this week to see great fall decorating projects, crafts and ideas from me and my friends! Plus, share your fall project, recipe or craft at the Holiday Craftacular linky party below! We can’t wait to see your fall creations! We’ll share our linky party favorites at our next Holiday Craftacular blog hop and on our Holiday Craftacular Pinterest Board! Meet the Holiday Craftacular blogging crew! Please follow your Holiday Craftacular hosts! Also, be sure to visit our next Holiday Craftacular blog hop, which starts October 13 for our Halloween Craftacular blog hop!
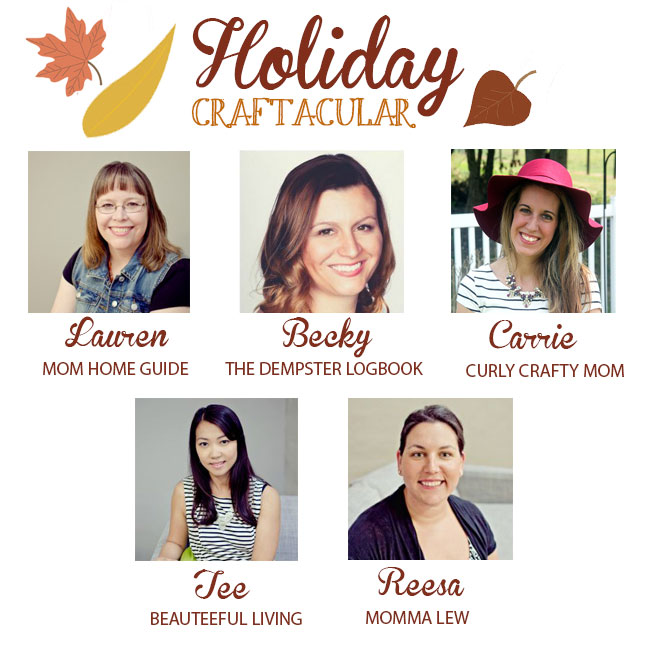
Lauren of Mom Home Guide
Becky of The Dempster Logbook
Carrie of Curly Crafty Mom
Tee of Beauteeful Living
Reesa of Momma Lew
Hi! I’m Reesa from Momma Lew!
Every season, I search high and low for a new wreath for my door. You see, I just cannot stand the look of a plain white door. BORING! I feel like a pretty, happy wreath offers a welcoming approach to my door. Even though I may not get any visitors at all at my doorstep, it welcomes ME home and that is what matters.I have found most wreaths that I truly love to be a bit out of my budget and since I do like to be crafty, I just started to make my own. Here is a quick tutorial on how to make your own DIY Fall Wreath.
Supplies:
- Burlap or Deco Mesh your choice- About 10 yards
- Wreath hoop
- Decorative seasonal picks
- Hot glue & glue gun or straight pins
I bought everything at JoAnn Fabrics for a total of $13.01. I was lucky to have the kids with me because honestly, I just could not decide on a theme for my wreath. I knew I wanted a Fall Wreath, but there were so many different options of flowers, pumpkins and more that I couldn’t wrap my head around it. The kids quickly picked out the cute scarecrow and then it was easy peasy to match a flower with it.
Instructions:
- Glue or pin your burlap or mesh in place.
- Start to wrap around the wreath until there is no more foam showing through. You will want to pull your material taught so that it is flush against the wreath.
- Add a dab or glue or a pin to hold the final end of the mesh or burlap into place. Cut the end.
- Pin or glue your decorative seasonal picks into place.
- Wrap a few more pieces of mesh or burlap around the bottom of the picks and secure on both ends with glue or a pin.
We hope you have enjoyed our Fall Holiday Craftacular Blog Hop! Be sure to come back on October 12th for our Halloween Blog Hop!


