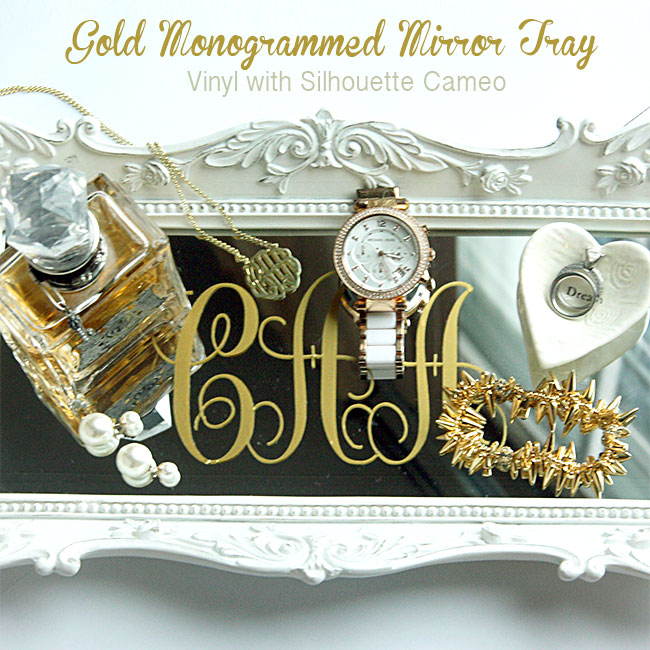
Well, it’s officials folks! I did my FIRST vinyl project on the Silhouette Cameo. I knew I wanted to do something with GOLD vinyl, so I made the cutest monogrammed mirror tray for my bedroom dresser. I see many more gold vinyl projects in the near future. 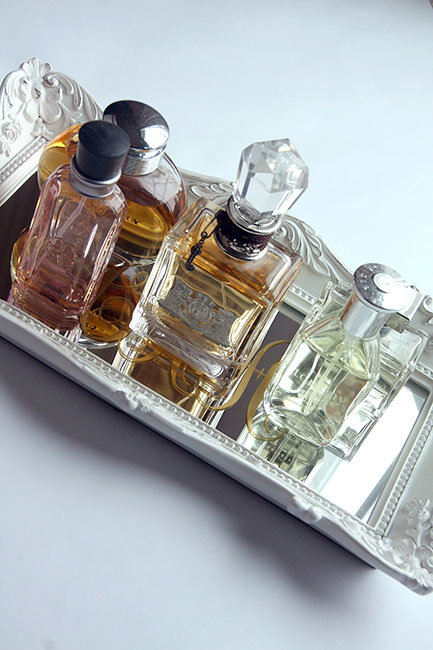
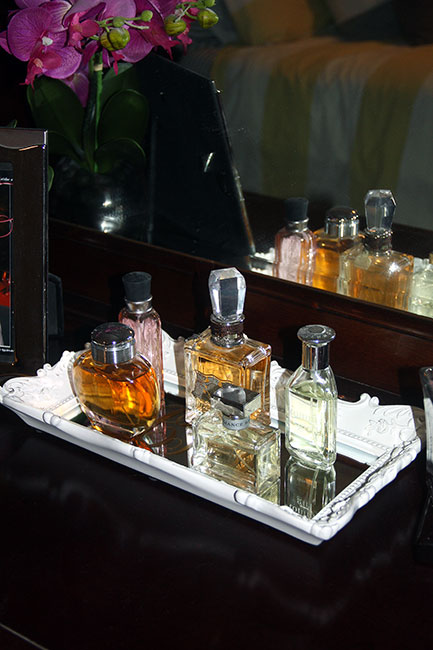
This tray would also be great for displaying all of my perfume bottles! What do you think looks best? Jewelry or perfume? Hmmm…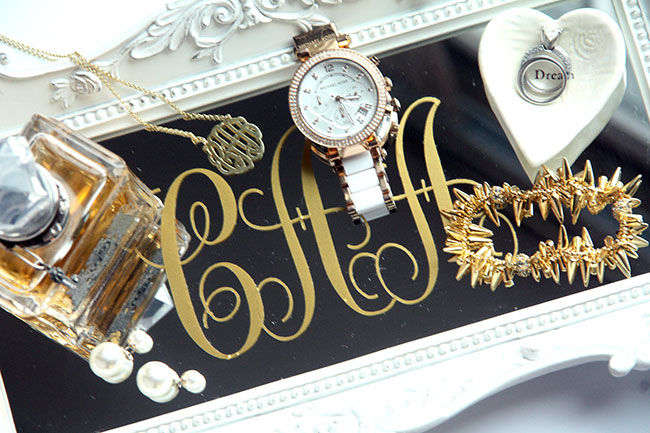
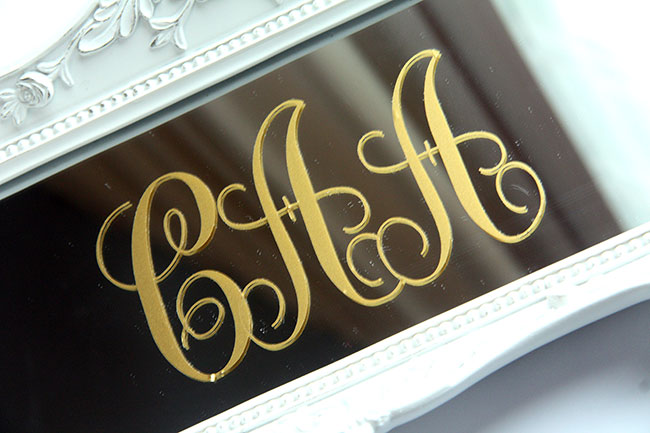
These gold letters are just GORGEOUS. I must say… they’re gold and I just love this free font that I used (read more about that below in the directions).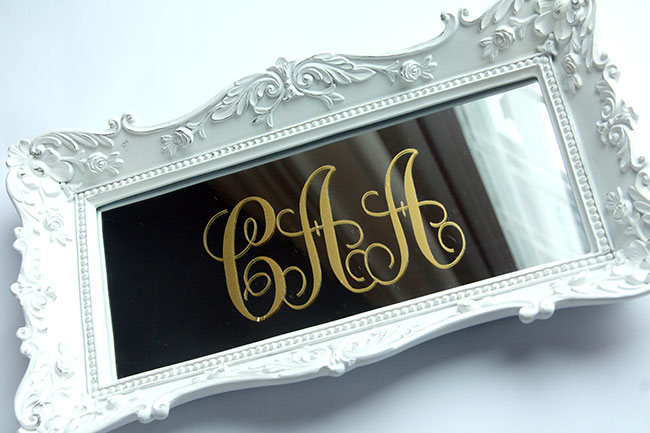
Here is the tray without anything on it…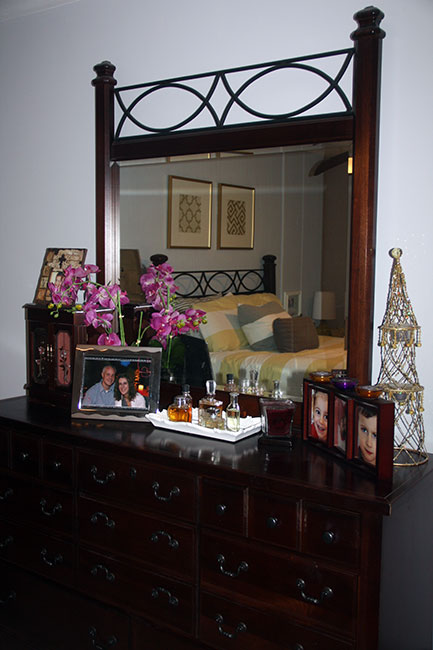
And here is the tray in our master bedroom, isn’t it beautiful? Our bedroom has yellows, grey, purples and whites. I thought about spray painting the tray grey, but I love it as the natural white color.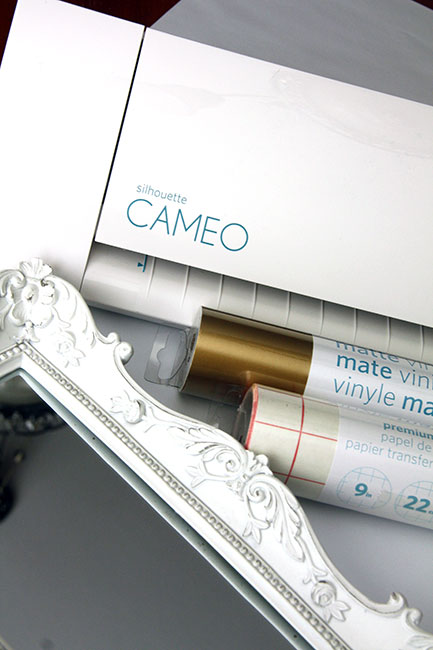
I decided since this was my first time trying out vinyl, I would order my gold vinyl and transfer paper from the actual Silhouette store, before trying out any other vendors that offer it. I was really pleased with the quality of their vinyl and transfer paper… I am not sure I want to go elsewhere, even if it is cheaper. I purchased the mirror tray from HomeGoods, they had a lot of different ones in their bathroom aisle.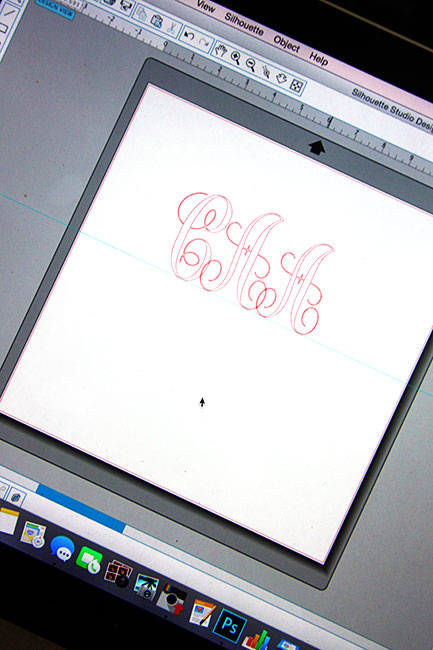
I used a font called Monogram KK and I just love it… plus, it is FREE! I did make the middle ‘A’ bigger, but I think I will maker it even bigger next time. I made each letter in a separate text box and sized the middle one so that it was larger.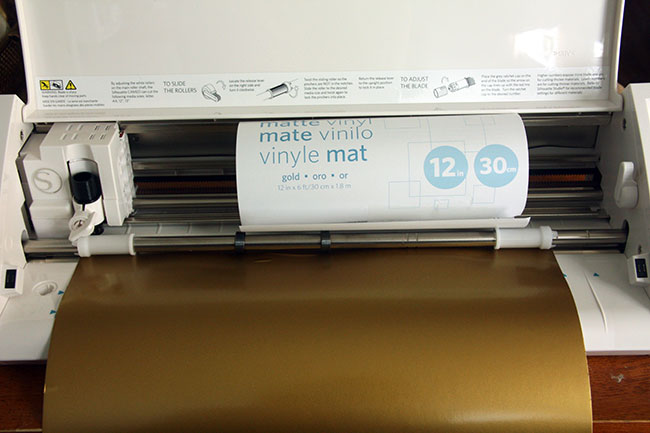
I changed my blade to a ‘1’, which is what it needs to be at for Vinyl. Then I fed the vinyl (without the cutting board, you don’t need it) into the machine. In the Silhouette software, you’ll want to let it know that it is cutting vinyl and then you can let it cut away!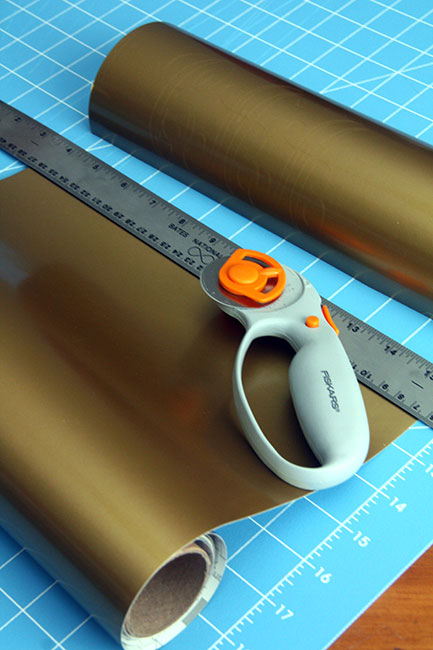
After the vinyl is cut, go ahead and cut it off from the rest of the roll. I cut it in a straight line, so that I can store the vinyl away and it’ll be ready for the next time I need to use it.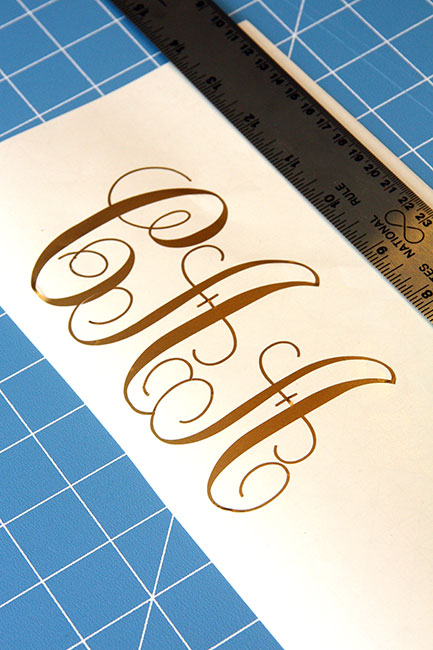
Peel the excess vinyl off that is around your letters and inside the loops of the letters. This is probably the most time consuming part of the entire process. If you have thick letters, it shouldn’t take you long, because the vinyl will peel right off around the letters… but, this monogram font has some THIN loops and ends to the letters. You want to take your time and peel away the excess carefully. It isn’t hard, it just takes a little work. 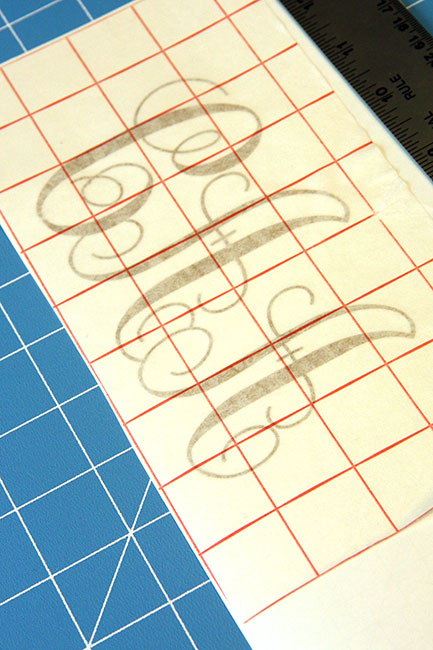
You’ll want to cut a piece of transfer paper off your roll that is the same size as your monogram. Peel the backing away from it and throw it away. Then, take the sticky part of the transfer paper and press it on top of your monogram. Smooth it out so that there isn’t any wrinkles.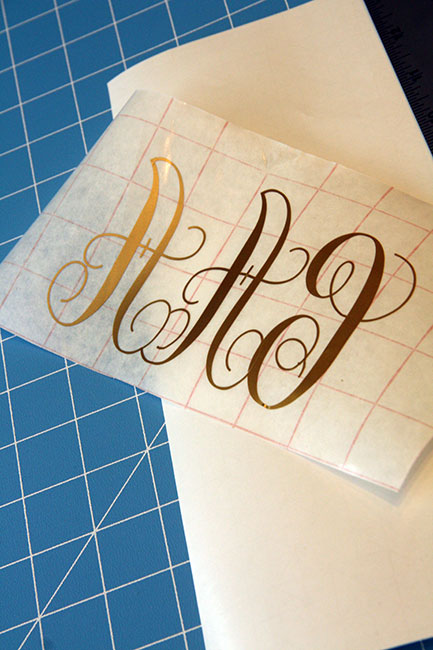
Then, peel the transfer paper away from the white vinyl paper. Your monogram will be stuck to the transfer paper now! It really is like magic and it works really well, even with all of the thin areas of your letters!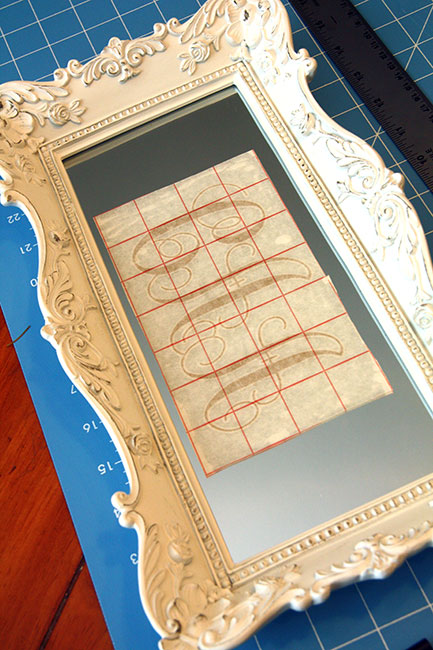
Place the transfer paper (sticky side down, of course) onto the surface of the mirror. Smooth it out really good once again, so that there isn’t any bubbles.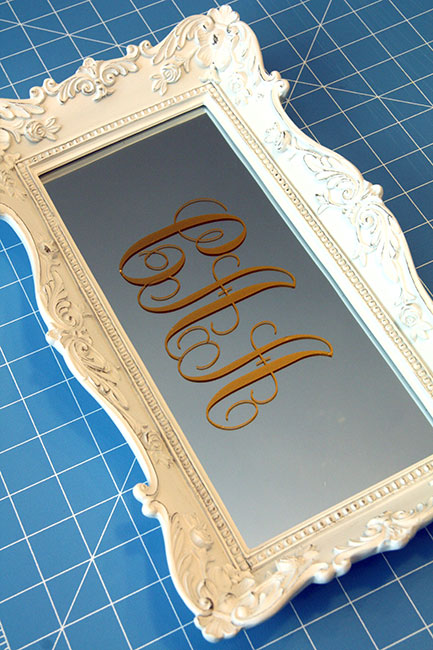
Peel the transfer paper off… AND… ta-da! Your VINYL is now on your MIRROR! I was so excited when I peeled the transfer paper and the vinyl stayed put, on the mirror that is! YAY!!! This project was SO easy and took me only an hour and a half… and, that was with me trying to figure everything out with some You Tube videos, online tutorials, etc.
These two You Tube videos were lifesavers and helping me figure this entire process out, be sure to watch them:
How to Cut Vinyl with the Silhouette Cameo
Premium Vinyl 102 – How to Use Transfer Paper
Here are a few more photos of this tray: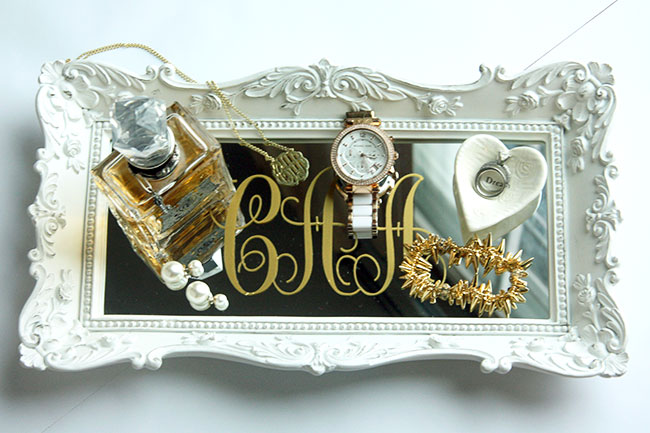
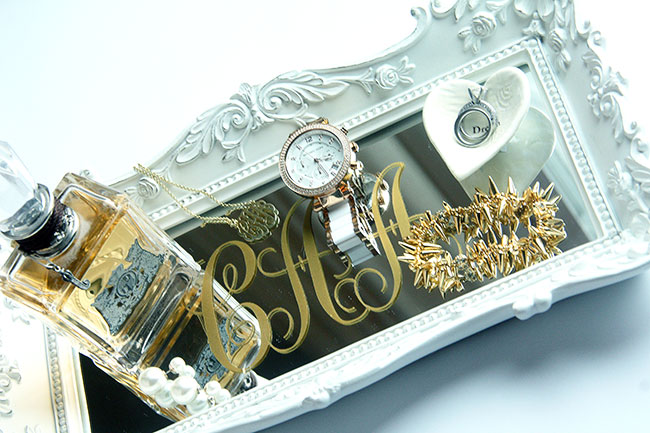
I am so excited now… I can’t wait to try other vinyl projects with my Silhouette! I actually have another project planned already and I can’t wait to finish it and share it with y’all!
Linked up with:
Hit Me With Your Best Shot
Centerpiece Wednesday
Moonlight & Mason Jars
A Little Bit of Everything
Share Your Style
Inspiration Gallery
Craft Frenzy Friday
Your Turn To Shine
Pincrazy Thursday
Best of the Weekend
Show Me Saturday
Share Your Creativity
Snickerdoodle Sunday
Monday Funday
Frugal Crafty Home
Totally Terrific Tuesday

