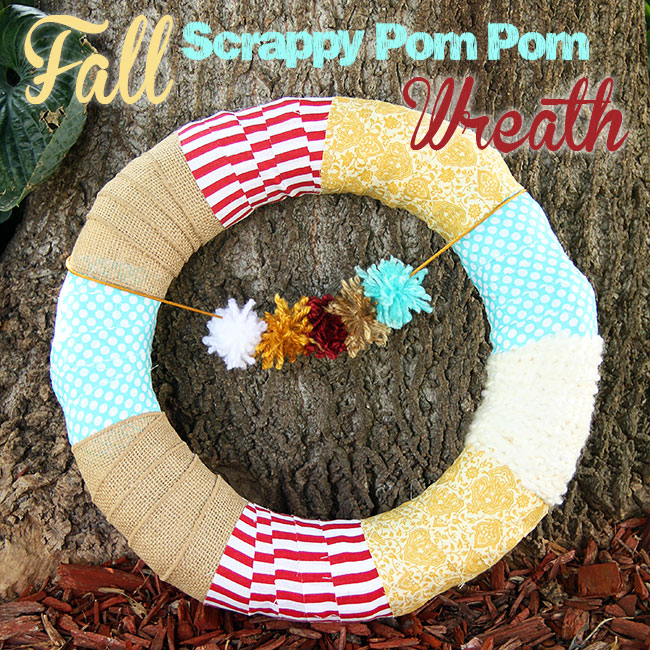
Today I am sharing my first Fall craft project on the blog, a Fall Scrappy Pom Pom Wreath! I have been wanting to make a scrappy wreath for awhile now, but of course… I didn’t use any of the fabric scraps I had around the house, I had to go shopping for new fabric for this wreath! That’s me! Going to the fabric store to select fabric combinations is so soothing to me, I just love it. I really had intended on using a red and yellow fabric that I already had on hand… but, then I started matching fabrics at Hobby Lobby and I knew I needed new! I know, I’m a mess. lol. After I finished this wreath, I was going to top it with a burlap bow or some fabric and burlap rosettes… BUT, I’ve done that before and wanted to try something new… SO, I decided to try out a pom pom garland on it. I haven’t made pom pom’s since I was in grade school, it was great fun! Read on to see how I made this fun little wreath in some fall colors…
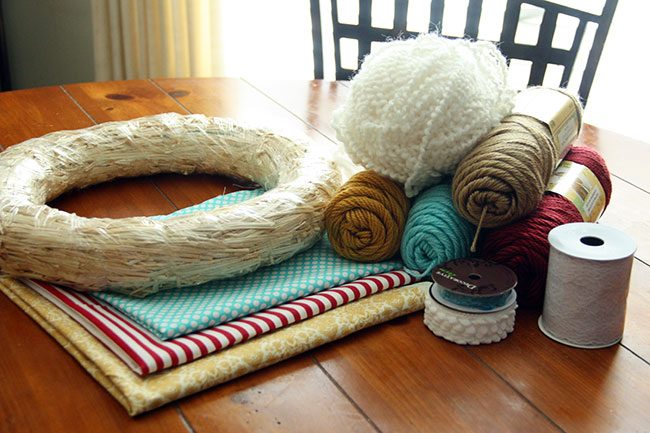
You will need a round wreath, yarn in 5 colors, fabric in 3 colors and a roll of burlap ribbon. I also purchased some other goodies that you’ll see in this photo, such as the white mini pom pom garland, lace, etc. I decided against using them, it just was too much on the wreath and I pulled them off. I think even a scrappy wreath needs a little simplicity, so that is what I went with for this fall wreath.
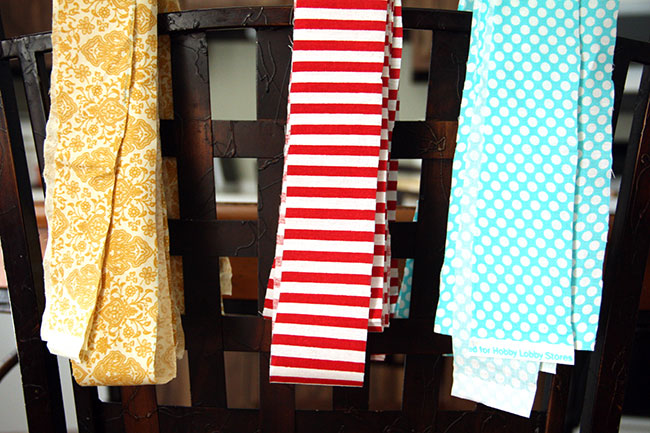
First, you’ll want to iron your fabric and then cut it in 2 inch strips. I needed 2 strips of each fabric for this project, but I cut 4 strips just incase… I always cut extra, because it is such a pain to go back and cut more after you’ve started on a project.
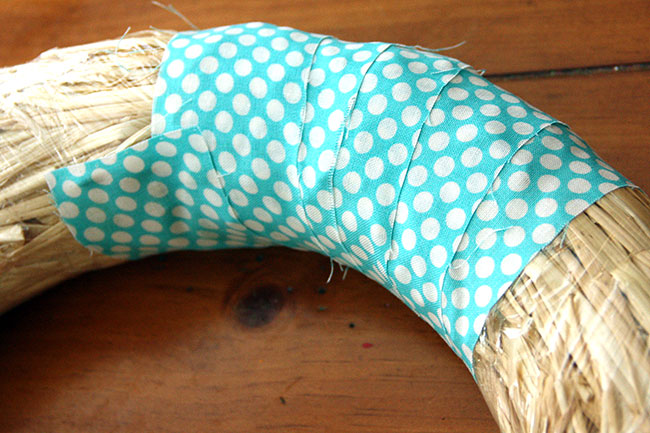
Then, hot glue one end of your fabric strip to the back of the wreath and wrap around the fabric (without hot gluing it) five times. Then, hot glue the end piece to the back of the wreath. You want to hot glue everything in the back so it is out of sight.
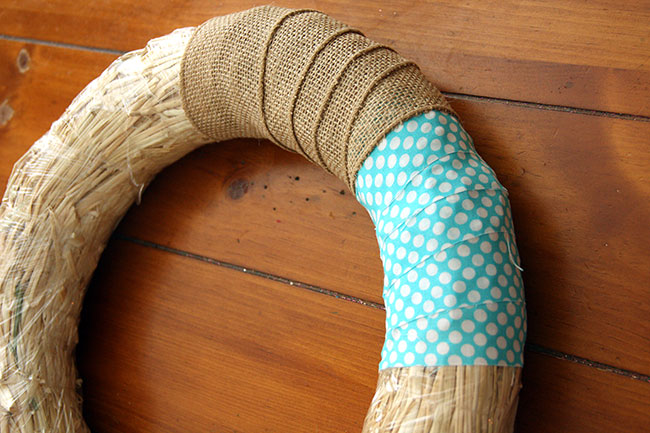
I decided to add the burlap ribbon next, so I hot glued the end of it to the back of the wreath and then I wrapped it around 5 times before hot gluing the end of the piece to the back of the wreath. See? Easy peasy!
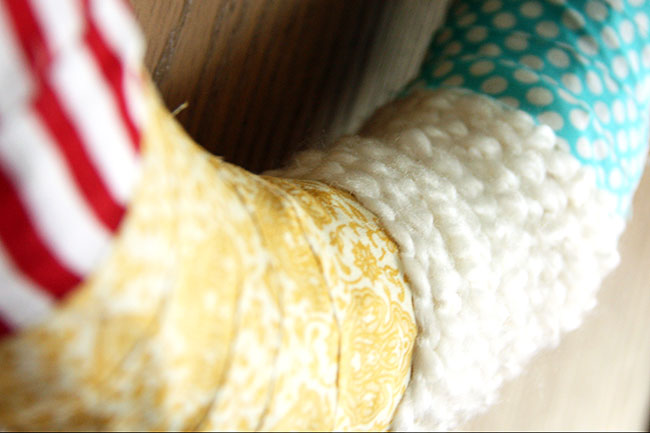
You will want to select colors that go well together while wrapping the fabric/burlap/string around your wreath. Once you’ve wrapped the entire wreath, it should look similar to the photo above.
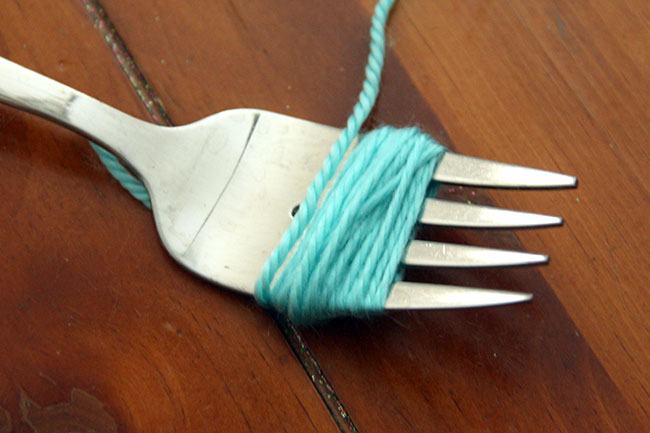
Once you are done with the wreath, you’ll want to start on the pom poms. I took an oversized fork and wrapped the string around it 35 times. Then, pull the string off the fork.
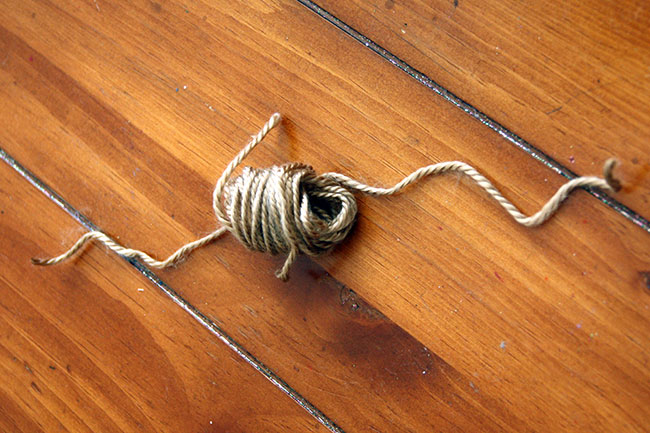
Sorry, I forgot to take photos, so that is why the yarn is a different color in this photo. OOPS. After you pull the string off the fork, put a piece of string underneath it.
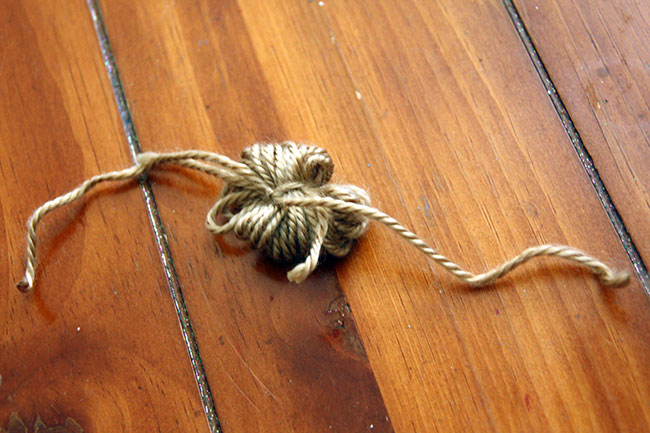
Tie a knot.
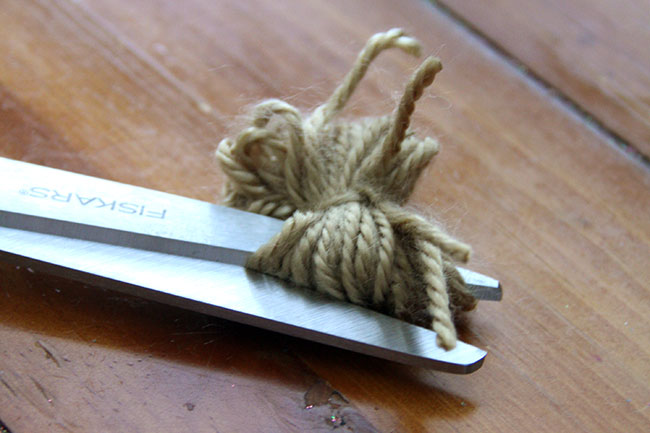
Then, cut the loops on each side of the knot. Fluff it up a bit and give it an even hair cut if there are any long or straggly pieces… and, you’ll have yourself a pom pom! Stringing the pom pom through the string you’ll be using to secure them to the wreath shouldn’t be hard, I just pulled it through the middle of the pom pom by sticking my pinky finger through the center to open it up a little.
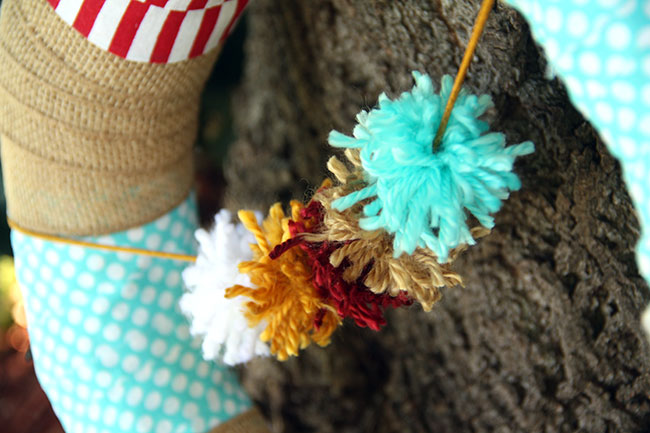
I used a gold string that I had already at home to place all of the pom poms on and then I hot glued each end of the string to the back of the wreath. Aren’t they pretty and festive?!
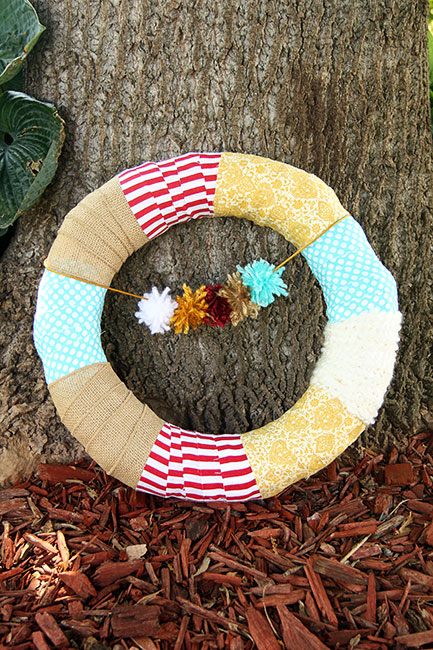
Here is the finished wreath… I was really pleased with how it turned out and how the colors in the fabric match the colors I selected for the yarn in the pom poms. When I was selecting a color scheme for the fall, I wanted to go with browns, yellows and reds… but, I also decided to add in turquoise to the color scheme, which you wouldn’t normally think of a fall color… but, I felt like the wreath needed a fun and lively pop of color, so turquoise blended well with the other fall colors. Plus, who doesn’t love a little turquoise? It is such a pretty and lively color, especially for early fall… before, you start seeing all of the orange and black colors of Halloween in October.
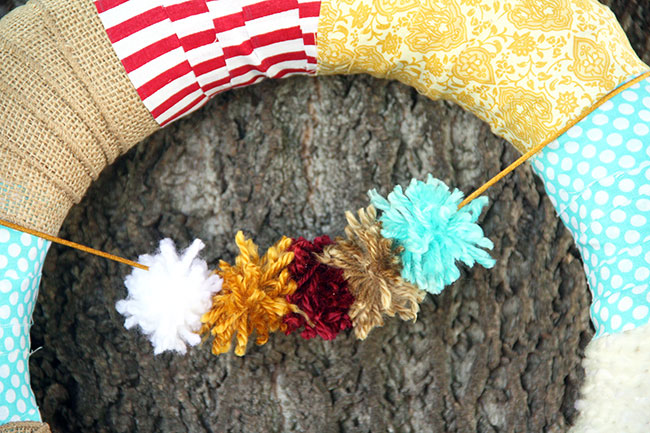
As far as pom poms go, I was surprised to find that the cheaper generic yarn makes much better pom poms than the silkier, more expensive yarn. I love how these little pom poms turned out and I almost want to make a longer pom pom garland to drape across the buffet table that sits in-between our family room and kitchen area.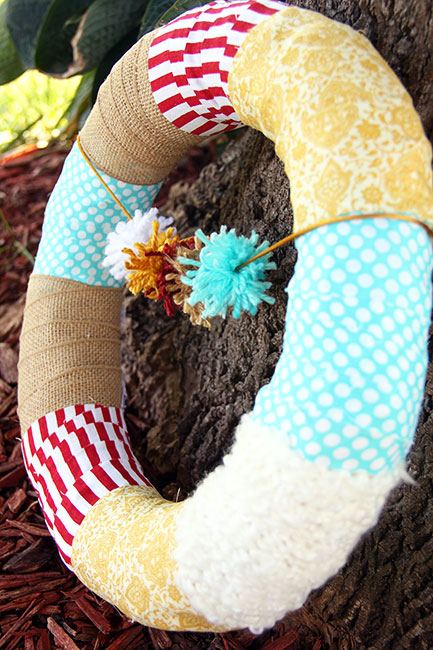
Another project that I have on the to do list is a craft room/desk and I could see myself bringing this wreath down to the craft room to display by my desk after early fall is over. This scrappy pom pom wreath just screams ‘put me in the craft room’, right?! 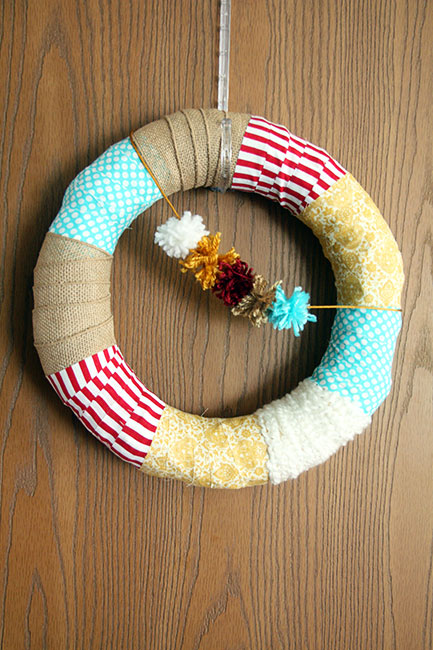
I will probably tie the wreath to the door with some ribbon instead of the wreath hanger. It looks a little bare on top and I’d rather hang it by some ribbon then a flimsy plastic wreath holder. I am excited to see this wreath everyday this fall!
Linked up with:
Inspiration Gallery Link Party
Craft Frenzy Friday
Inspire Me Please
Say G’Day
My Favorite Things Saturday
Snickerdoodle Sunday
Share Your Creativity
Submarine Sunday
Monday Funday Party
Monday Mommy Blog Hop
Merry Monday Link Party
Frugal Crafty Home Blog Hop
Motivational Monday
Your Designs This Time
Hit Me With Your Best Shot
Wake Up Wednesday
Moonlight & Mason Jars
Fluster’s Creative Muster
Create It Thursday
Sweet Haute
Best of the Weekend
Our Favorite Things Pinterest Party


