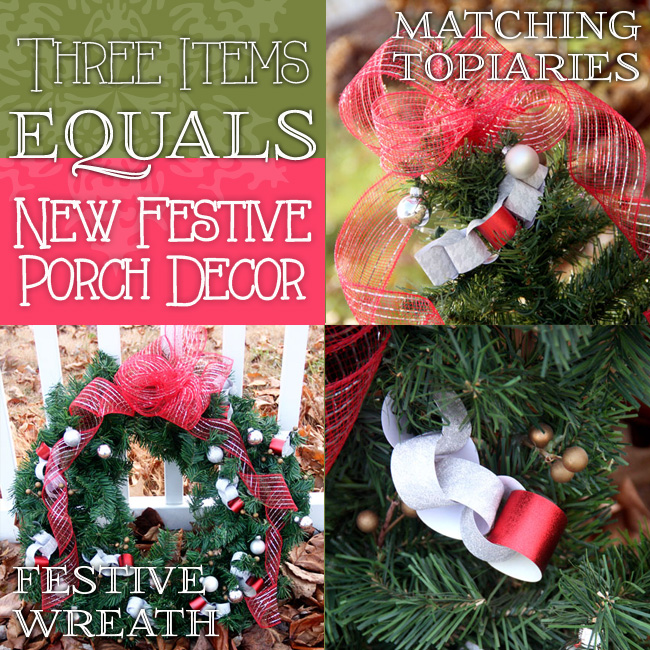
This year, I wanted to update my outdoor Christmas wreath and I wanted to purchase some small topiaries to go into the monogrammed urns that I purchased this Fall. I wanted to do this easily and without spending a lot of money. SO, today I am sharing with you how to update your Christmas wreath and topiaries with only THREE crafting items! Less items means it costs less, too! Yay to that, right?!
So, what do you need for these three items?
Decorative Burlap Ribbon (I picked a pretty red one with silver lining)
Mini glass ornaments (I selected silver ones)
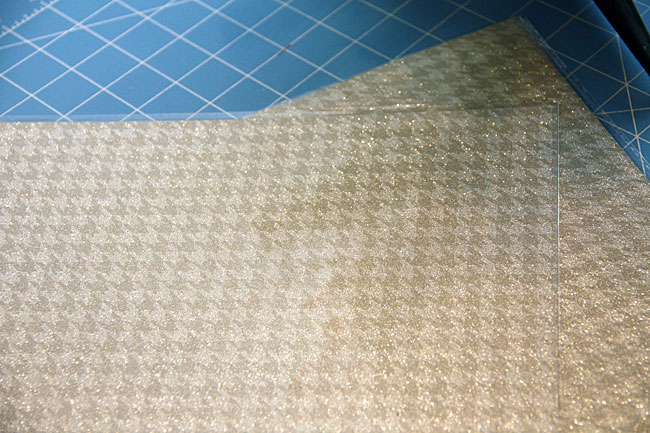
Scrapbook paper (I selected a glittery houndstooth pattern in silver {pictured above} and glittery red)
Making the Scrapbook Paper Garland: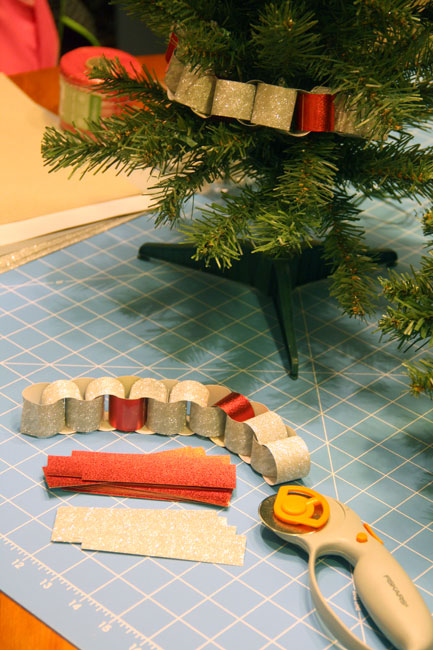
First, I made the scrapbook paper garland for each tree and the wreath. I did 4 chains in silver and then 1 chain in red. Repeat until you have the desired length. I made 3 chains for the topiaries, a longer one for the bottom of the tree, a medium sized chain for the middle and a short chain for the top of it. For the wreath I just did shorter chains to place all over the wreath.
How to Make the Topiaries and Bows: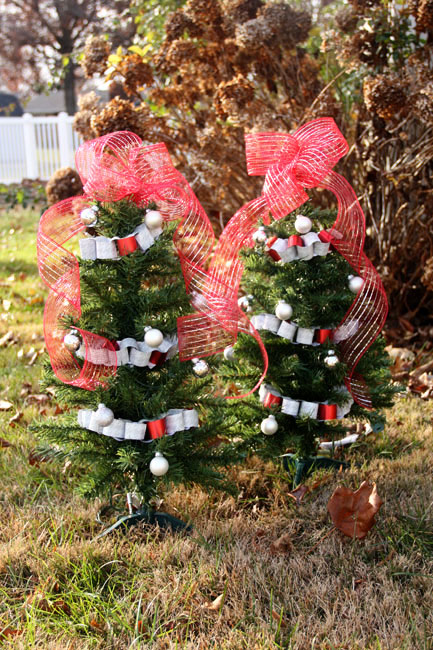
I started decorating the topiaries first. I purchased the topiaries new at Target for $14 each, if I had gotten them without lights they would have been $10 each.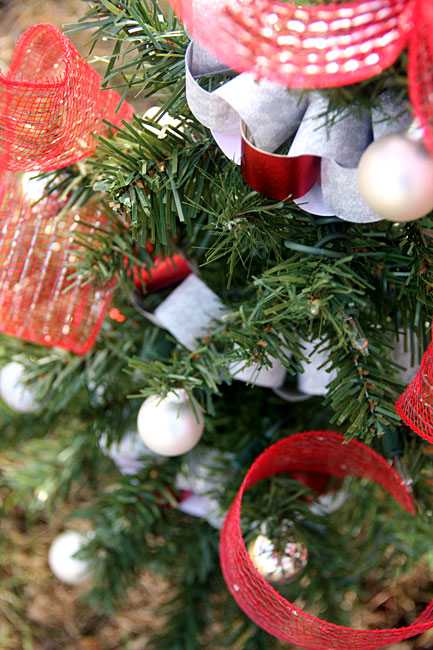
I wanted a red and silver color scheme for my porch this year, but you could do any color with the garland, ornaments and burlap You’ll see I placed the garland on the tree and then put some of the silver ornaments on the tree. The box of mini ornaments that I purchased was from Michaels and it had 3 trays in it I used 1 tray for each tree and the third tray for the wreath It was plenty of ornaments and I believe the box was $6 with 50% off.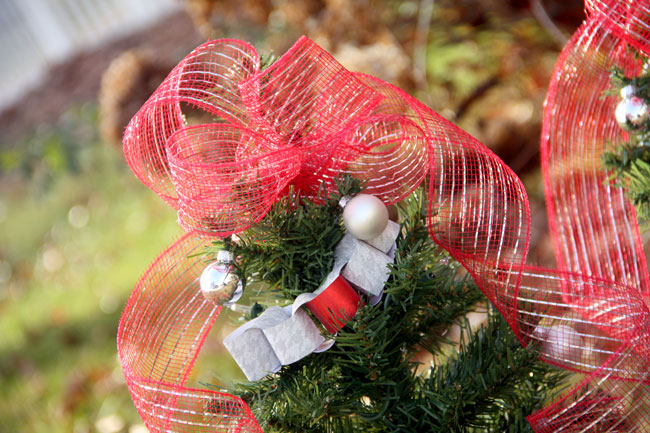
I didn’t want huge bows on these trees and so I kept the bows smaller and simple. I did know I wanted them to have trailers that went down each side of the tree. To do the trailers I just cut off a long strip of the burlap ribbon and tied a knot in the top of the tree and let it cascade down on each side. You’ll want to buy burlap ribbon with wire in it so you can sculpt curves so it curls and wraps around more naturally. Then, for the actual bow part, I just cut another long piece of ribbon off and hot glued each loop I made of the bow. It was really quick and easy to do it this way. Then, I tied and used a little hot glue to attach the bow to the tree so that it would stay on well since it’ll be outside.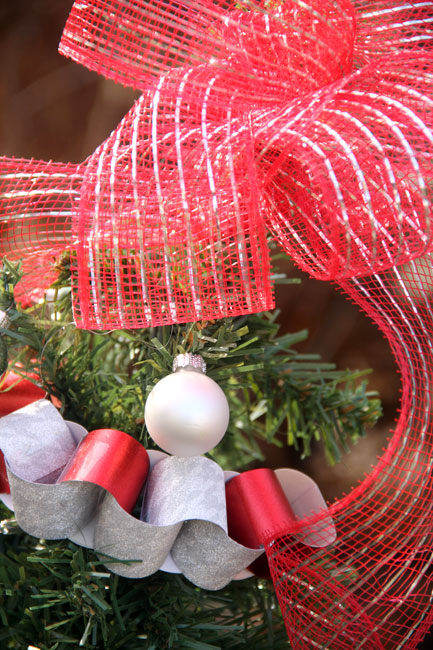
A close up of the topiary, you can see the bow, an ornament and the garland. So pretty!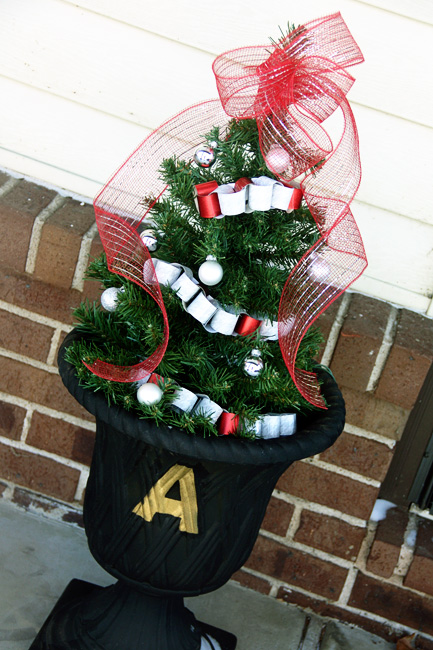
Here is a final photo of it in the urn. I had to take the three little side legs off the bottom of the topiary in order to get it to fit into the urn. I then put a plastic pot in the urns upside down (to take up space), poured a little dirt in the urn and then stuck the tree in… it fit perfectly and the dirt helps keep it in place.
Now, I will share how to make the wreath: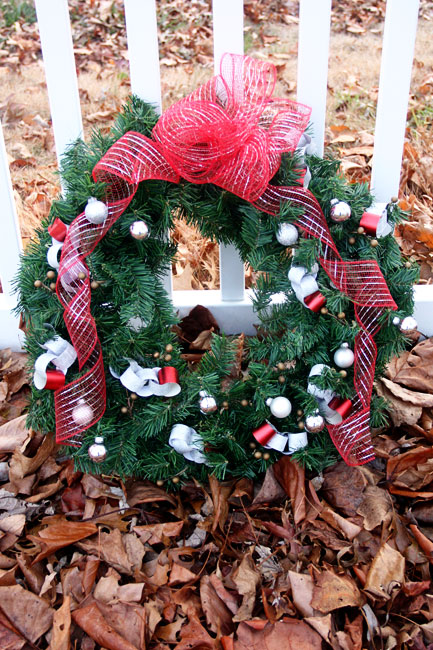
First, I took my old Christmas pine wreath and stripped it of EVERYTHING except some little gold berries that were on it. I took off the old ribbon, some Christmas clusters, etc. I striped it bare so that I could start over. This worked out great, because I reused this old pine wreath and didn’t need to buy a new one… and, I knew I’d never use that old wreath again anyway! The picture above shows the NEW wreath.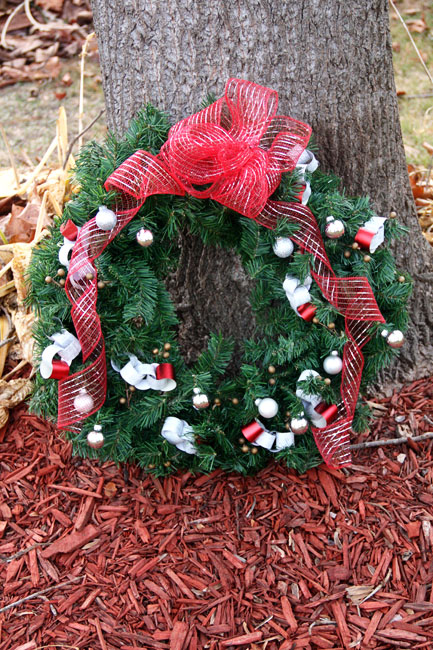
Here is another photo of the wreath. I placed a burlap bow on it, the chains are sprinkled all over the wreath and then I put some of the silver ornaments on it as well. I love the simplicity of it and the red and silver colors.
Linked up with:
Share Your Creativity
Best of the Weekend
Monday Funday Link Party
Merry Monday
Frugal Crafty Home Blog Hop
Your Designs This Time
Scraptastic Saturdays
Craft Frenzy
Inspiration Gallery
