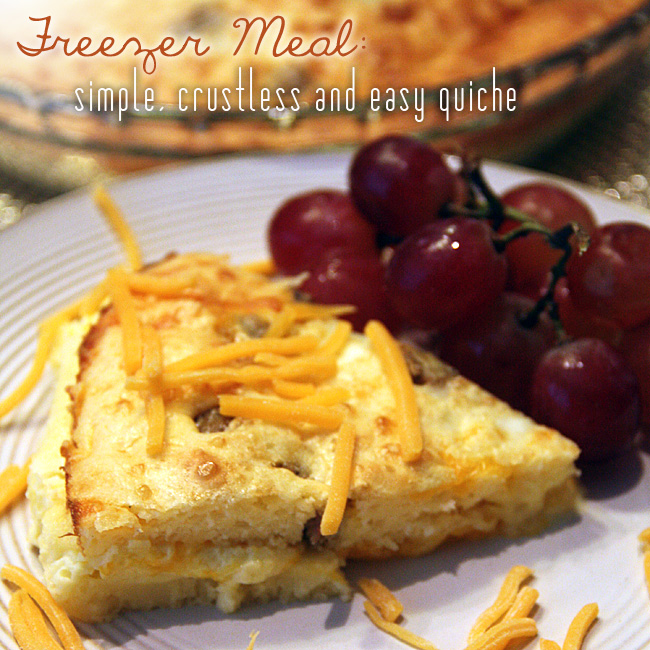
If you remember back to last month, I mentioned that I would be sharing with you a freezer meal the second Monday of every month. Well, it is time for me to share a freezer meal with you once again! This month, I decided to do another breakfast meal… a Simple, Crustless and Easy Quiche! This recipe makes TWO quiches, so you could eat one and freeze one for later That is what I did! If you weren’t with us last month and want to see the freezer meal I made that month, click HERE to see the recipe I used for Breakfast Burritos (made 12!).
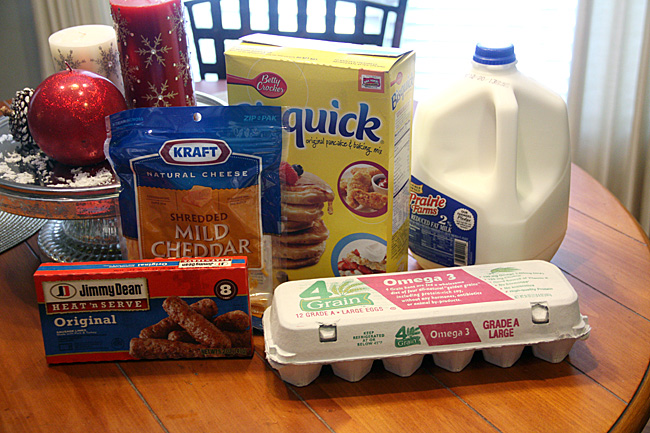
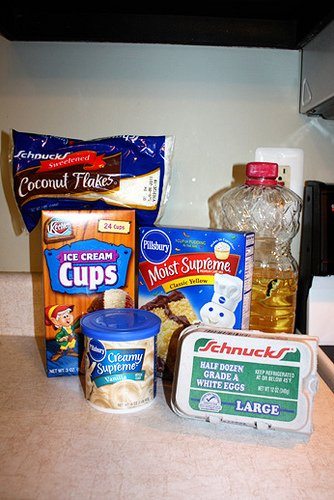
For this recipe you need 2 cups of milk, 1 cup of shredded cheese, 1 cup of Bisquick, sausage OR bacon and 4 eggs for EACH quiche.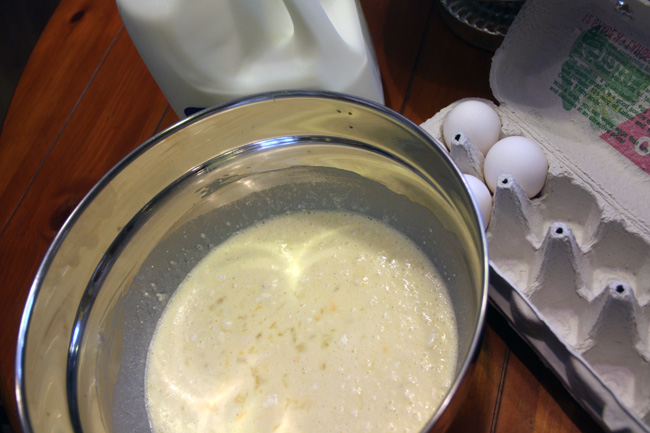
This recipe is quick, all you do is dump all of the above ingredients (except the meat) into a bowl and mix. You can either do two separate bowls for each quiche, or use one bowl and take turns mixing up the ingredients for each quiche. I use one bowl so I have less clean up. I don’t put the ingredients for BOTH quiches in one bowl at the same time, because I think it is too hard to gauge how much half is when it comes time to pour them into the two pie pans.
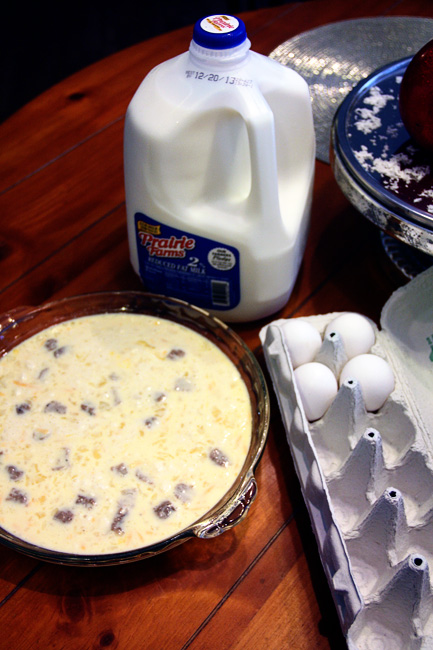
Now you’ll add the sausage or bacon. To make it even easier, I bought sausage that I could put in the microwave. I would put 4 links in each quiche (or 4 pieces of bacon, if you use bacon). You’ll need to crumble or cut up the sausage/bacon before mixing it in with the rest of the ingredients. You could also add mushrooms, those freeze really well, too! My kids do not like mushrooms, so I did not use them.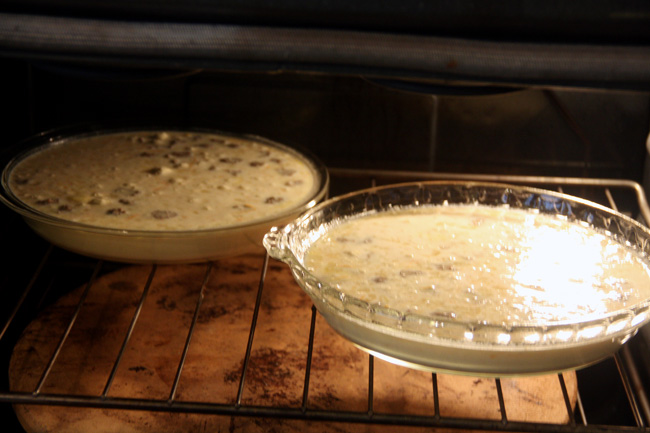
Pour into the pie dish and then put them in a 400 degree Fahrenheit oven for 30-35 minutes. They will brown a little on top, but they shouldn’t burn on the top for the amount of time you’ll have them in. Ignore the pizza stone that is on the bottom of our oven, that is my husband’s and he rarely takes it out since it is so heavy!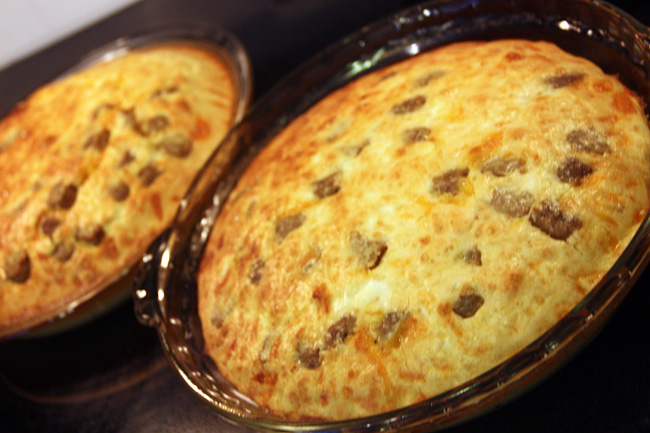
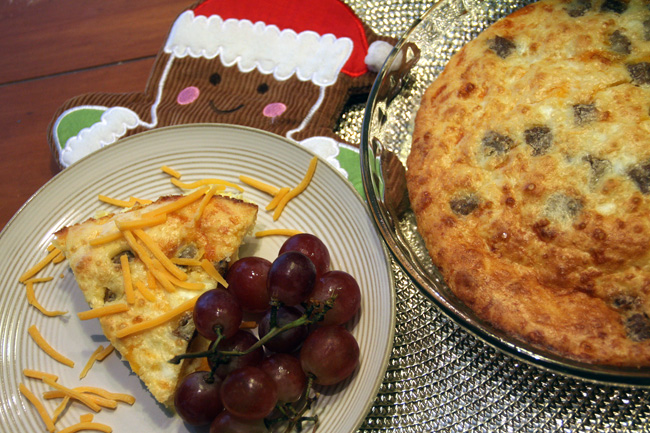
You’ll take the quiches out of the oven when they are done and they should look like the above photo. Just a little brown on top, but cooked all the way through. Please let it cool for 10 minutes before you dig in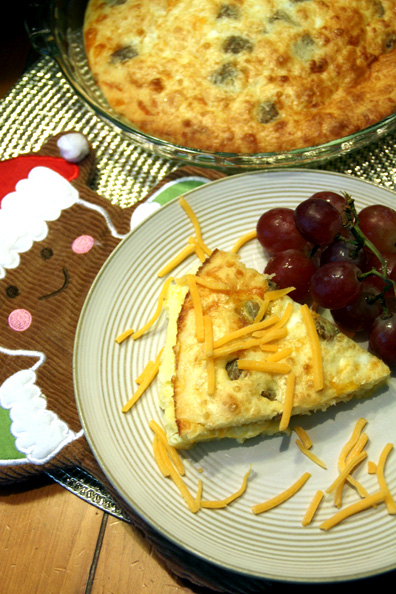
And, this is how the quiche will look when you cut yourself a slice. I love to serve quiches with fruit and I sprinkle some shredded cheese on top. Don’t you love my little gingerbread man oven mit?
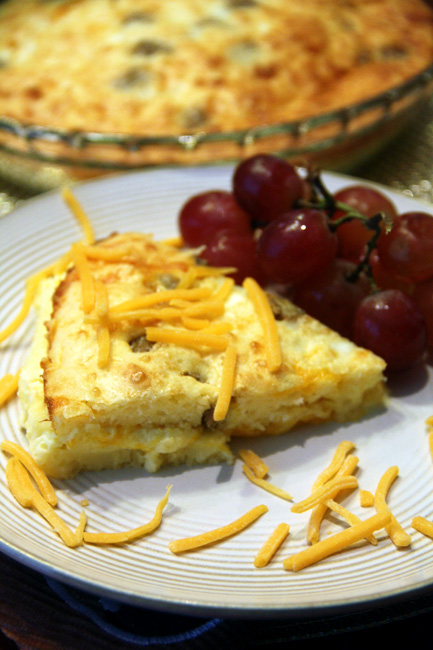
Here is a closer look at the slice of quiche. You’ll see that we did not need to make a crust, because the Bisquick gives the quiche a sort of ‘spongey’ texture. If you love Bisquick, you’ll love the taste of it in this Quiche!
Please let me know if you enjoy this recipe, I would love to hear how it turns out for you. I am looking for a recipe for next month, something that is more of a dinner meal. If anyone has a recipe that would like for me to try, let me know! Otherwise, I will dig around on the Web for one that catches my interest. I would love to do a link up party in a couple of months, after we are all recharged after the holidays. I will be sending an email out a month prior to the day that I plan to have the link up party, so you can prepare a recipe and post it on your own blog to share before or on the day of the link up! Should be fun! If you are interested, be sure to let me know!
Linked up with:
Frugal Crafty Home Blog Hop
Pin It Monday Hop
Fluster Buster: Fluster’s Creative Muster
Brag About It Link Party
Inspiration Exchange
The Inspiration Board Creative Party
Be Inspired
Craft Frenzy Friday
All Things Pretty
Inspiration Gallery
The Creative Connection
Inspire Me Please
Sweet Haute
Create It Thursday
The Pinworthy Projects Link Party
