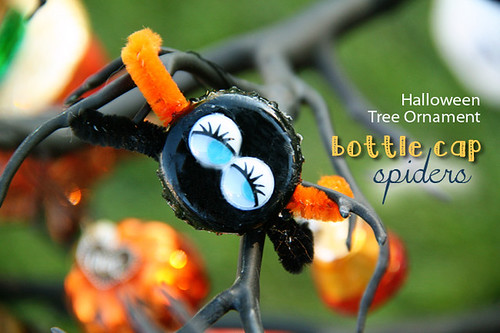
Today I am going to share with you a little Halloween craft… not only does it serve as a craft at our house, but we will also be using these adorable little bottle cap spiders as ornaments for our Halloween tree! I will also share a couple of other posts I have done in the past for ornaments we’ve made for our tree. It is fun to have the kids make new ornaments for it every almost every year!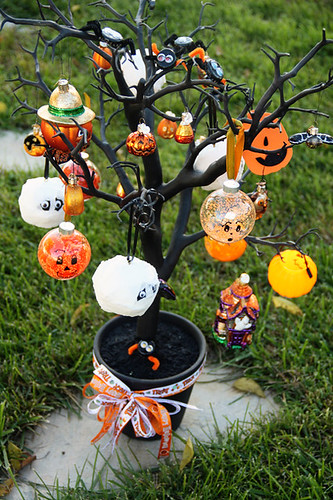
Before I share the details of this craft with you and after photos… here is our Halloween tree! Yes, I drug the darn thing outside to get better lighting! Indoor photos can be so drab. Anyway, you’ll see an assortment of hand made ornament crafts that my kids have made for it over the years… there is also some store bought (ceramic) ornaments on it, too. I LOVE this tree, it is just so fun to pull it out every Halloween season. I bought the tree itself at Pottery Barn on clearance after Halloween was over many years ago.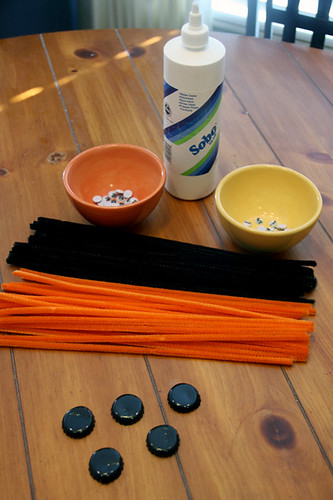
Supplies you’ll need. You will also need a can of black spray paint in order to make the bottle caps black. You can use Elmers glue or a hot glue gun to adhere the legs… Elmers or a glue stick will work fine to adhere the googly eyes to the bottle caps.
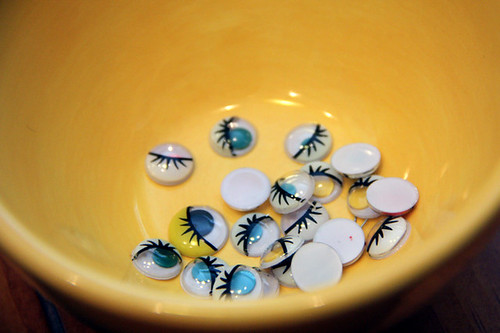
HobLobs had an excellent selection of Googly eyes. I picked up this ‘girlish’ pair for Autumn.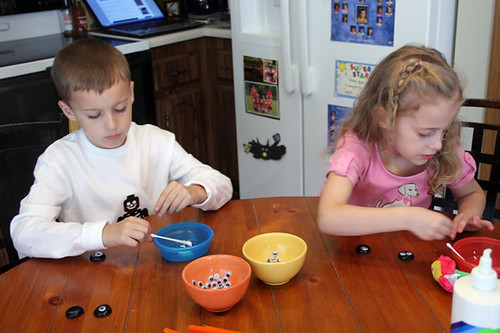
Gluing the eyes on… I had this adorable orange shirt for Autumn to wear to keep with the Halloween theme. She would have no part of it, insisted on wearing her favorite puppy shirt. Sigh. I did somehow talk her into wearing it for the after photo by the ornament tree. Whew. 4 year old girls, I tell ya!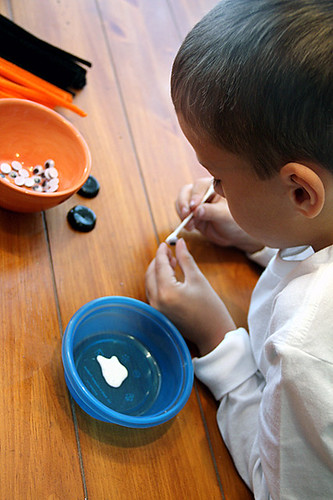
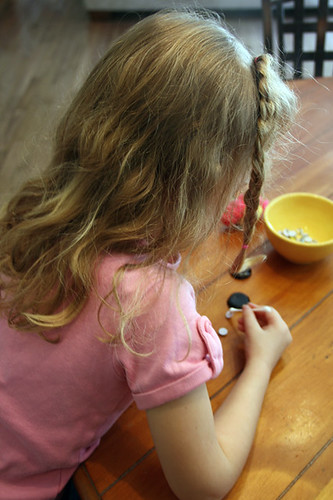
A couple shots of them at work. I did do a Mommy OOPSIE. I only spray painted 5 bottle caps… an uneven number. gasp. Yes, the kids did fight over the 5th bottle cap. I took it for mine. Mommy win.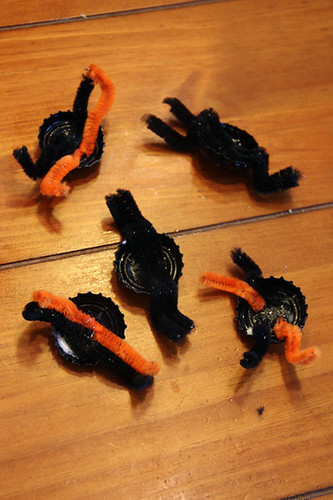
The last step is gluing the legs on… cut a 1.5″ strip of pipe cleaner for each leg. I didn’t have a wire cutter, so I used my garden shears. Glue each leg on and let it DRY. Otherwise, you’ll be gluing them on multiple times. This was the hardest step for my kids, waiting for the legs to dry.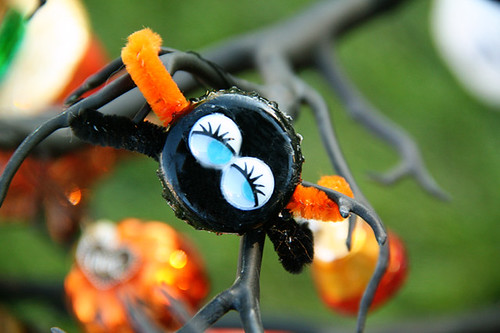
End result? Some CUTE little spider friends for our Halloween trees!!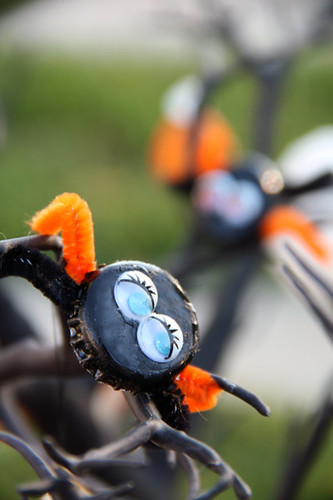
Every year I say this is my favorite ornament of all! 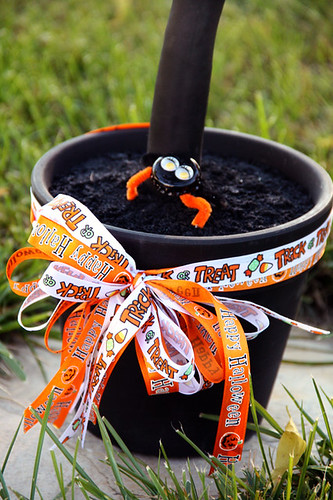
Now, you may wonder… how did we hang these? Well, I was going to attach thread to each of these to hang it on the tree, BUT I decided it’d be cuter to just ‘set’ them on the tree. I set one spider at the base of the tree.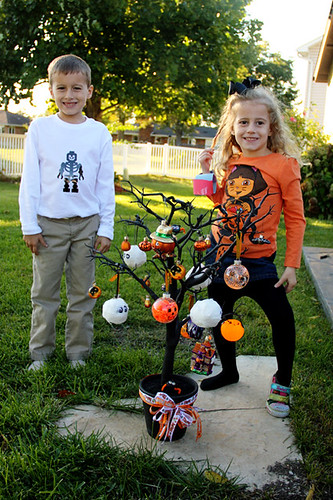
After the spiders legs dried, I took the kids outside for photos by the Halloween tree. Surprisingly, I got a really good one of both kids smiling AND looking at the camera. I even got Autumn to wear her Halloween shirt. BUT, after taking the photos I noticed she had taken off her black shoes and had on ONE ratty and old Twinkle toe. AND, her jean skirt is hiked up! Sigh. BUT, she has thick black tights on and its still such a darling photo! lol!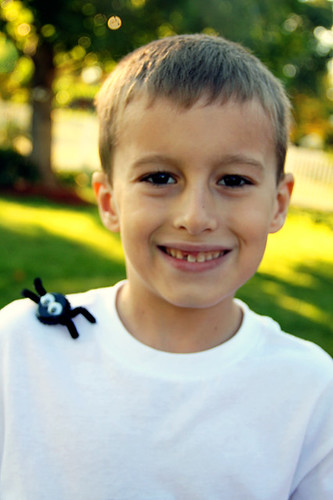
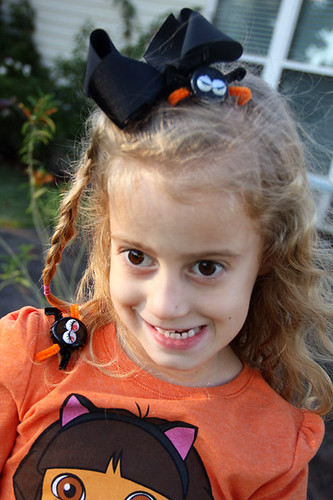
Then, they decided to be silly and put the spiders on themselves. I love these photos, too!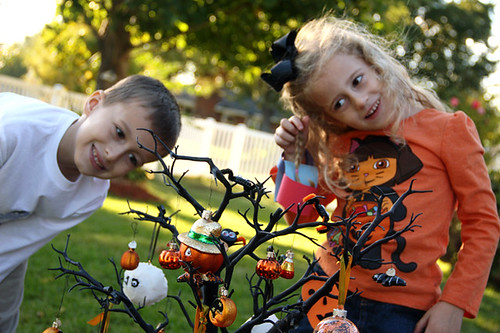
Another silly photo.
Now can you see why I love this tree?
So, we don’t do ornaments every year… we did our first ornaments in 2009, again in 2011 and then in 2013! So, I guess we are shooting for every other year!
If you are interested, here are the links to the instructions of previous ornaments we have done. Now, my photography/lighting skills may not be as advanced in these… but, they are fun ornaments to make!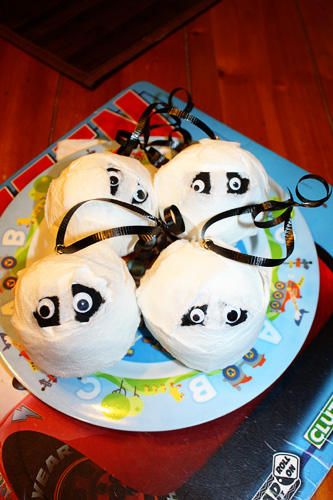
2011 – Mummy Balls
2009 – Jack ‘o Lantern Ornaments
Linked up with:
Create It Thursday #25
Thursday SWEET HAUTE Share Link Party
All Things Pretty
Inspiration Gallery Link Party
T.G.I.F. Link Party
All Things Thursday Blog Hop
Ladies Only Blog Share Link Party
Inspire Me Please
Submarine Sunday
Pin It Monday Hop
Monday Funday Link Party
Frugal Crafty Home Blog Hop
The DIY’ers
Fluster’s Creative Muster
Brag About It
Inspiration Exchange
What’s Scarier Linky Party


